Instruction Manual
2
Before You Begin
To ensure a quick and easy card installation, please read through this section carefully
before attempting to install the card.
WARNING! PCI cards, like all computer equipment, can be severely damaged by static
electricity. Be sure that you are properly grounded before opening your computer
case or touching your PCI card. StarTech.com recommends that you wear an anti-static
strap when installing any computer component. If an anti-static strap is unavailable,
discharge yourself of any static electricity build-up by touching a large grounded metal
surface (such as the computer case) for several seconds. Also be careful to handle the
PCI card by its edges and not the gold connectors.
NOTE:
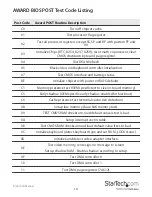
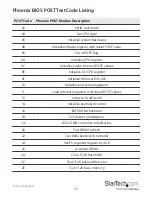
Before you begin the test, make sure that you know the BIOS supplier and
BIOS version. Without this information, you will not be able to determine the
meaning of the error code. The PCIPOST card does not generate the error codes,
the codes are generated by the BIOS supplier and are specific to that BIOS. Contact
your motherboard manufacturer if you encounter any difficulties. The PCIPOST is
compatible with every IBM-compatible system, but since there are numerous BIOS
versions and suppliers, you may not find your system BIOS information in the error
code listing. This information may be available in your motherboard manufacturer’s
user guide. Your BIOS manufacturer can likely supply you with this information if you
contact them.
Installation
This section will guide you through the installation of your PCI card and the related
software. Please read through the instructions carefully and complete each step in the
order listed.
Installing the Card
1. Make sure that your system is unplugged and you are grounded.
2. Remove the cover of your system (see your computer’s user manual for details, if
necessary) and gently turn your computer onto its side.
3. Locate an empty PCI slot (usually white in colour) that can provide a clear view of
the LEDs on the card and remove the metal plate that covers the rear bracket. You may
need a Phillips screwdriver to perform this step. Hang on to the screw! You will need it
to secure the card later.
4. Gently insert the card into the empty slot, making sure it is firmly seated and that
you are able to see the LEDs on the card.


