

IIn
ns
stta
alllla
attiio
on
n
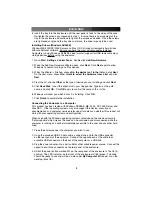
Installing a Hard Drive in the Enclosure
Use caution when installing a hard drive in the enclosure. Excessive shock or force
could damage the drive and/or the enclosure, resulting in data loss.
CAUTION:
Always ensure that you are properly grounded when handling a hard drive or
the enclosure tray, since electronic components can be damaged by static electricity. If
an anti-static mat or similar product is not available, ground yourself by touching a
computer case or other metal surface for several seconds before handling any
components.
1. Loosen the two screws on the back of the enclosure holding the drive tray in place.
Note that they cannot be removed, but will stay in the tray.
2. Using the tab at the top of the tray,
gently remove the tray from the enclosure.
3. (a) Place the hard drive on top of the tray, lining up the connectors on the hard
drive with the connectors on the back of the tray.
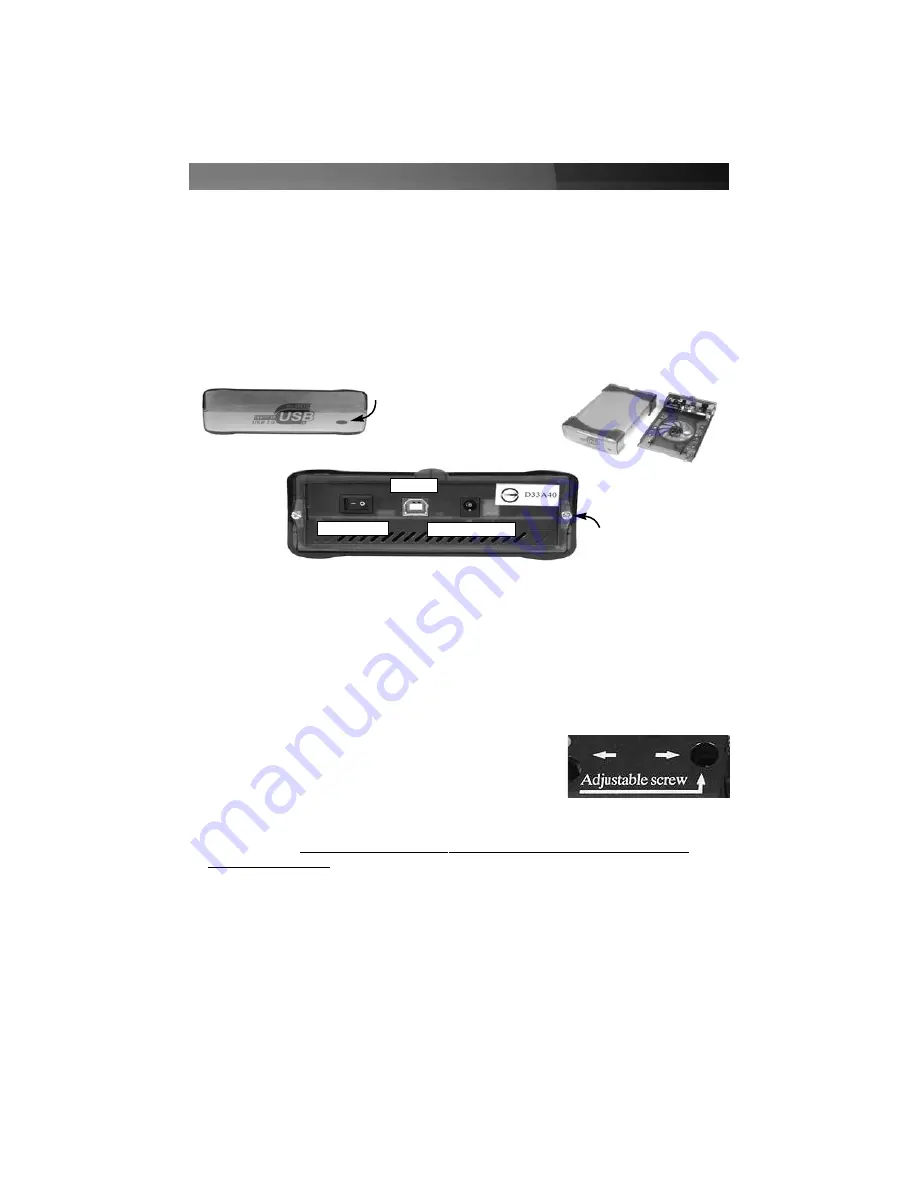
(b) If necessary, you can adjust the position of the power
connector in the tray for a better fit with the hard drive you
are installing. Loosen the screw marked
Adjustable
screw
and
gently move the power connector to the left or
right as necessary. When you are satisfied with the new
position of the power connector in the tray, re-tighten the screw so the connector no
longer moves. Do not install the hard drive until you have re-secured the power
connector in the tray.
4.
Gently slide the hard drive into place until the connectors on the tray are seated
snugly into the drive.
5. Carefully turn the tray upside down. The screw holes on the hard drive should line up
with those on the tray. Use the provided screws to secure the drive in the tray; turn
the screws until they are snug and the drive does not move. Do not over-tighten.
Instruction Manual
2
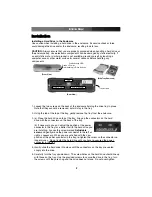
Power Switch
USB
Power Adapter
Tray Screws
Power/Activity LED
Green = Power
Red (flashing) = Drive Activity
(Rear View
)
(Front View
)
(With Tray Removed
)
Содержание InfoSafe IDECASE35U2
Страница 10: ...Revised 18 April 2005 Rev A...