Once the drive has been stopped:
1. Turn the locking dial covering the drive you wish to remove, to the
OPEN
position.
2. Press the lock button until the locking arm swings open.
3. Gently pull the drive out of the enclosure.
Striping (Strip) Mode
Warning
: Please backup any original data prior to building your RAID configuration, as
all data wil be lost due to format.
To configure your drives for RAID 0, please set the dip switches accordingly, based on
the chart on
page 5
. Turn on the enclosure for the RAID to automatically be built.
Once the RAID has been built, turn off both disks using the main power button on the
enclosure. Once the drives have been powered down, connect the enclosure to the host
computer using the USB cable provided. Following connection, restore power to the
enclosure and format the drives,
1. Right-click on
My Computer
2. Left-click on
Manage
.
3. Double-click on
Storage,
then double-click on
Disk Management
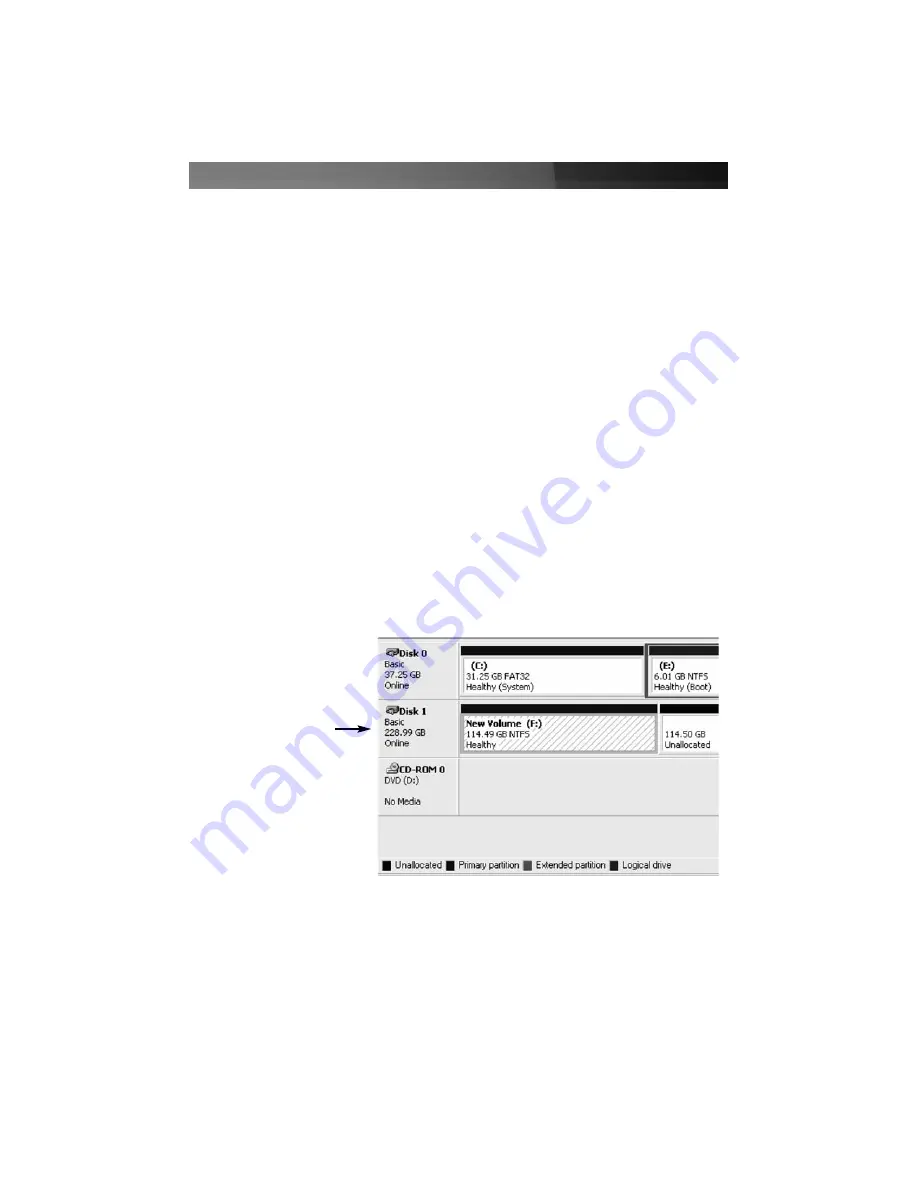
to view the attached
drives, which will appear as follows. Right-click on each drive, and format accordingly:
RAID 0 rebuilds both hard drives into a single, double-sized drive. With this type of RAID
configuration, if one drive fails, the entire RAID build will crash. However, as data storage
is spread over both hard disks, performance is much faster than on a standard, single
disk configuration.
Please note:
For optimum performance, it is strongly recommended that two identical
hard drives are used. If the two drives are not the same size, RAID can only be built to a
Instruction Manual
7
Note:
RAID has been
configured to include both
drives as a single drive.
Please remove any
existing partitions.


