Oculus PRO Handbook Issue 3
The Oculus PRO control software is Oculus PRO_USB.exe. To install this:
1.
Double click on the Oculus PRO Software folder on the USB drive.
2.
Double click on the Setup.exe program
3.
Follow the prompts to fully install the software on to your computer.
4.
Plug in your Oculus PRO All-Sky camera – (Wait for the Install New Hardware Wizard to
complete)
5.
Double click on the Oculus PRO_USB.exe icon on your Desktop or from your START button on
your computer.
6.
The first time you use the software, click on “File” then “Set Program Defaults” You will get a
message, “Warning – No INI File found – Please set defaults”
7.
Click “OK” – The Set Program Defaults box will appear.
8.
Click on “Save Changes” and you are all set to start using the camera. (The INI file that was
being asked for initially has now been created and you will no longer see the Warning message)
The Oculus PRO control software is Oculus PRO_USB.exe and the latest version may be downloaded
from the Starlight Xpress web site
http://www.sxccd.com/drivers-downloads
, if necessary.
Alternatively, ‘PHD’, ‘AstroArt’ and ‘MaximDL’ support the Oculus PRO (as the H9 or SuperStar) and
may be preferred. Note that the Oculus PRO may show up as an ‘SXV-H9’ or as ‘Unknown’ in some
software, but it should still work OK.
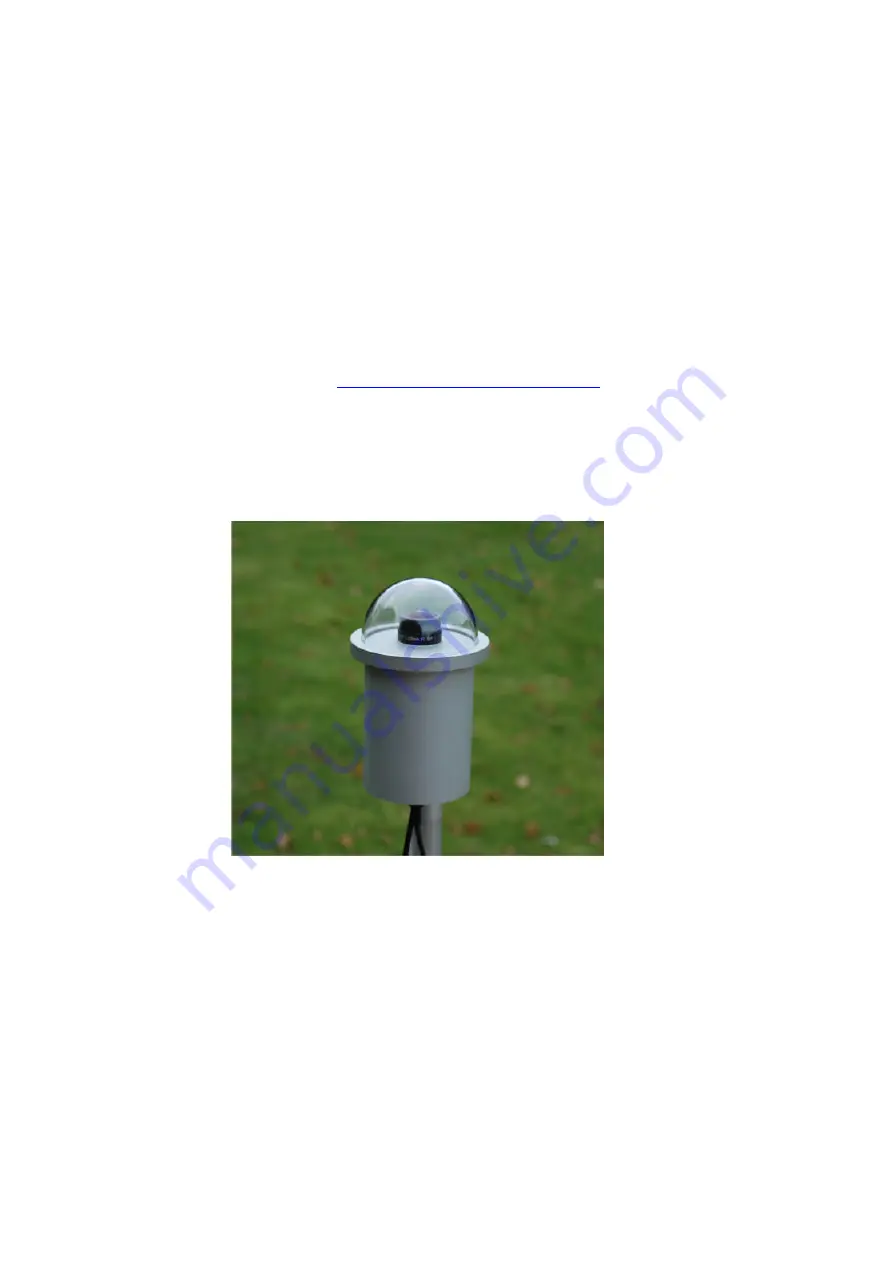
Setting up and using the Oculus PRO:
The best site for your Oculus PRO camera will depend to a great degree on your surroundings and
nearby sources of artificial light. An all-sky lens will image everything in your area and the reflections
of artificial lights in the dome and lens can be objectionable. Try to locate it in a shadowed area with
as good a view of the sky as possible. If you cannot avoid stray light getting into the field of view,
then raising the effective horizon is an option.


