background image

Oculus PRO Colour Handbook Issue 1 


is available if you need to suppress any hot pixels etc. Cover the Oculus PRO Colour dome with a 

black cloth or opaque container and then take an exposure to match the length being used in your 

image sequence. The resulting dark frame should be saved to c:\dark.def and the ‘Auto remove dark 

frame’ check box selected in the camera menu. The dark will then be subtracted from all future 

images. Note that the dark noise is temperature sensitive and so you will get cleaner images if the 

Oculus PRO Colour is cold Unfortunately, if the air is humid, this is also likely to lead to dew or frost 

forming on the dome, so you might find that running with the heater on is often necessary, and this 

is where dark frame subtraction can be particularly useful. Another option is to create a ‘Hot pixel 

map’ and apply this to your images when creating an AVI file and this will be described below. 

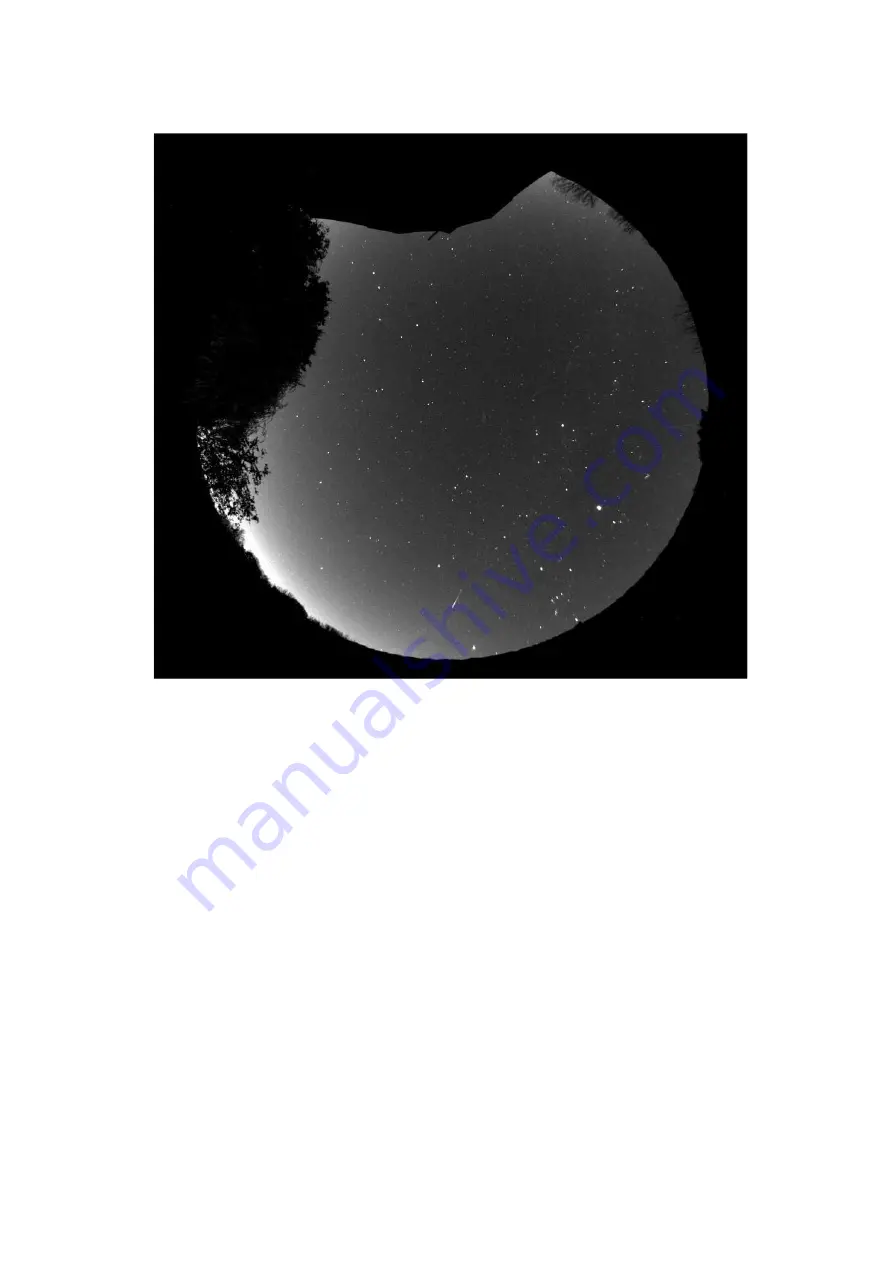
After an imaging session, you will probably want to view a movie of the entire sequence to look for 
interesting events. This is easily done by creating an AVI file from the stored FITS images. Open the 

‘File’ menu and select the ‘Create AVI from FITS files’ option. The best results will be obtained if you 

adjust the visualisation of a sample image to give the best view, using the Max palette stretch 

options in the ‘View’ menu. Adjust the brightness and contrast to give a nice result and then run the 

AVI create. The program will use your view settings on all the images while creating the movie file. 

The AVI generator will add an image file number at the bottom left of your AVI images and this can 

be useful when searching for frames that contain interesting events. Some software, such as 

‘Windows Media Viewer’, will sometimes hide this legend behind their control slider and so I 

recommend checking the ‘Frame label offset’ option to shift it up be about 200 lines. You will see 

that a ‘Hot pixel map’ can be applied to your AVI frames during AVI generation. This will remove the 

random hot pixels which are always present in CCD images, without affecting the rest of the image 

frame, and so may be preferred to dark frame subtraction. To use the hot pixel removal, you need to 

record a fairly long exposure dark frame (say 60 seconds) and then open the hot pixel map 

generator from the ‘Edit’ menu. The slider will permit you to set a threshold for the hot pixels and 

you should adjust this so that it detects no more than 100, or so. Setting it too low will damage your 

image quality. Record the resulting map and then select this from the AVI generator menu. 

As your source images are unaffected by the creation of the AVI, you can search through them for 
meteors, satellites etc., as seen in the AVI, and then select, process and save these images to another 

folder. 

Содержание 110-0027

Страница 1: ...fish eye lens provides horizon to horizon coverage with very little star image distortion across the entire field The Oculus PRO Colour utilises a sensitive Sony CCD the ICX825AQ with an array of 1392...

Страница 2: ...me Typically 0 6 seconds at full resolution using USB 2 0 Power requirements Camera Dew Heater require 12v at 1 amp max Input connection Mini B USB socket for USB2 0 and a 2 1mm jack for 12v Camera De...

Страница 3: ...r computer 6 The first time you use the software click on File then Set Program Defaults You will get a message Warning No INI File found Please set defaults 7 Click OK The Set Program Defaults box wi...

Страница 4: ...probably be necessary to have a fairly long lead if the Oculus PRO Colour is mounted high on a mast or roof As the camera power is taken from the 12V supply any long leads should be as heavy as possi...

Страница 5: ...warm by powering the internal heater via the 12v socket on the rear of the assembly This socket can accept a 2 1mm coaxial power plug from any 12v DC supply capable of driving at least 1 amp the polar...

Страница 6: ...e typically 1 second and click on the Play button Follow the steps below Start the Starlight Live Program by clicking on the icon Deselect the Auto Align button in the Channel Selection Select the Ima...

Страница 7: ...s camera is the one inside your Oculus C Select the Colour Space to RGGB which is the correct decoding for your camera Ensure Binning is set to 1x1 Adjust the exposure time I would suggest 1 second is...

Страница 8: ...ny colour offsets that you require using the sliders The AllSkEye software which is freely available at https allskeye com is fantastic software for use with the Oculus PRO Colour camera It has so man...

Страница 9: ...et a warning about the ini file not found but ignore this and click on OK then open set program defaults from the text icon You should now see a screen similar to the one shown below The defaults show...

Страница 10: ...Colour orientation and location to get the best views The focus should be good as supplied but if necessary it may be adjusted by unscrewing the large outer ring and lifting off the dome Loosen the sm...

Страница 11: ...disk space so make sure that you have plenty available The maximum autosave number for AVI creation is 1000 images and this will cover about 8 hours of 30 second frames while filling about 1GB of hard...

Страница 12: ...using the Max palette stretch options in the View menu Adjust the brightness and contrast to give a nice result and then run the AVI create The program will use your view settings on all the images w...

Страница 13: ...be purchased from our dealers The Oculus PRO Colour dome is spaced off from the base ring by small pads This allows air to circulate through the vent holes and inside of the dome to reduce the tenden...

Страница 14: ...d in the standard operating instructions and within the relevant safety standards of the country where the equipment is used 2 Repairs under guarantee will be free of charge providing proof of purchas...

Отзывы: