SR2 Series User Manual
4
4. Hardware Installation Procedure
Please follow the instructions below to complete the hardware installation.
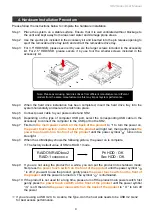
Place the system on a stable surface. Ensure that it is well ventilated without blockage to
the vent and kept away from areas near water and damage prone areas.
Use the ejector pin included in the accessory kit and inserted into the pin release opening to
eject the removable drive tray latch and extract the removable drive tray.
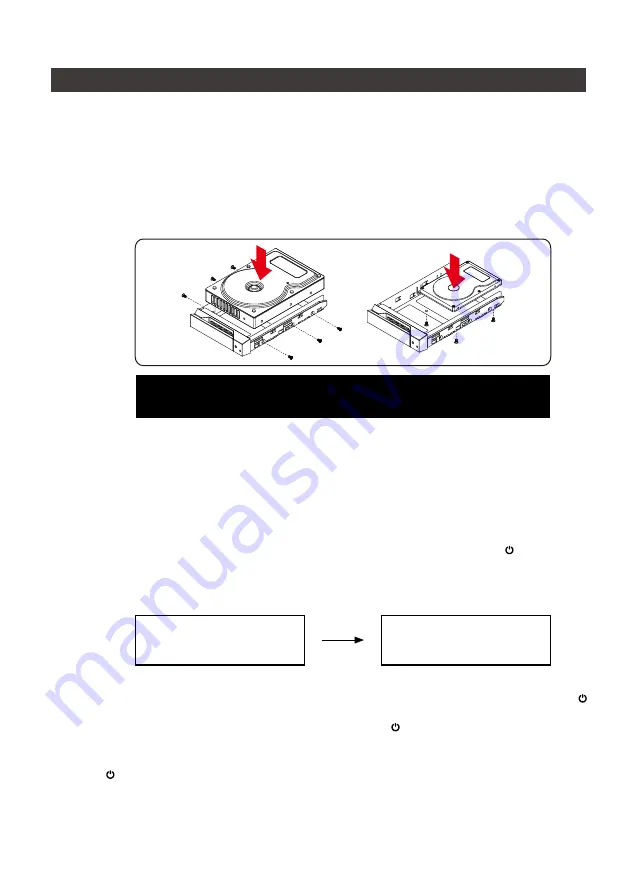
For 3.5" HDD/SSD, please secure it by use six the larger screws included in the accessory
kit. For 2.5" HDD/SSD, please secure it by use four the smaller screws included in the
accessory kit.
Step 1
Step 2
Step 3
Step 4
Step 5
Step 6
Step 7
Step 8
When the hard drive installation has been completed, insert the hard drive tray into the
system horizontally and secure the latch into place.
Connect power cable to your power outlet and SR2.
Depending on the type of computer USB port, select the corresponding USB cable in the
accessory to connect the computer to the USB port on the SR2.
First turn
the main power switch on the back of the product
to “I” to turn the power on,
the power touch switch on the front of the product
will light red, then gently press
the
power touch switch on the front of the product
until the power symbol “ ” turns into a
blue light.
When the LCM display shows the following picture, the power on is complete.
Note: Please avoid using hard disk drives from different manufacturers or different
models from the same manufacturer as this may impact system performance.
※
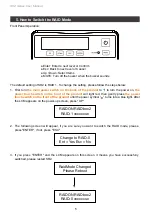
The factory default value of SR2 is RAID 1 mode.
RAIDON RAIDbox2
RAID-1 vxxxxxx.x
Pri HDD : OK
Sec HDD : OK
If you are not using the product for a while, you can put the product into shutdown mode:
first press
the power touch switch on the front of the product
until the power symbol “
” is off; if you want to use the product, gently press
the power touch switch on the front of
the product
until the power is turned on. The symbol “ ” is illuminated.
If the product is not used for a long time, please turn off the product main power switch: first
gently press
the power touch switcth on the front of the product
until the power symbol
“
” is off, then turn
the power main switch on the back of the product
to “ O ” to turn off
the power.
Step 9
Step 10
※
If you are using a USB 3.2 C to A cable, the Type-A on the host side needs to be USB 3.2 Gen2
for best access performance.
Содержание SOHORAID SR2
Страница 1: ...SOHORAID User Manual SR2 Series...
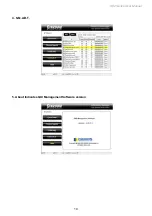
Страница 12: ...SR2 Series User Manual 10 4 S M A R T 5 About Indicates GUI Management Software version...
Страница 26: ...SR2 Series User Manual 24 GUI HDD1 Pri HDD2 Sec 1 GUI SR2 2 GUI Load 10 GUI...
Страница 28: ...SR2 Series User Manual 26 4 S M A R T 5 GUI...
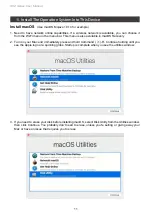
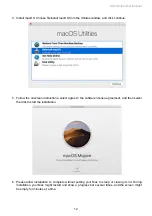
Страница 29: ...SR2 Series User Manual 27 11 macOS 1 Wi Fi macOS 10 14 Mojave 2 Mac Command R Apple 3 macOS Mac...
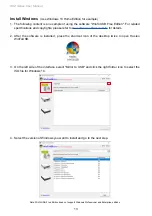
Страница 30: ...SR2 Series User Manual 28 4 macOS macOS 5 6 Mac Mac...
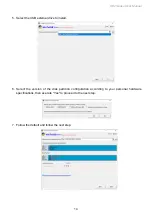
Страница 32: ...SR2 Series User Manual 30 5 USB 6 7...
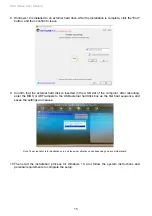
Страница 33: ...SR2 Series User Manual 31 8 Windows 10 9 USB BIOS UEFI USB 10 Windows 10...
Страница 35: ...SR2 Series User Manual 33 http www stardom com tw...


