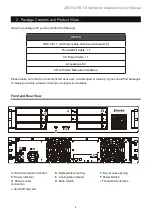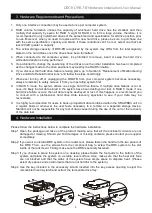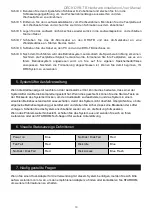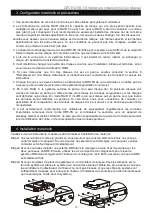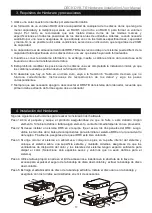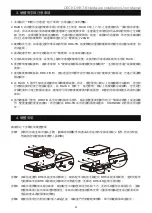
Step 5 Mount your hard drives onto the removable drive tray and secure it with the screws included in the
accessory kit to avoid any damage to the hard drive due to accidental movements.
Step 6 When the hard drive installation has been completed, insert the hard drive tray into the system
horizontally and secure the latch into place.
Step 7 Connect the AC power cable to the DR8-TB, and then plug the AC power to the wall socket. Boot-
up the unit.
Step 8 Connect the cable to the Mac / PC and the DR8-TB port.
Step 9 After booting up, your operating system will automatically recognize the storage setup. After disk
has been successfully recognized, please format your disks as instructed by your operating
system to suit your own storage needs. After formatting is complete, you may begin to use your
DR8 system.
If the alarm indicator has lit up red and the audio alarm sounds, this could mean that either a system fan
has stopped operating entirely. When this occurs, you may press the mute button at the rear of the
system to shut off the audio alarm and power off the system immediately if in the allowed operational
state to let the system cool. Check and see if the overall operation environment is well ventilated and
make sure there are no blockages to the enclosed fan and then re-power on the system to continue use.
If the problem persists, please turn off the system and contact your supplier or the STARDOM tech
support for further assistance.
Power on
Blue
No Disk / Disk Fail
Red
Fan Fail
Red
Disk Idle
Blue
No Disk / Disk Fail
Red
Disk Access
Blue Flash
If you require an host adapter to be used with this system, please log onto www.stardom.com.tw to find
the recommeded adapter or contact STARDOM for more information.
5. System Fan Failure Management
6. Visual Status Indicator Definitions
7. Frequently Asked Questions
DECK DR8-TB Hardware Installation User Manual
6


