


24
Kylos Compact User Guide
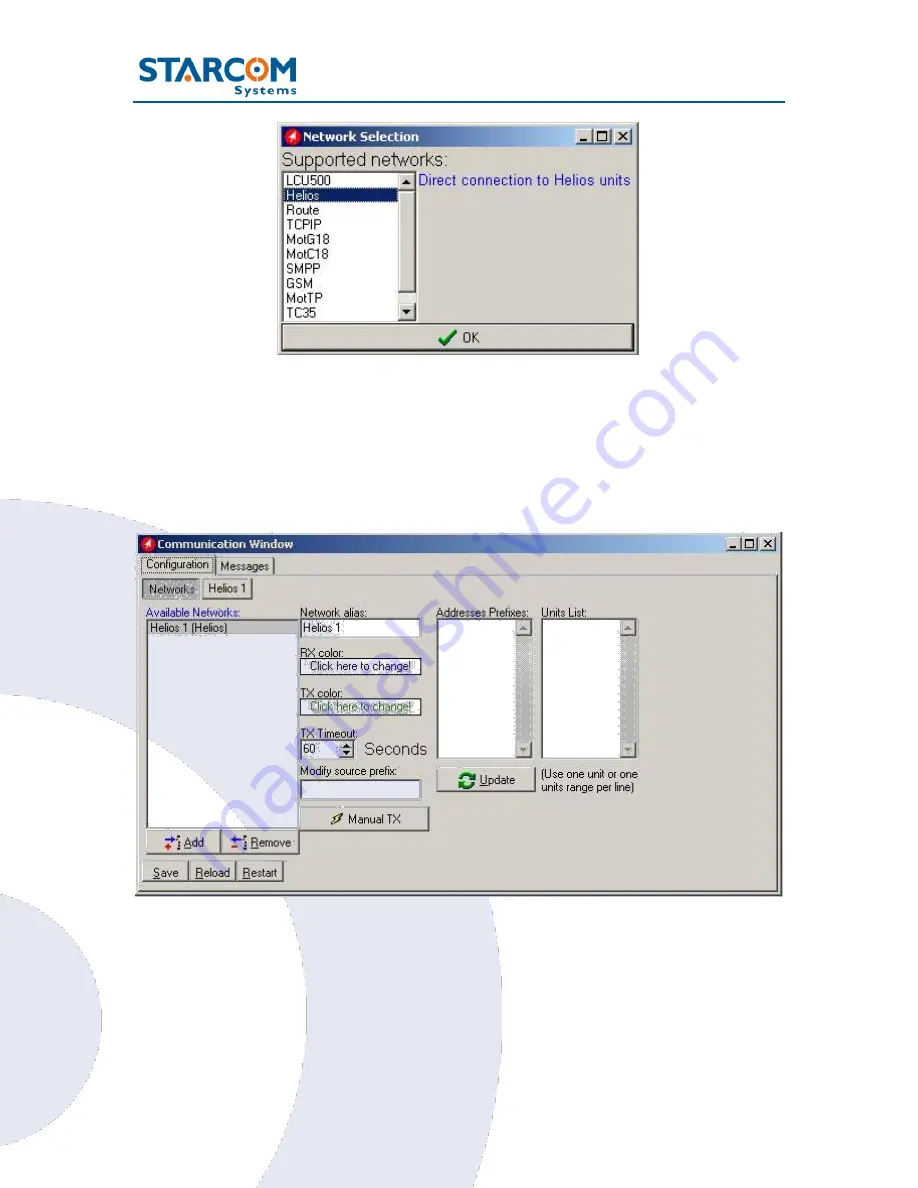
Select
Helios
from the list and press
OK
to add a Helios network.
The Communications Window will now display the new connection in the
Available Networks list, which is named
Helios 1
. (The name "Helios" in this
case of the unit connection to the Installer applies globally to all unit types).
Click on
Helios.1
button to configure and activate the connection.


