– 21 –
4-4. Scanning MICR Characters
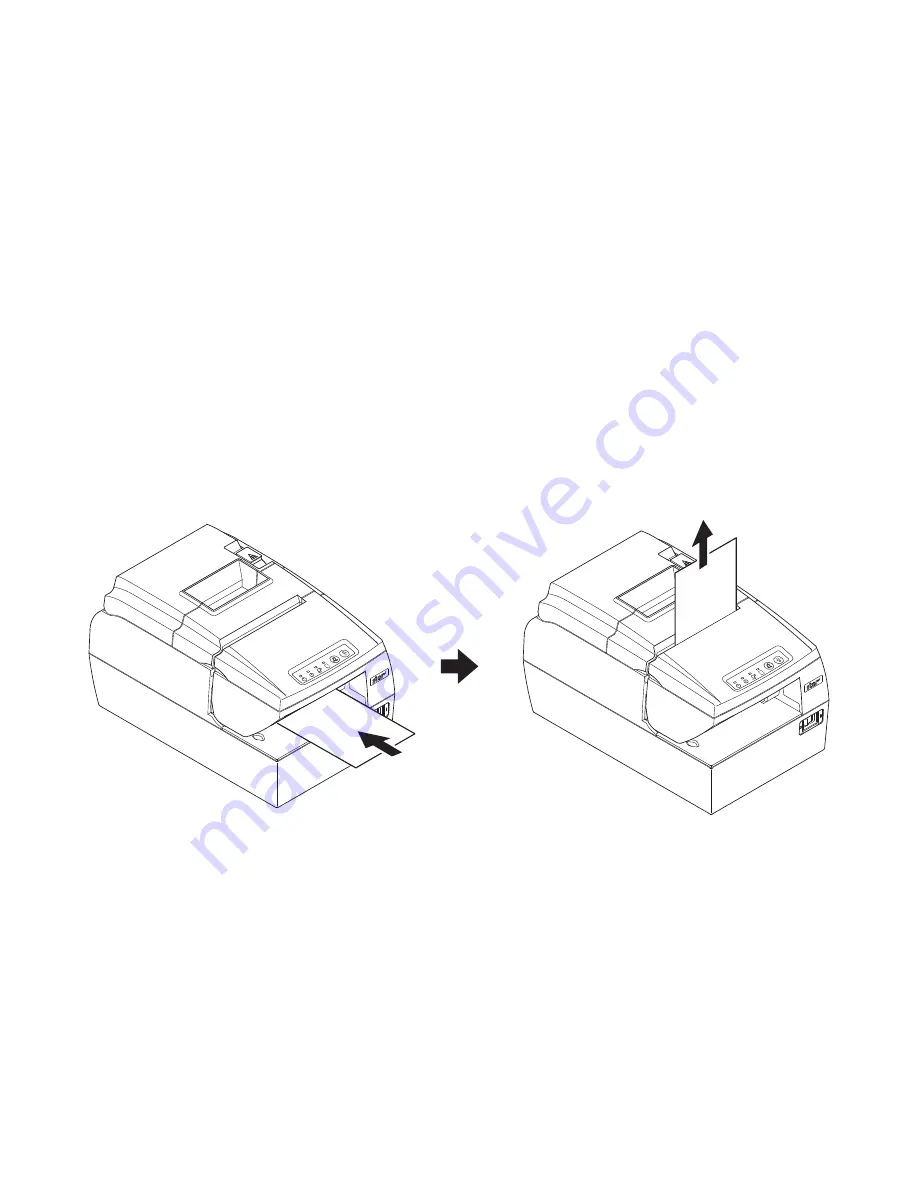
Insert a MICR paper as follows:
(1) Turn the printer power switch ON.
(2) Make sure the ERROR lamp and PAPER OUT lamp are flashing and the SLIP lamp is
ON.
(3) Place the paper with the MICR characters facing down as illustrated below. As you face
the printer, insert the paper straight, while sliding the right end of the MICR paper against
the right end of the slip paper slot.
Note:
Sliding the paper diagonally can cause a paper jam. If the paper gets jammed, press
the RELEASE button to remove the paper. Then, insert the paper again. (See “8-2.
Removing Paper Jam” for details.)
(4) When the MICR paper reaches the scanning position, the ERROR lamp and PAPER OUT
lamp will turn OFF.
(5) After completing scanning, the printer will automatically release the paper.
Note:
Be sure to use a type of paper that matches the printer's specifications. (See “5‑2‑
1. Specifications”.) Do not use paper that is curled, kinked, wrinkled, warped, or
torn.
POW
ER
ERR
OR
PAPE
ROU
T S
LIP
FEE
D
REL
EAS
E
POW
ER
ERR
OR
PAPE
ROU
T S
LIP
FEE
D
REL
EAS
E


