137
Adjusting the dot alignment
You may never have to use the procedure described in this section, but after you have
been using your printer for some time you may find that the dots of some graphics
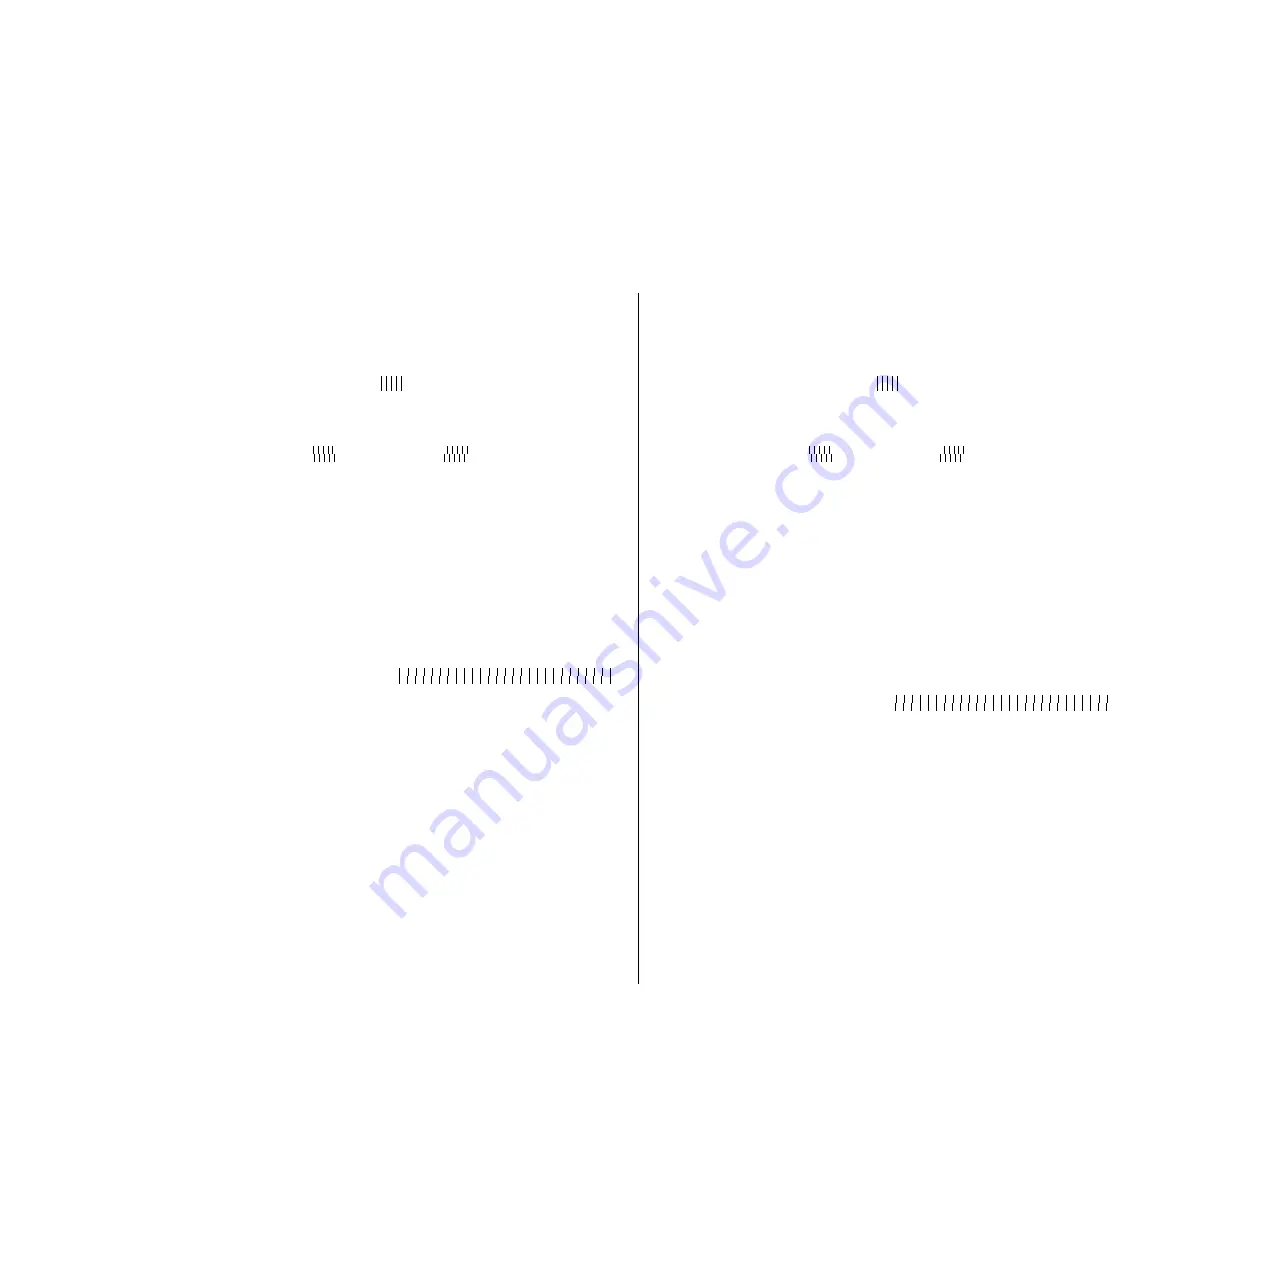
do not align correctly. For example, what should look like:
may come out looking like one of the following:
This is caused when mechanical parts of the printer get out of alignment. This
happens only rarely and you may never experience it at all throughout the life of the
printer. If you do have problems, use the following procedure to correct it.
❏
Make sure that paper is loaded in the printer.
❏
Turn off the printer.
❏
While holding down the control panel’s
FORM FEED
and
ON LINE
buttons,
turn the printer back on to enter the Dot Adjustment Mode.
The printer will print something like the following.
Note that the printer will feed the paper forward and back each time during this
operation so you can view the printout.
❏
If the three lines do not align properly, use
FONT
to move the middle line to the
left or
PITCH
to move it to the right.
The above step performs alignment for Normal-density mode only. You must
make separate adjustments for the HS-DRAFT (LC-4521 only), CRT graphics
mode I, DRAFT Text, DRAFT Graphics, Double-density, CRT graphics mode II
Triple-density, Quadruple-density, LQ Text and LQ Graphics modes as well.
❏
Press
SET/EJECT/PARK
to change to another printing mode.
❏
Repeat the above steps for each printing mode, if necessary.
❏
After making changes to adjustments in all the printing modes you want, press
ON LINE
to exit the Dot Adjustment Mode and register your adjustments.
or like this
***
DOT ADJUSTMENT SETTING
***
Normal-density
0:
Réglage de l’alignement des points
La procédure suivante est rarement utilisée, cependant, après une certaine période
d’utilisation, les points risquent de ne plus être parfaitement alignés sur certains
graphiques. Par exemple, le graphique suivant:
peut apparaître de la manière suivante:
Ce problème provient d’un décalage des pièces mécaniques. Cela se produit très
rarement et vous n’aurez probablement jamais ce problème pendant toute la durée
d’utilisation de l’imprimante. Toutefois, au cas où ce problème se présenterait,
effectuez les démarches suivantes pour y remédier.
❏
Assurez-vous qu’il y a du papier dans l’imprimante.
❏
Eteignez l’imprimante.
❏
Tout en tenant enfoncée les touches
FORM FEED
et
ON LINE
du panneau de
commande, rallumez l’imprimante pour passer en mode de réglage de
l’alignement des points.
L’imprimante imprimera du texte graphique du genre suivant:
Il faut noter que l’imprimante fera avancer et reculer le papier chaque fois
pendant cette opération de manière que vous puissiez voir l’impression.
❏
Si les trois lignes ne sont pas alignées correctement, utilisez la touche
FONT
pour déplacer la ligne centrale vers la gauche ou la touche
PITCH
pour la
déplacer vers la droite.
Ces démarches règlent l’alignement des points en mode d’impression
NORMAL-DENSITY. Vous devez effectuer des réglages séparés pour les modes
HS-DRAFT (LC-4521), CRT GRAPHICS MODE I, DRAFT TEXT, DRAFT
GRAPHICS, DOUBLE-DENSITY, CRT GRAPHICS MODE II. TRIPLE-
DENSITY, QUADRUPLE-DENSITY, LQ TEXT et LQ GRAPHICS.
❏
Appuyez sur
SET/EJECT/PARK
pour passer à un autre mode d’impression.
❏
Recommencez les instructions ci-dessus pour chaque mode d’impression, le cas
échéant.
❏
Après avoir effectué des réglages dans tous les modes d’impression désirés,
appuyez sur
ON LINE
pour sortir du mode de réglage de l’alignement des
points et mettre en mémoire les réglages effectués.
ou ainsi
***
DOT ADJUSTMENT SETTING
***
Normal-density
0:
Содержание LC-4511
Страница 181: ...170 ...


