12
INTELLIPRO
®
2 VST Variable Speed Pump Installation and User’s Guide
Pump Menu: Speeds 1-8
SPEED 1-8
MENU
12:15p
Set Speed
Schedule
Note:
The pump will not run the scheduled speeds until the
Start/Stop
button is pressed (LED on) to place the pump in
Schedule mode.
Note:
When two speeds are scheduled during the
same run time the pump will run the higher RPM Speed
regardless of Speed # in use.
Note:
The most recent command, Manual or Schedule,
takes priority regardless of speed number RPM.
Set Speeds 1-8 in Schedule Mode
(cont.)
Programming Schedule for Constant Run
A speed cannot be programmed with the same start
and stop times. To run a speed without stopping, set
the Start time one minute after the stop time.
Example:
A single speed will run non stop if programmed
with a Start Time of 8:00 AM and a Stop time of 7:59 AM.
12:15p
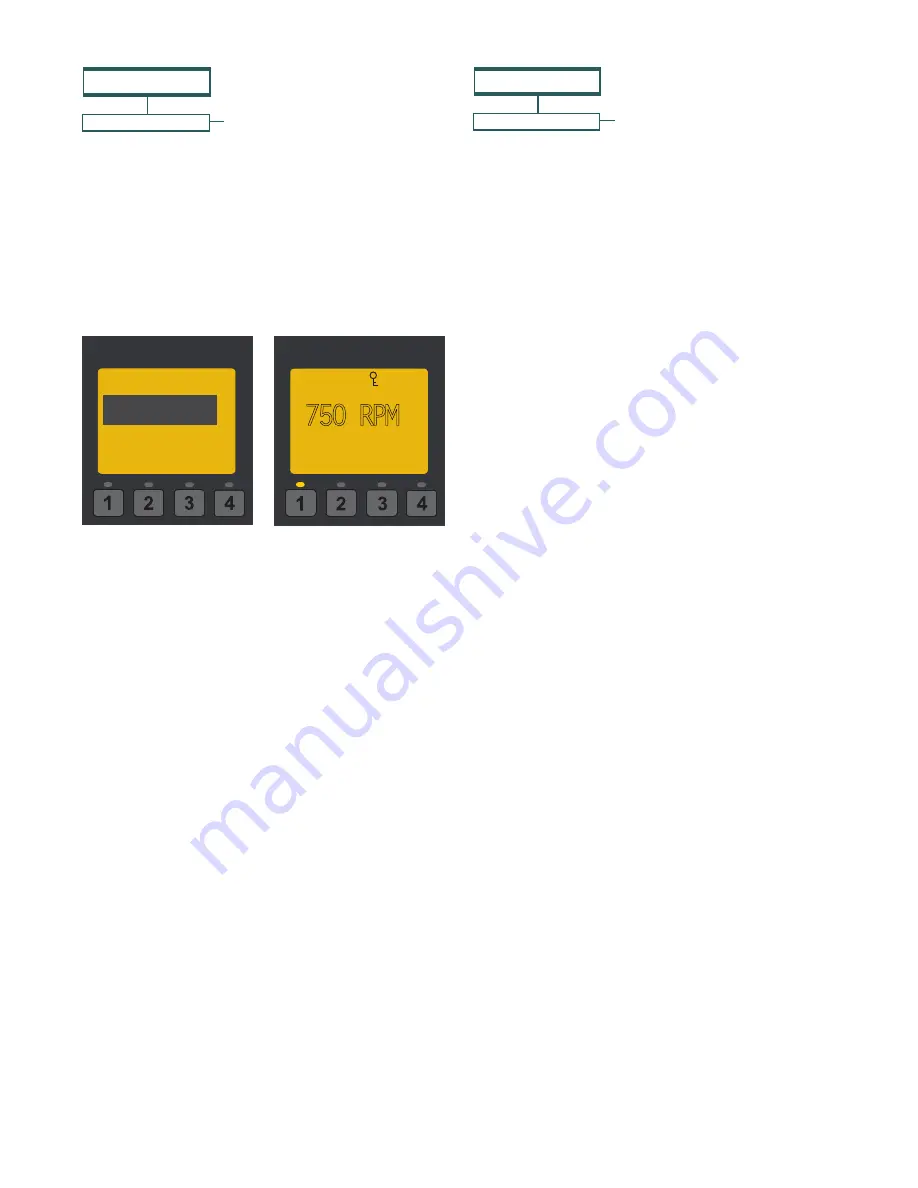
750 RPM
T 1:05 150 WATTS
Running Speed 1
EXT CONTROL
MENU
Pump Menu: External
Control
External Control
This function is for programming speeds that will run
when the IntelliComm
®
Communication Center sends
it a command. For example, Terminal 3 and 4 in the
IntelliComm system will correspond to External Control
Program #1. (5 and 6 to Ext Ctrl #2).
The Stop Delay feature allows the user to program the
pump to run a Program Speed after the External Control
has been deactivated. This feature can be used to provide
a cooling down period for the pump after a trigger signal
from an installed heater has been deactivated. Each
individual Program Speed can have a Stop Delay of 1
to 10 minutes programmed.
Use the External Control feature to program the
IntelliComm system power center.
To access the External Control menu:
1. Check that the green power LED is on.
2. Press
the
Menu
button.
3. Use
Up
or
Down
arrow to scroll to “Ext. Ctrl.”.
4. Press
Select
. “Program 1” is displayed.
5. Press
Select
. “750 RPM’ is displayed.
6. Press
Select
. The “RPM” number will highlight.
7. Press
Up
or
Down
arrow to change the RPM
setting.
8. Press
Save
to save the setting.
Note:
To cancel any changes, press the
Back
button to exit without saving.
9. If you do not wish to program a Stop Delay,
continue to step 13. If you do wish to program a
Stop delay press
Up
or
Down
arrow to scroll to
“Stop Delay”.
10. Press
Select
to set Stop Delay.
11. Press
Up
or
Down
arrows to change the Stop
Delay setting. Stop Delay can be set from 0
minutes (disabled) to 10 minutes.
12. Press
Save
to save the setting.
Note:
To cancel any changes, press the
Back
button to exit without saving.
13. Press
Back
to return to set Program 2.
14. Use
Up
or
Down
arrow to scroll to “Program 2”.
15. Repeat Steps 5 through 13 to set Program 2, 3,
and 4.


