background image

Hidden Settings

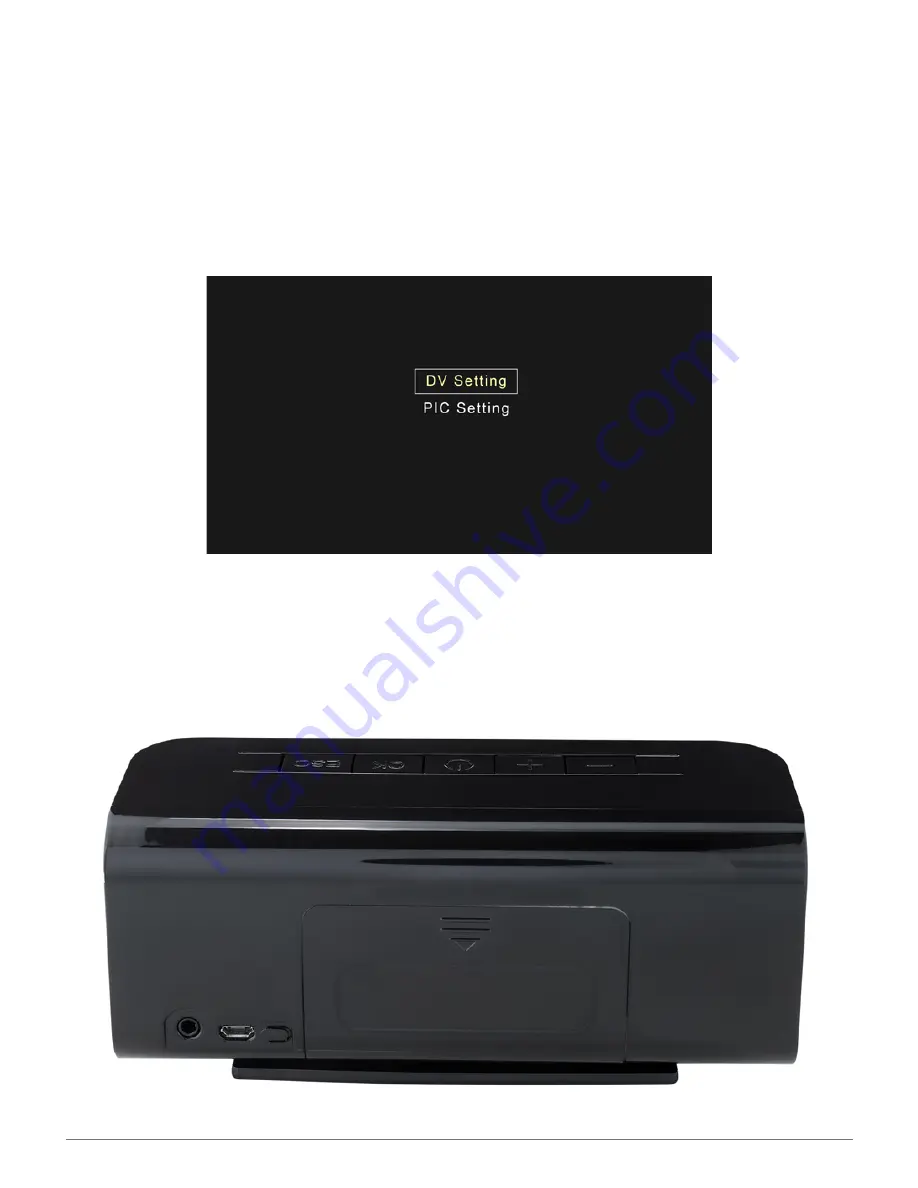
To access the Hidden Settings menu from the digital clock, press the ESC button 
until the icons screen appears. Do not navigate to the Setting icon shown here. (It 
contains settings meant for playing your entertainment media.) Instead, press the + 
and - buttons together. Four icons appear.  Use the + or - button to navigate to the 
Settings icon. Press OK. You’ll have a choice of DV or PIC. The first set of options 
cover video recording; the second, taking still pictures.

SPYTEC Aetos 400 Clock Cam USER GUIDE

6

The Aetos 400 ships with certain defaults in place. You can change them according to 
your preference. The first setting in the following list of adjustable features represents 
the default setting. As you work your way through these features, press + to go to the 
next row of settings or ESC to back out of the Hidden Settings menu.

Содержание AETOS 400

Страница 1: ...video files on the 400 s own display or transfer them from the microSD card not included to your computer Video recording can be triggered automatically by motion The Clock Cam can be deployed on a tabletop or carried with you You can use it for portable entertainment by copying videos music and photos from your computer and playing them through the 400 s screen and robust speakers or by plugging ...

Страница 2: ...rt a 32GB or less card with the eight gold con tacts pointed toward the interior of the battery chamber Make sure the memory card snaps into place Return the battery to the chamber so that the more exposed tip is pressed against the spring and slide the cover back into place Connect the smaller end of the USB cable to the port on the back of the radio and the larger end to the AC adapter Plug the ...

Страница 3: ... again and a blue box will be superimposed over the time revealing fields for Date Mode and Time Press the OK button to navigate serially through the fields To increase or decrease a highlighted digit use the or buttons With the correct digit showing press OK to navigate to the next field Note The date must be entered in the year month day format The Mode can be set for a 12 or 24 hour format If t...

Страница 4: ...con will gradually decrease from five to one Operating the Camera The camera lens is located in the upper left corner of the front panel between the display and left speaker Make sure its view is not obscured when the camera is positioned for use Video Recording To start recording from the digital clock display press the ESC button atop the unit With the menu of icons showing press and hold the an...

Страница 5: ... seconds as a shortcut to start or stop video recording works from the following screens the date clock display the main entertainment menu and the home screen of the secret menu If you want to check the live view while recording as the date clock is displayed press and hold the vol and buttons for 3 seconds The live view will appear for 10 seconds then revert to the clock You can hasten the clock...

Страница 6: ...navigate to the Settings icon Press OK You ll have a choice of DV or PIC The first set of options cover video recording the second taking still pictures SPYTEC Aetos 400 Clock Cam USER GUIDE 6 The Aetos 400 ships with certain defaults in place You can change them according to your preference The first setting in the following list of adjustable features represents the default setting As you work y...

Страница 7: ...ntil you transfer files to a computer Frame Rate 30 fps 10 fps The camera normally captures 30 frames per second which is full mo tion However you can set it to a less smooth 10 fps in order to conserve memory and get through a scene during playback more quickly Time Stamp On Off You ll normally see the date and a running clock superimposed in the upper left corner of videos captured by the camera...

Страница 8: ...night vision The camera s default is to automatically use IR light as need ed in the absence of adequate ambient lighting However you can switch the setting so that the IR light is always on or always off Keeping if off may save battery power but guarantees a dark or impossible to see video under poorly lit conditions Voice On Off The camera normally records audio along with the video For legal or...

Страница 9: ...les Alternatively they can be saved at higher quality 2MP files Time Stamp On Off As with video see Time Stamp above you can turn off the Time Stamp so that it s not superimposed on the picture IR Light Auto On Off As with video see IR Light above infrared lighting normally comes on automatically as needed But you can set it to always on or always off ...

Страница 10: ...sing the or button Characters in the file name will crawl when the file is highlighted Simultaneously the file size time and date of each recording or image is displayed below a film reel or snapshot image on the left side of the screen With a file highlighted press OK to begin playing the video or showing the image Video files will play nonstop one after another photos will play as a continuous s...

Страница 11: ...USB device is connecting After a few seconds the device should show up as a removable drive on your computer screen Use your computer s file directory to explore files created by the Aetos 400 s camera and saved to its memory card You can use your computer to play files directly from the unit copy videos and photos to your computer and delete unneeded files on the card To play files on your comput...

Страница 12: ...e to the other presets Volume Control While playing music listening to the radio or watching a video long press the OK button A volume slider will appear You can now use the or buttons to adjust the volume When satisfied press the ESC or OK button Note If you inadvertently short press OK while the radio is playing the radio will rescan the airwaves for stations You ll have to wait for the process ...

Страница 13: ... frame So as not to mix surveillance photos taken by the built in camera with family headshots transfer your photos to a separate folder Since the camera saves files to the DCIM folder you may want to transfer your photos to the CARDV folder The card can either be removed from the Clock Cam placed in an adapter and inserted in an SD slot or left in the clock radio while connected to a computer via...

Страница 14: ... distance Up to about 26 2 8 m Battery type Rechargeable 1500mAHx2 18650 Li ion Recording time 6 to 7 hours via batteries night vision off Power adapter Input 100 240 VAC 50 60Hz Output 5V 2 0A with USB out Working operating temperature range 14 to 140 F 10 to 60 C File format MOV Ports Micro USB 2 0 headphone output Included USB cable length 48 122 cm Card slot MicroSD Memory capacity Up to 32GB ...

Страница 15: ... of sale of the device from STI or from approved resellers only Devices that are covered will be repaired or replaced at STI s discretion Devices requiring replacement will be fulfilled with a new or refurbished unit or a similar unit if the original unit is no longer available To take advantage of our warranty please go to http www spytecinc com return policy and review our returns policy If your...

Отзывы: