6
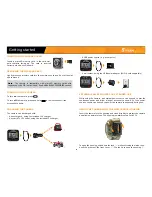
INSERTING THE MICROSD CARD
Insert a microSD memory card in the card slot,
gold contacts facing up. The card is inserted
correctly when a click is heard.
REMOVING THE MICROSD CARD
Lightly press the memory card into the camera once to pop it out of the slot
and remove it.
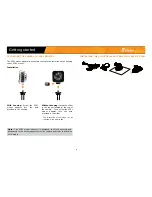
TURNING ON THE CAMERA
To turn
on
the camera, press
.
To turn
off
the camera, press and hold
a few seconds until the
screen shuts down.
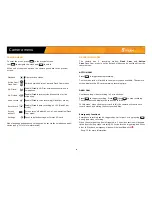
CHARGING THE CAMERA
The camera can be charged with:
1.
A booster pack, using the included 12V charger
2.
Any car/ATV 12V outlet, using the included 12V charger
3.
A USB power source (e.g. a computer)
4.
A wall socket, using the USB power adaptor (XHD-A sold separately)
EXTERNAL POWER SOURCE FOR EXTENDED USE
While using the camera, an external power source can be used to provide
continuous power and allow a longer autonomy period. All of the power
sources shown can be used to power the camera continuously during use.
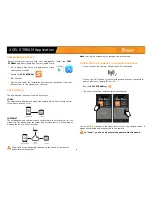
USING THE CAMERA WITH THE WATERPROOF HOUSING
Insert the camera into the housing and close it tightly to protect the camera
and allow underwater use. The housing is waterproof up to 160 ft.
To open the housing, slide down the lock
(1)
while switching the latch to un-
hook the groove of the front cover
(2)
. Flip the lid to open the housing
(3)
.
Note
: The camera is compatible with microSD memory cards with
capacity up to 64 GB (not included). See AVAILABLE ACCESSORIES section.
1
2
3
Getting started
1
2


