7
3.3 How to connect Your
SPYPEN Designer
For the fastest and easiest installation of the
SPYPEN Designer
, we recommend NOT TO
CONNECT YOUR USB UNTIL YOU HAVE INSTALLED
THE
Art Pad II Driver
SOFTWARE.
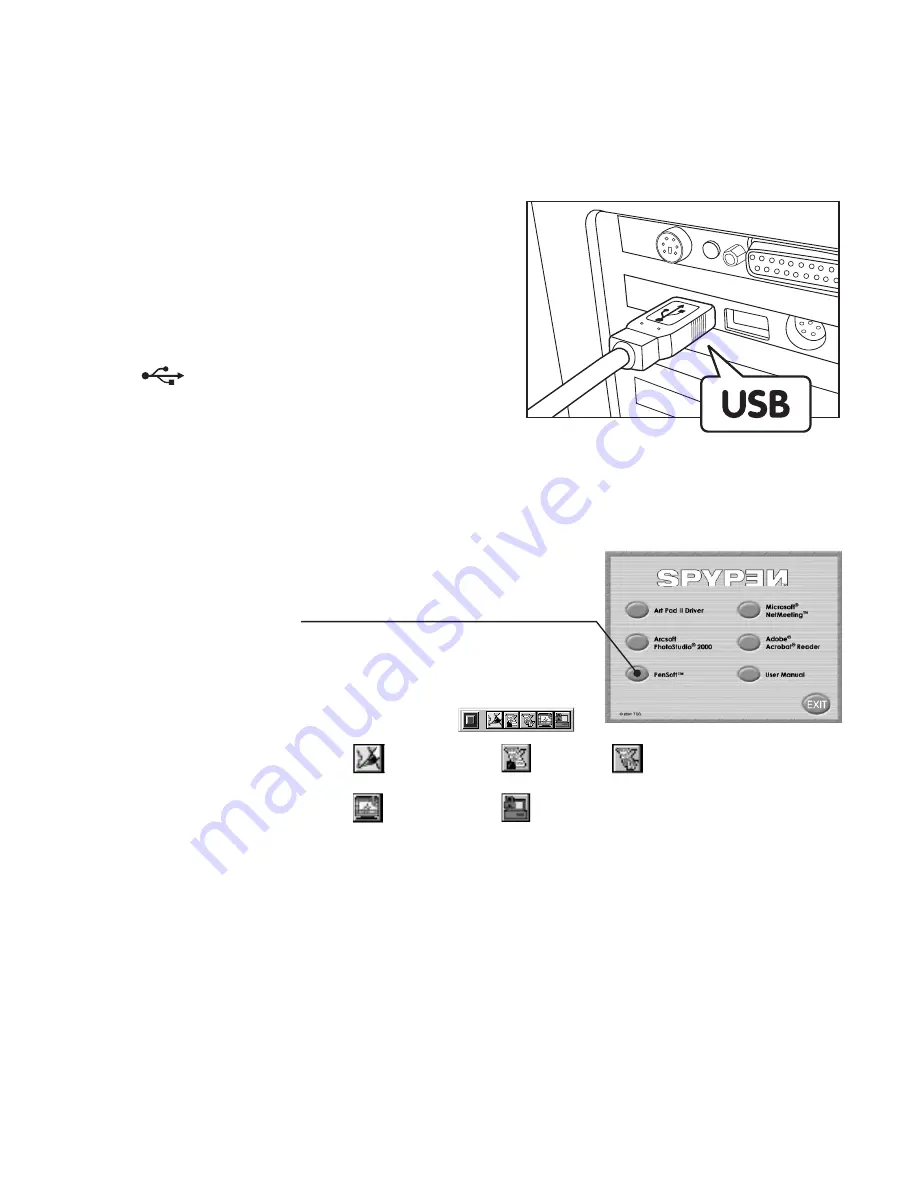
Simply plug in the USB cable to the USB port on
your PC or Notebook device.
The USB port can be found on the front or back
panel of your PC or Notebook device. Look for this
symbol
next to the USB connection port.
(Also see your PC operating manual for the
location of your USB connection port.)
3.4 How to install PenSoft
PenSoft provides tools to add “Inks” (geometrical shapes, handwriting, signatures) to
documents. This is useful if you want to make a document (e.g. an e-mail) more personal,
authentic, expressive, as well as impressive.
1. Insert the CD-ROM disk into the CD-ROM drive and close
the CD-ROM drawer.
2. An installation wizard will automatically launch.
3. Click “
PEN SOFT
” icon.
4. Follow the instructions presented on the screen to complete
the installation.
5. If you need further help on using Pen Soft, simply double
click the le “Document” under the Pen Soft folder.
6. If installation is succesful, the following icon
will appear on the desktop.
Pen Lock
Sign
Word 97
Annotation
Screen Saver
Handwriting
Recognition
3.5 How to use PenSoft
Handwriting easy set up instructions
Turn your handwriting, signatures and geometrical shapes into e-mail and word processed
documents by using your own handwriting that is cleverly recognised and turned into typed
text. Some patience is initially required when programming in your own handwriting style.
Letters are automatically kept in the “Learn” window, ensure the toolbar is set to the mouse/
pen icon. Access the learn window by pressing the 3rd from left icon on the toolbar. Your
letters are kept here, over type into the box below named “Input text here” Select the “insert”
key to record the letter.


