6
3.2 How to install the
Art Pad II Driv
er
Note:
We recommend
NOT TO CONNECT YOUR USB
SPYPEN Designer
UNTIL YOU HAVE INSTALLED THE
Art Pad II Driv
er SOFTWARE
. Ensure you have inserted your batteries in both the cordless pen and mouse
before
SPYPEN Designer
installation. (see Section 3.1 for battery installation)
3.2.1 Installing your
Art Pad II Driv
er
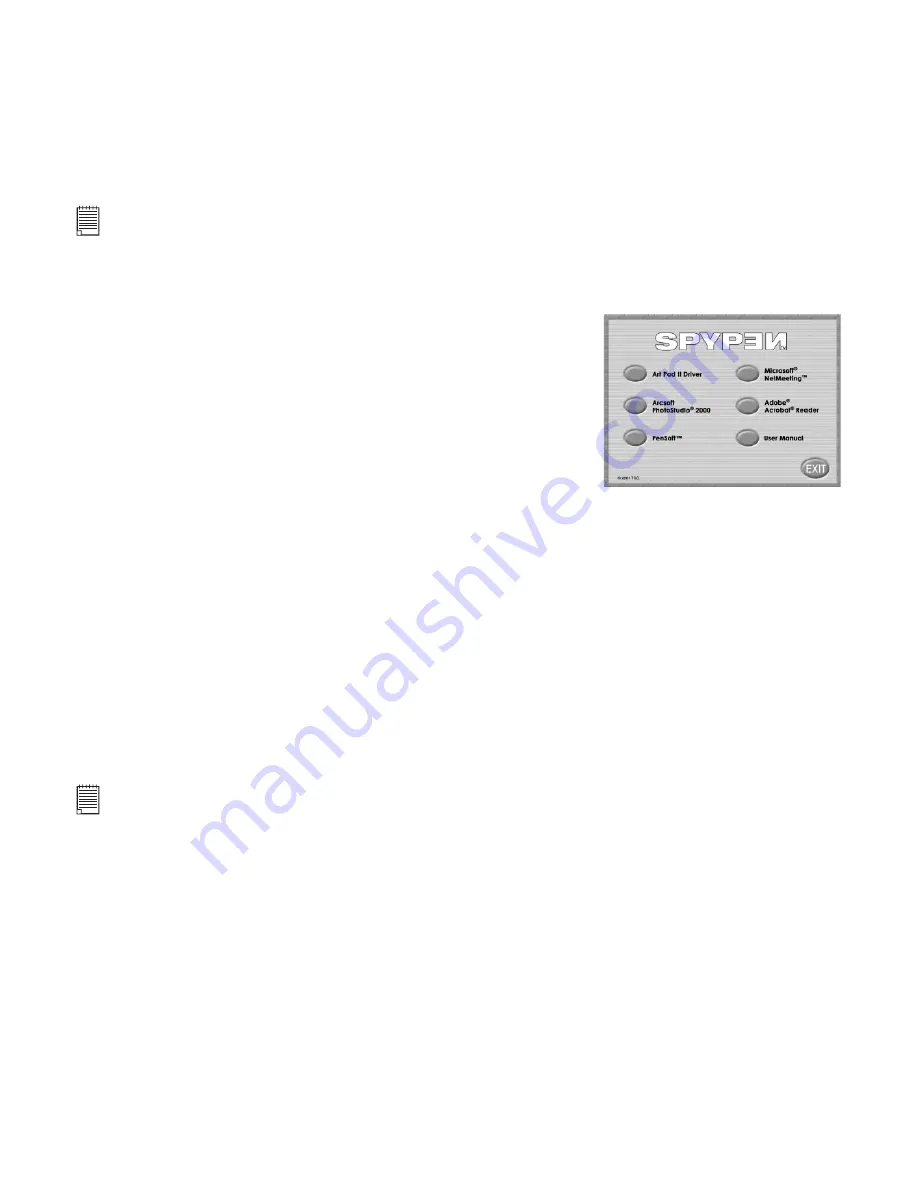
1. Insert the CD-ROM disk into the CD-ROM drive and close
the CD ROM drawer.
2. An installation wizard will automatically launch.
3. Click “
Art Pad II Driver
” icon.
4. Follow the instructions presented on the screen to complete
the installation.
5. The
Art Pad II Driver
les will begin to install to the
proper location.
6. Installation will prompt you to plug in your USB tablet.
Connect your
SPYPEN Designer
’s USB connector into an
available USB port on your computer. (See Section 3.3)
7. Microsoft® Windows® will detect your newly installed
SPYPEN Designer
and will proceed
with the nal steps of the installation.
8. You need to restart your computer to complete the installation.
9. Then connect your
SPYPEN Designer
to your computer please refer to section 3.3.
10. The Green LED on the
SPYPEN Designer
surface will ash to denote that
the surface is active when used with the pen and mouse.
Tips!
Leaving the mouse on the
SPYPEN Designer
will slow down the access of other les and
programs or starting your computer.
3.2.2 To Uninstall the
Art Pad II Driver
1. Go to Start -> Programs->
SPYPEN Designer
-> Uninstall -> Ok
2. Follow the on screen instructions.
Note:
If the setup screen doesn’t appear after loading the CD, then you can manually start it by double-clicking
the “My Computer” icon on your desktop, then double-clicking the icon for the CD-ROM drive. When the
CD-ROM window opens, double-click the “Autorun” icon.


