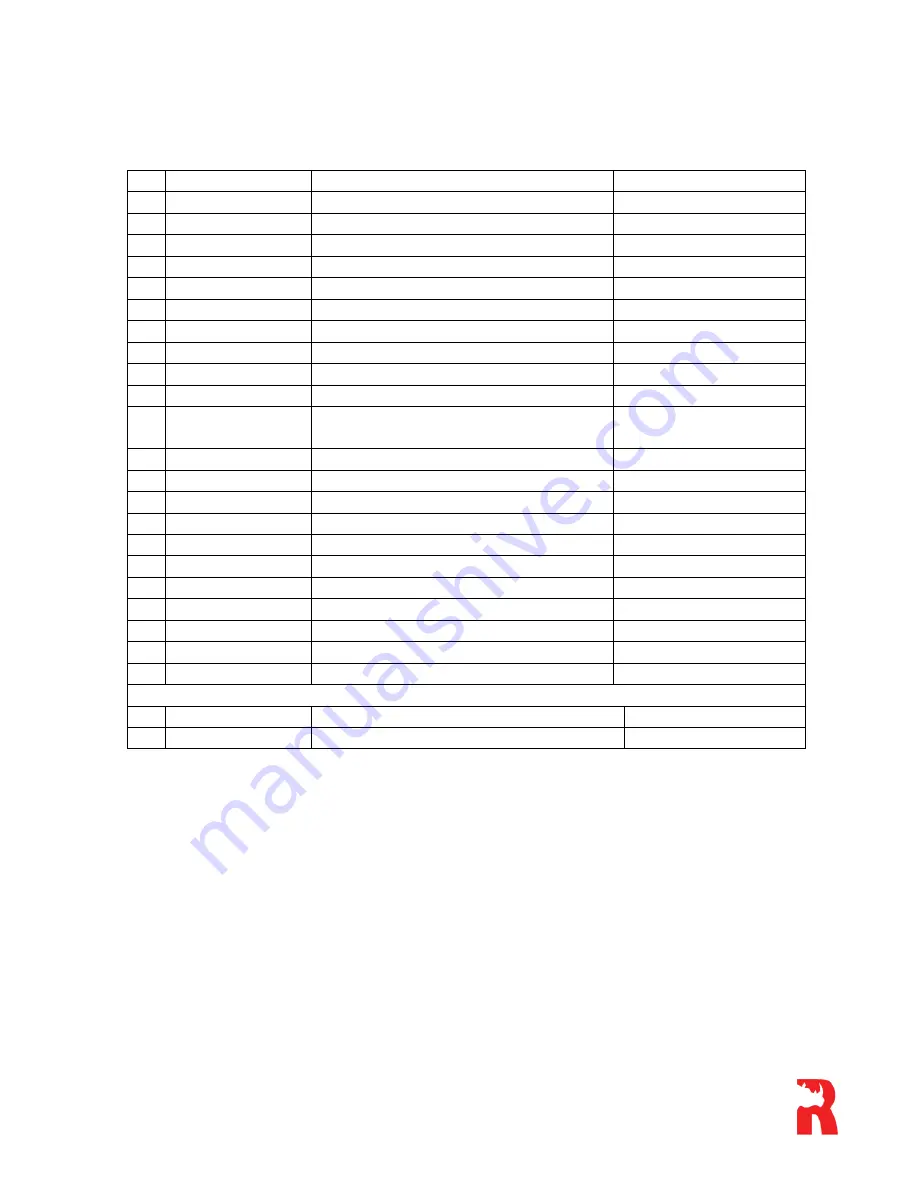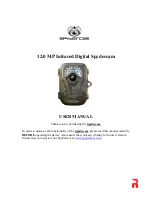
With the Spydercam is in
Test
mode, press the
Menu
key to access the various setting
options.
No Category
Sub Categories
Recommended Setting
1
Camera Mode
Camera/Video/Playback
Camera
2
Digital Zoom
1X/2X/3X/4X
1X
3
Image Size
12MP/8MP/5MP
12MP
4
Capture Number
1/2/3
1
5
Video Size
720X480/ 640 X480/QVGA 320X240
720 X 480
6
Video Lengths
5 to 60 Seconds
5 Seconds
7
Audio Recording
Yes/No
Yes
8
Interval
00 Seconds to 60 Minutes
0 Seconds
9
Video Frames
15/30 Frames per Second
30 Frames per Sec
10 Time Stamp
ON/OFF
ON
11 Set Clock
Month/Day/Year
Hour/Minute/Second
01/12/2010 – 12:01:01
12 Sensor Level
High/Normal/Low
Normal
13 IR LED
ON/OFF
ON
14 Format
YES/NO
NO
15 TV Out
NTSC/PAL
NTSC
16 Language
English
English
17 Timer Setting
YES/NO
NO
18 Default Set
YES/NO
NO
19 GPRS Mode
ON/OFF
OFF
20 GPRS Setting
URL/APN/IP/Port
NO
21 Send To
Phone/E-Mail
Phone
22 Frequency
50/60Hz
50Hz
OTHER NON-ADJUSTABLE SETTINGS
File System
FAT 12 and FAT 16
FAT 16
File Format
Pictures saved as .jpg or .asf
\DCIM
1.
CAMERA MODE
This category has three sub settings, ie ―
Camera
‖, ―
Video
‖ and ―
Playback
‖. The first
two can be used to switch between the
Camera
and
Video
options. The third one is used
to view pictures/videos previously taken.
Apart from switching between the
Camera
and
Video
mode as per above there is also
shortcut option available. To utilize this you only need to press the
Up/Down
key when
the
Spydercam
is still in the
Test
mode. This will allow you to switch between
Camera
and
Video
.
When the
Playback
sub-category has been selected, you can navigate between images by
using the
Left/Right
keys. In order to zoom in/out, you can use the
Up/Down
keys. In
order to return to the original image, once zoomed in, depress the
OK
button.


