50
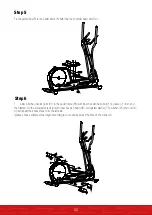
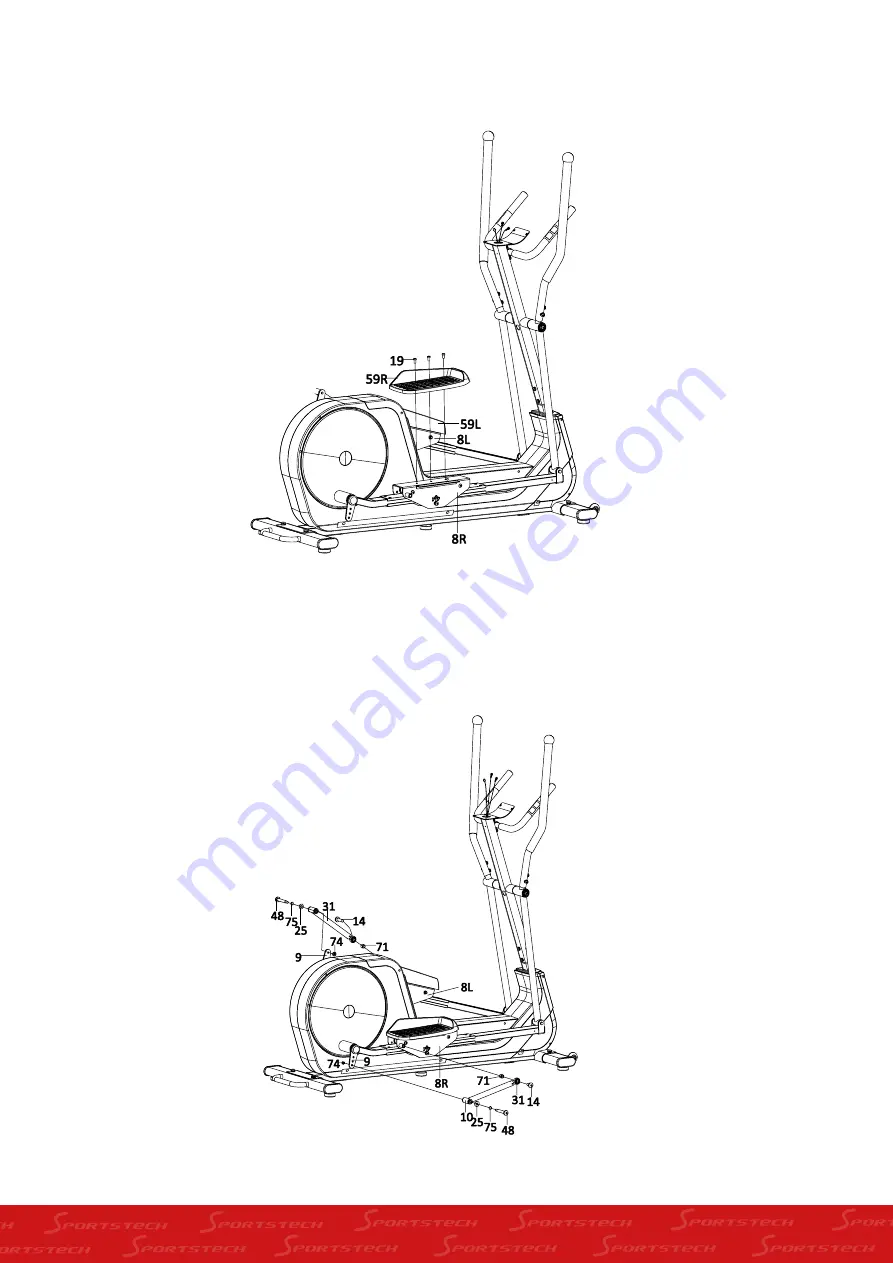
Step 5
Fix the pedal (59L/R) to the pedal frame (8) with inner hex cylinder head bolt (19).
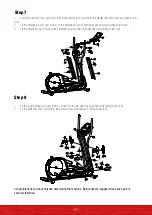
Step 6
1. please fix the universal joint (31) to the pedal frame (8R) with inner hex pan head bolt (14), sleeve (71) first, and
then fasten it to the adjustable crank (9) with inner hex pan head (48), corrugated washer (75), washer (25) and nut (74).
At last repeat the above steps to fix the left side.
(please choose suitable stride length according to your need by adjust the hole on the crank (9))
Содержание LCX800
Страница 1: ...DE EN ES FR IT LCX800 Crosstrainer ...
Страница 2: ...BENUTZERHANDBUCH DEUTSCH ...
Страница 7: ...7 LIEFERUMFANG ...
Страница 9: ...9 NR Beschreibung Stückzahl 75 Wellscheibe D12 2 76 Mutter M6 4 77 Schraubbolzen 2 78 Gummiring 1 ...
Страница 10: ...10 EXPLOSIONSZEICHNUNG ...
Страница 39: ...USER MANUAL ENGLISH ...
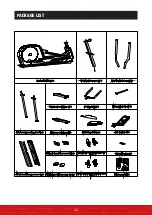
Страница 44: ...44 PACKAGE LIST ...
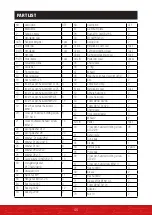
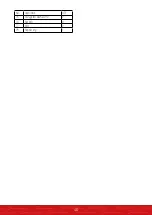
Страница 46: ...46 NO description QTY 75 Corrugated washer D12 2 76 Nut M6 4 77 Bolt 2 78 Rubber ring 1 ...
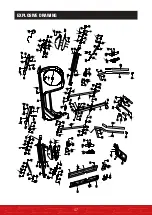
Страница 47: ...47 EXPLOSIVE DRAWING ...
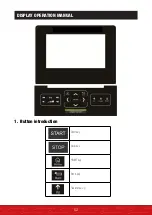
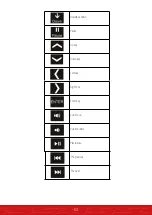
Страница 52: ...52 DISPLAY OPERATION MANUAL 1 Button introduction Start key Stop key HOME key Back key Resistance up ...
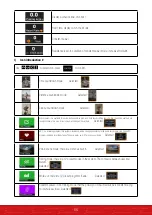
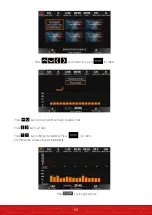
Страница 66: ...66 Press to set data press to select different items Warm up 2min HRC process Cool down ...
Страница 76: ...MANUAL DE USUARIO ESPAÑOL ...
Страница 81: ...81 LISTA DE PAQUETES ...
Страница 84: ...84 DIBUJOS DE LA PIEZAS ...
Страница 113: ...MANUEL FRANÇAIS ...
Страница 121: ...121 VUE EN ÉCLATÉ ...
Страница 126: ...126 MANUEL D UTILISATION DE L INTERFACE 1 Liste des boutons Allumer Éteindre Accueil Retour Augmenter la résistance ...
Страница 150: ...MANUALE D USO ITALIANO ...
Страница 155: ...155 CONTENUTO DELLA CONSEGNA ...
Страница 158: ...158 ESPLOSO ...
Страница 163: ...163 UTILIZZIO DEL DISPLAY 1 Panoramica comandi Avvia Arresta HOME Indietro Aumenta resistenza ...

