Copyright 2020. Speech Recognition Solutions, LLC.
Foot
Pedal
Jack
Boom
Length
Speaker
USB Ports
Card Reader
3-in-1
No
16”
No
None
No
6-in-1
Yes
21”
Yes
1
No
9-in-1
Yes
21-
26”
Yes
2
Yes
Windows Set-up
1.
Carefully insert the gooseneck boom into the female mini-XLR connector of the base
unit.
2.
Optionally cover the microphone element with the windscreen provided to avoid
unwanted speech degradation, and to offer it an additional layer of protection from
dust and saliva.
3.
Plug the specially insulated USB cable to the USB ports of the microphone and the
computer. Ideally, connect the cable to a
DEDICATED
USB port on the computer.
DO
NOT USE
any other USB cable or a multiple USB Splitter or USB Hub device to connect
to the computer. The Indicator Light (LED) of the base unit will light up in
Red
. If the unit
does not initialize - check that the USB connectors are properly inserted at both ends.
4.
Wait a few seconds for
Windows
® to
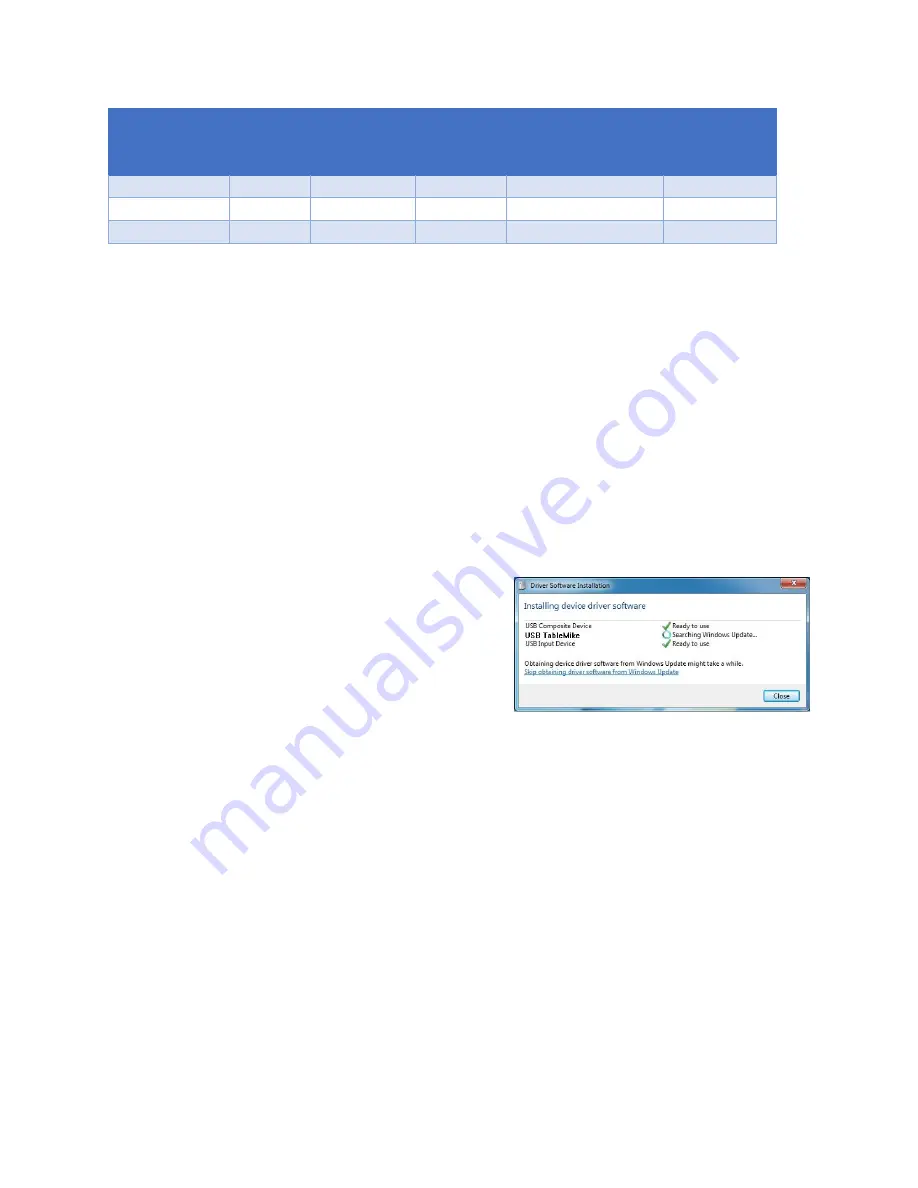
automatically install the corresponding USB
sound drivers. You may or may not see the
dialog box shown below depending on the
nature of your operating system.
5.
After completion of the installation,
Windows®
will select the
'USB TableMike'
as the Recording and the Playback Device,
and will make it the default for
ALL
applications.
6.
To double check that your device is properly installed, it is recommended that you open
the Sound control panel (Control Panel > Sound) and sequentially select the Playback
and Recording tabs.
a.
If your device is a 3-in-1 TableMike, you do not have an integrated speaker. If
this device is selected as the default playback device, you will hear sound only if
you plug in a speaker, headset or earbud into the headphone jack on the back of
the 3-in-1 base. Both the 6-in-1 and 9-in-1 have an integrated speaker through
which sound will play. If you desire that sound play back through another
device, select this from the Playback tab by right-clicking on the device you want
to choose and selected “set as default device”


