11
10
Spectrum
Spectrum
7.4. Start Up
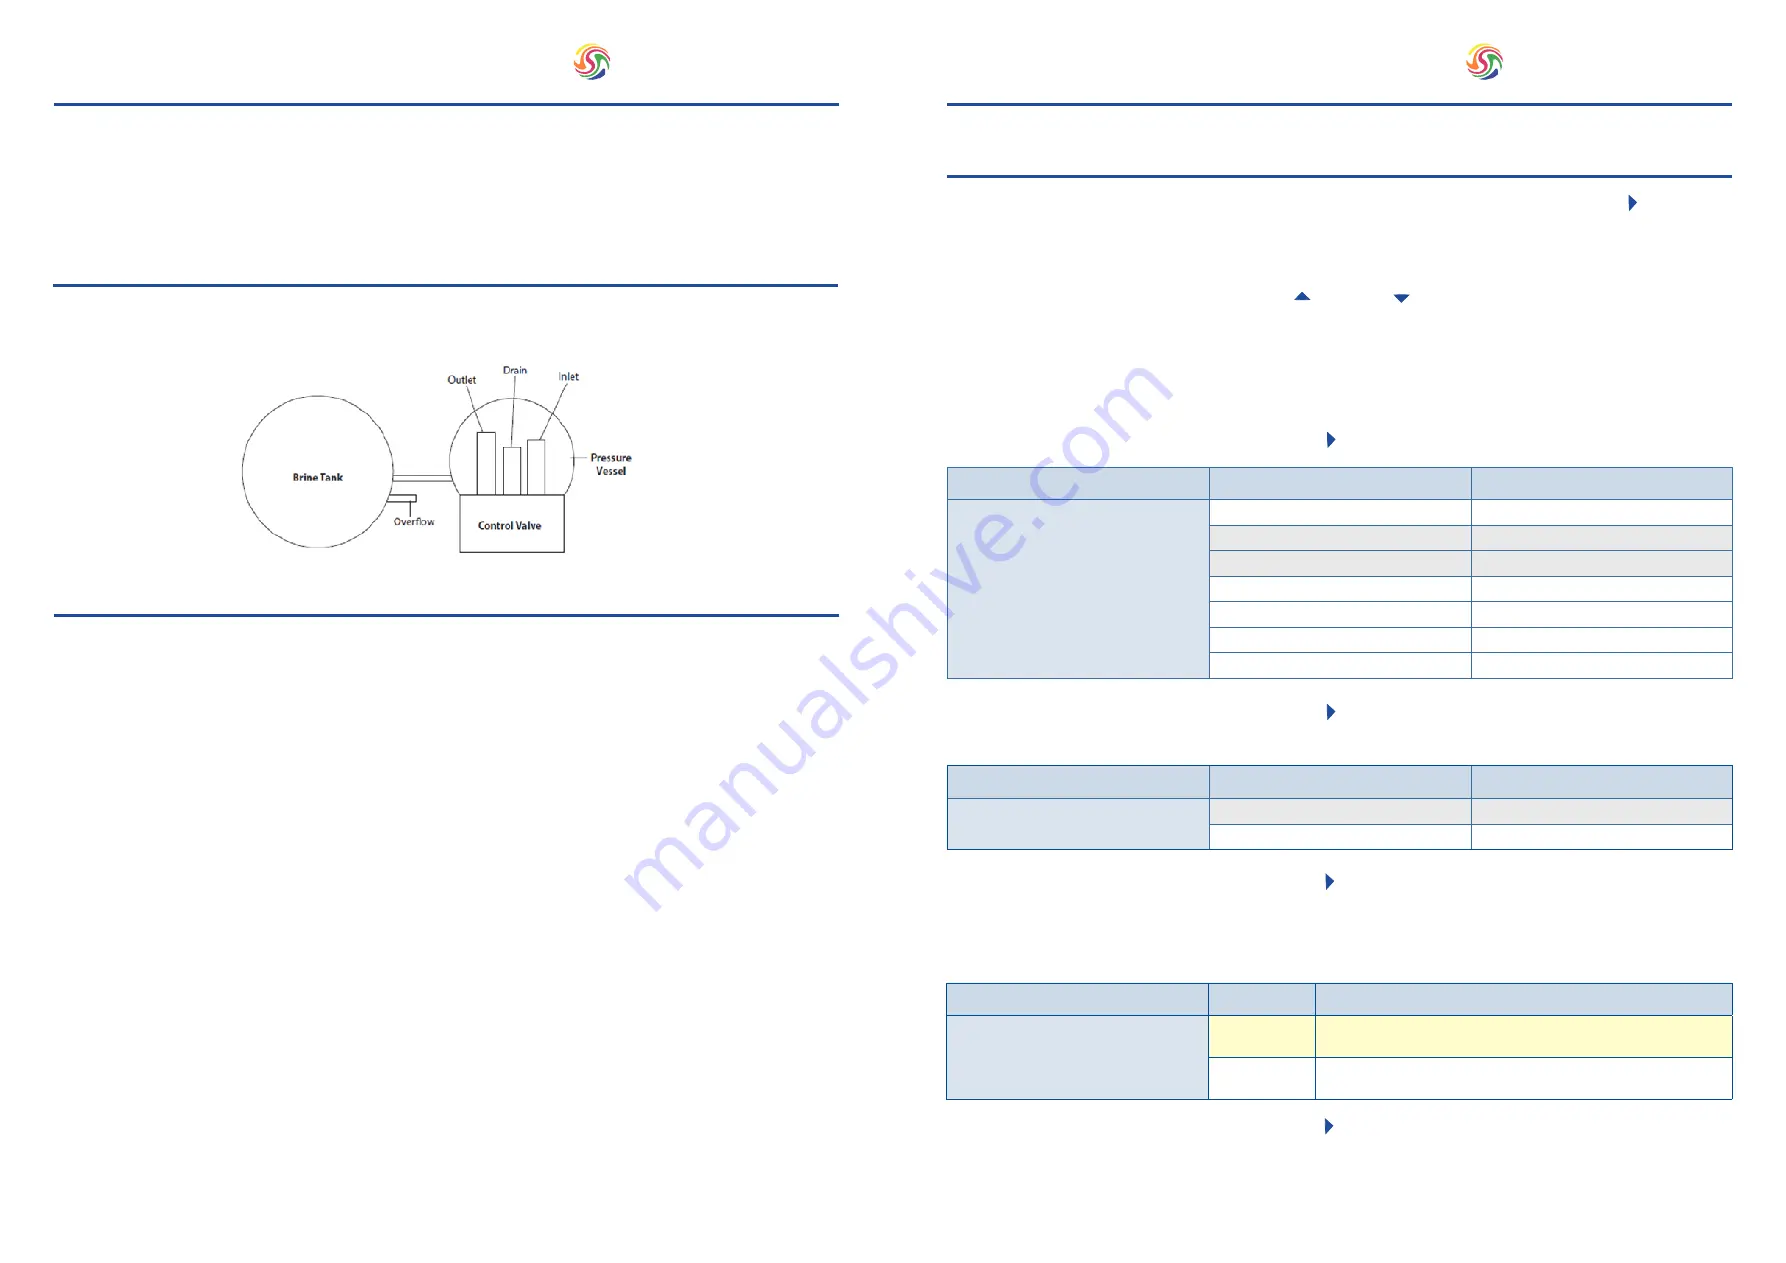
Install the system in a convenient location. Ensure the floor under the brine tank is clear and flat. Connect the brine tube
to the valve and the safety brine valve included in the brine tank.
Use PTFE tape if necessary in order to seal between the drain fitting and the outlet flow control.
SPECTRUM 7 Valve
1. Build brine tank-place salt grid into base and connect brine valve etc.
2. Fill brine tank with water to top of brine grid. Set valve to manual regen and then skip process to brine refill mode.
Once this process has stopped add salt so that it is level or above water line.
3. Add salt until in total the brine tank is ¾ full.
4. For systems with a by-pass feature, place in by-pass position (Fig 1.)
5. Turn on the main water supply.
6. Open a cold soft water tap nearby and allow to run for a few minutes or until the system is free from foreign material
that may have resulted from the installation.
7. Once clean, close the water tap. Place the by-pass in service position and let water flow into the pressure vessel.
When water flow stops, slowly open a cold water tap nearby and allow to run until the air is purged from the unit.
8. Plug the valve to a power source.
9. Switch on the electrical power.
10. Once plugged the valve may do a cycle on its own in order to go to service position.
11. Start a regeneration by pressing and holding the [R] button on the controller for 3-5 seconds to go through a first
complete cycle in order to initialise the system. This operation can last over an hour.
7.3. Connecting
7. Installation Instructions
8.1. Programming
8. Valve Programming Set-Up
Parameter
Option
Description
Mode of Regeneration
R-1
Chronometric
R-2
Volumetric immediate
R-3
Volumetric delayed
R-4
Adaptive brining
R-5
Filter: Chronometric
R-6
Filter: Volumetric immediate
R-7
Filter: Volumetric delayed
Parameter
Option
Description
Brine Flow Direction
t-df
Down flow regeneration
t-uf
Up flow regeneration
For your softener, please choose the
t-df
setting.
Parameter
Option
Description
Frequency of regeneration or calendar
forcing
F-xx
Volumetric: Calendar forcing every x days
Chronometric: No of days between regenerations
F-of
Volumetric: Calendar forcing disabled
Chronometric: Weekly mode activated
This is a regeneration override function. Typically, it is used as a “holiday” mode. When there is no regeneration
after a determined number of days, the override will trigger a regeneration. Input the number of days to override
regeneration.
1.
To enter ‘Master Programming Mode’ set the time to 23:45 and press and hold the next ( ) button for 8
seconds, until R2 or R3 is displayed.
The recommended options for your system have been highlighted below
in grey.
The values to input based on your individual installation have been highlighted In yellow below.
2.
Navigate through the options using the up ( ) and down ( ) arrows.
5.
To select the appropriate option press the next ( ) button.
6.
To select the appropriate option press the next ( ) button
7.
To select the appropriate option press the next ( ) button.
R-2:
Volumetric immediate triggers the regeneration as soon as the capacity of the resin has expired.
R-3:
Volumetric delayed will trigger the regeneration at the time set in the programming, once the capacity expired.
3. Select
R-2
or
R-3
depending upon your application requirements. Details of each regeneration type can be
seen below.
4.
To select the appropriate option press the next ( ) button.
Содержание SWS Simplex
Страница 11: ...WWW SPECTRUM FILTRATION COM Spectrum ...


