20
SPEKTRUM DX8G2 • TRANSMITTER INSTRUCTION MANUAL
EN
TELEMETRY
Installing the optional telemetry module and sensors enables the
display of aircraft performance data on the transmitter screen.
You can also enable Data Logging to save a telemetry file on
the SD Card and view the data in the Spektrum STi
TM
mobile
application.
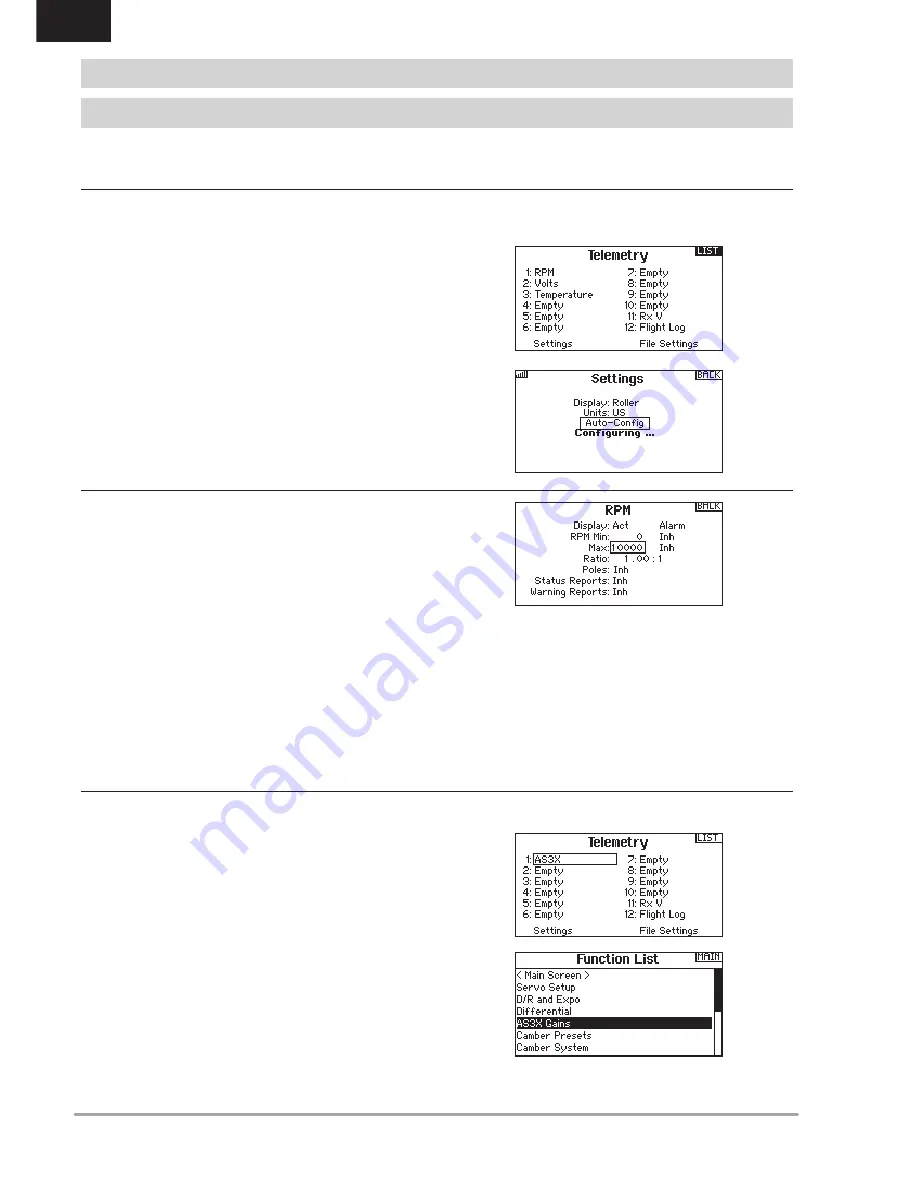
Display
Telemetry display options include:
Tele:
When you press the scroll wheel, the Telemetry screens
appear and the Main Screen is disabled.
Main:
Telemetry alerts appear on the Main screen, but all
Telemetry screens are disabled.
Roller (Default):
Allows you to toggle between the Telemetry
screens and the main screen by pressing the
scroll wheel.
Auto:
The Telemetry screen automatically appears as soon as
the transmitter receives data from the telemetry module.
Units
Scroll to Units and press the scroll wheel to change between US
and Metric.
IMPORTANT:
The Auto-Config option is not available from the
System Setup>Telemetry menu. RF signal must be transmitting
when you use the Auto-Config option. When the System Setup
menu is active, RF signal is off.
The DX8 transmitter features telemetry Auto-Configuration,
allowing the transmitter to detect new telemetry sensors.
To use Telemetry Auto-Config:
1. Make sure all telemetry components are bound to the
transmitter and receiver.
2. Power on the transmitter, then power on the receiver.
3. Select Telemetry from the Function List, then select Auto
Config. “Configuring” flashes for 5 seconds and any new
sensors appear in the list.
4. Adjust the sensor alert values as necessary.
Status Reports:
Status Reports determines how often the transmitter refreshes
the data on the screen. Each telemetry sensor can be adjusted
independently.
For example, the RPM status report can refresh every 10 seconds
while the altimeter sensor refreshes every 15 seconds.
Warning Reports:
Warning Reports determines how often a telemetry alert occurs,
if an alert is active.
SYSTEM SETUP
When using an AS3X receiver (AR636, AR6335, AR9350, etc.),
AS3X Live Gain View allows:
• Real time display of gain values for Roll, Pitch and Yaw
• Gains to be adjusted from the roller
• Selection of the channel that is used to adjust gains (must match
application)
• Selection of the switch that is used to change flight modes
To activate AS3X gain Live View:
1. Enter the Telemetry screen from either the Function List or the
System Setup list.
2. Scroll to the desired “Empty” channel to use for gain
adjustment.
3. Press and scroll to select AS3X. The AS3X Gain menu is now
available in the Function List.
Telemetry Settings
Telemetry Auto-Configuration
AS3x Gain Live View (ACRO and SAIL Types Only)


