Spectralink 84-Series Wireless Telephones Deployment Guide with CMS
721-0048-000_B.docx
February 2018
40
11
Select the resource pool you want to run this VM on. (You may only have one ESXi
server to choose from).
12
Select the datastore that you want to deploy this VM onto. You may only have one
datastore. Click Next.
13
Select
Thick Provision Lazy Zeroed
for the disk format. Select Next.
14
Change the Network Mapping to a network that your devices have access to. Select
Next.
15
Leave
Power on after deployment unchecked
. Click Finish. You will see the OVF
being deployed to your server. When it is finished, go to the next step.
16
Right-click the new machine in the tree on the left of vSphere and select
Power> Power
On
.
17
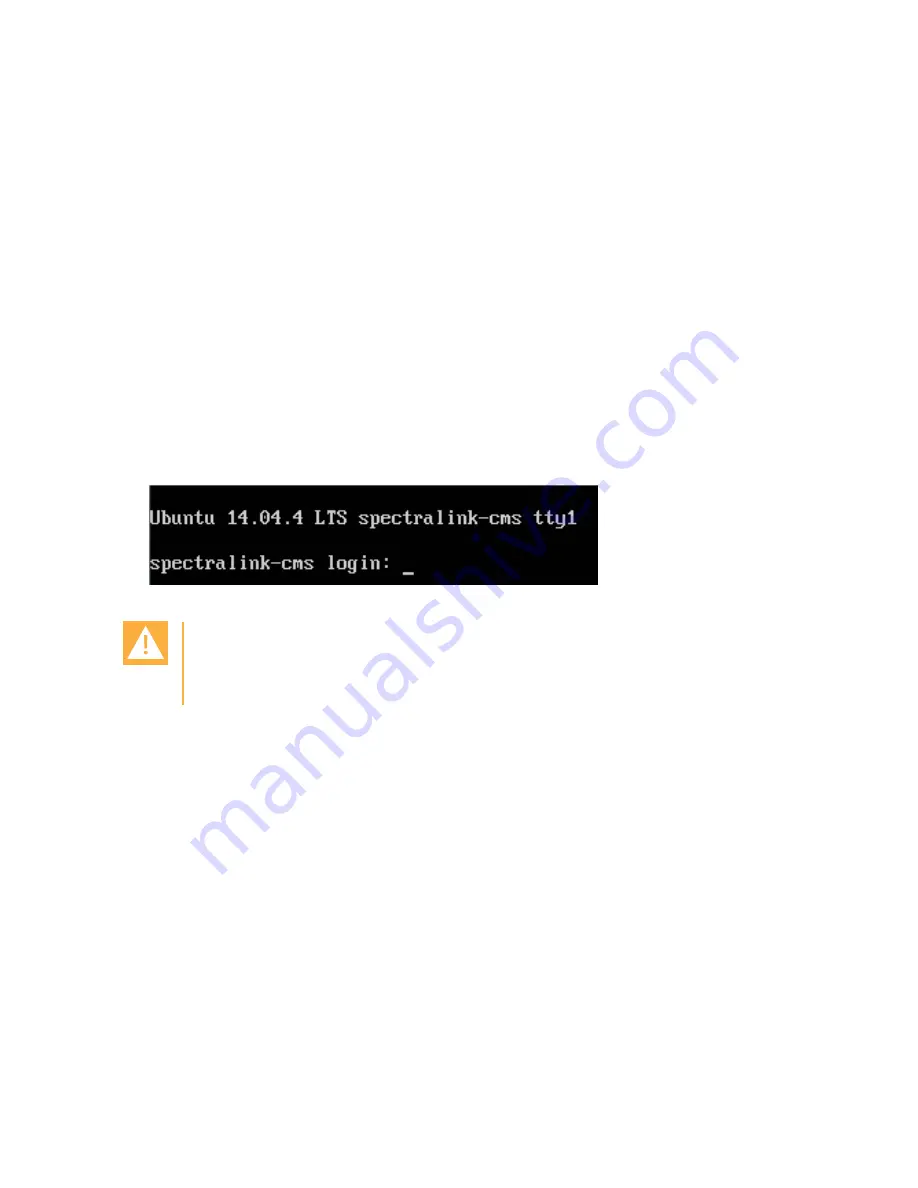
Go to the console (in vSphere) for the CMS VM and wait for the login prompt at which
you will
login as cms2, password=cms2
(You
will
want to change this at some time
later).
Caution: Keep track of passwords!
If you change the root password and forget what it is, you cannot reset the system
and you will need to reinstall from the original VM image.
18
Switch to bash shell (optional but recommended)
bash
19
Run the command
cd bin
20
Run the command
sudo python network_init.py
and follow the prompts to configure your network interfaces:
○
DHCP
○
address {your static IP address here}
○
netmask {your static network mask here}
○
gateway {your default gateway here}
○
DNS nameserver


