background image

HI-alert Selection

Select the HI icon and press and release

button 4 

to open the 

HI-Alert menu

.

The desired HI-alert: 

5 min

.(Default), 

30 seconds 

and 

HI-Off

) can be selected using the buttons

6/7

.

Press and release button

to confirm the selected HI-alert.

Depending on the HI settings, the green leveling LED flashes after 5 minutes or 30 seconds every 4 seconds

to confirm the HI alert is active. If HI alert is turned Off, the green LED stays on solid after self-leveling has

been completed.

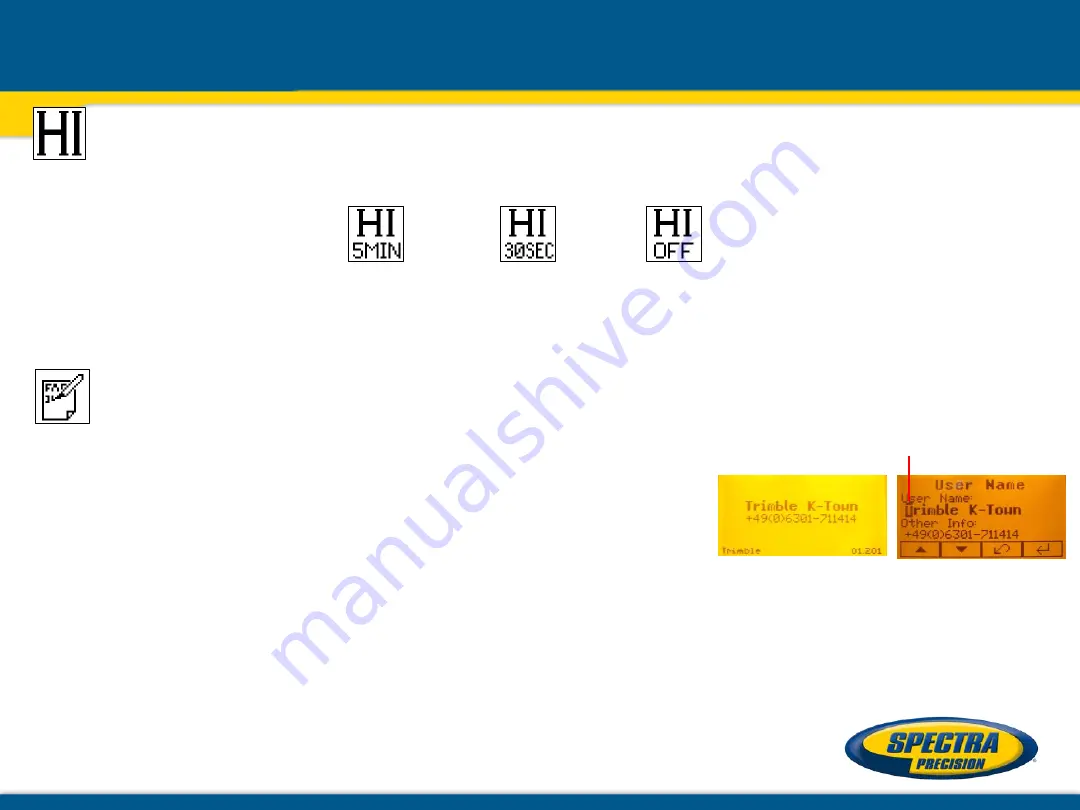
User Name

Select the User name icon and press and release button 

to open the 

User name menu 

(Cursor flashes). 

One row for typing names in big font (15) and one row in small font (18) 

for letters or numbers are available.

Button

and

can be used to toggle between both rows.

Changing the characters can be done using the buttons

and

2

.

Press and release 

button 4 

to confirm the 

selected user name

.

The display falls back to the main menu. 

Any time the unit will be powered up, the User info will be displayed for couple seconds.

Setting Menu

Содержание GL6X2N

Страница 1: ...May 2017 GL6X2N Hands On training...

Страница 2: ...l Cage e Axes Alignment Marks f Sighting Guides Scope Mounts g Battery door h Rubber Cover Recharge Jack i 5 8 x 11 Tripod Mounts j Rubber Feet k Turnable Legs l Plus and Minus Battery Diagrams GL612N...

Страница 3: ...used as a power supply when used Indoors 3 The rechargeable battery pack can be charged inside as well as outside of the unit 4 Alkaline batteries can be used as a backup 5 An optional external power...

Страница 4: ...tab on the RC602N RC602N will be shipped with alkaline batteries Rechargeable batteries can be used optional but need to be charged externally 2 Insert two AA batteries noting the plus and minus diagr...

Страница 5: ...d HI alert Standard Display Button 1 MENU Button 2 Grade Entering Mode Button 3 Manual mode Button 4 Rotation Scan Button 5 8 up down arrow buttons Button 6 7 left right arrow buttons Button 9 ON OFF...

Страница 6: ...lashing Don t start a menu function before the reference check has been finished When the temperature reference check has been finished the standard display appears and the bubble symbols flash until...

Страница 7: ...ssing and releasing button 6 or 7 right or left moves the cursor to the right left Use button 1 or 2 Plus or Minus to set the desired digit button 3 return to the standard display The laser will self...

Страница 8: ...ront of the comma will be set to 0 and then starts changing in 1 increments Press and hold button 5 or 8 up down for changing Y axis grade value press and hold buttons 5 8 simultaneously starts Y axis...

Страница 9: ...al bubble helps to adjust the laser on the cross axis when set up vertical In Manual mode horizontal the Y axis can be sloped by pressing the Up 5 and Down 8 Arrow buttons on the laser s keypad or the...

Страница 10: ...l After going to the next menu row a up down arrow at the the right site indicates that the user can scroll up down through the menu rows 4 different screens using the buttons 5 8 up down arrows Press...

Страница 11: ...permanently mounted at this location and at the desired elevation 3 Use the sighting guides on the top of the laser to align the laser to the receiver Turn the laser on the tripod until it is roughly...

Страница 12: ...usting the beam to the on grade position When PlaneLok is complete PL stops flashing at the HL760 display Note The laser continues to servo to the receiver s signals 6 Exiting of PlaneLok can be done...

Страница 13: ...teep slope area using the slope bracket M401 laser tilting base Check the laser beam elevation and place the receiver at the desired hub Change the GL into manual mode and tilt the unit to the approx...

Страница 14: ...7 14 Steep Slope using PlaneLok Select PlaneLok at the menu and start automatic PlaneLok by pressing button 4 The transmitter starts searching for the receiver HL760 and locks the beam at the on grade...

Страница 15: ...lignment range on both axes is 40 4 Press and release the MENU button at the Standard Display and select Grade Match 5 Select the desired Grade Match axis then press button 4 to start Grade Match Note...

Страница 16: ...on the tripod until it is roughly aligned to the receiver s position the alignment range on both axes is 40 4 Press and release the MENU button at the Standard Display and select Axis Align 5 Adjust t...

Страница 17: ...flashing bar to other required areas and repeat the setting process When all areas have been set press button 4 to store the mask sector selection until the unit will be turned off Note The unit alwa...

Страница 18: ...tandard display and select Reference Check Button 4 starts the reference check considering the current temperature inside the housing While the procedure the rotation will be stopped Note A grade valu...

Страница 19: ...o Buttons 6 7 can be used to toggle between GL RC and Runtime Press and release button 4 to confirm the selection The GL RC information software version ID etc or the runtime of the GL will be display...

Страница 20: ...Calibration X OR Calibration Z when set up vertically Press and release button 4 to confirm the selection The calibration at the selected axis starts the field calibration procedure The RC602N Service...

Страница 21: ...eleasing button 4 activates the Line Scan mode while the rotor checks the limits of the X axis and stops at the center position Pressing button 3 ESC stops the movement and changes the unit into manua...

Страница 22: ...ts up to two receivers and two remote controls 2 If already 2 remote controls have been paired one of them has to be deleted using button 1 CLR 3 Turn on the RC602N and select the Pairing menu and pre...

Страница 23: ...play shows MENU first then RDIO Press and release the Units C button display shows the current radio mode If not already set to LS press Units button C and then press Deadband or Audio button until LS...

Страница 24: ...d release button 4 to open the Grade Display menu The desired Grade Display Mode Percent Permille Degree can be selected using the buttons 6 7 Press and release button 4 to confirm the selected displa...

Страница 25: ...ed Off the green LED stays on solid after self leveling has been completed User Name Select the User name icon and press and release button 4 to open the User name menu Cursor flashes One row for typi...

Страница 26: ...urns off automatically Password On Off Select the Set Password ON Off icon and press and release button 4 to open the Password menu Buttons 6 7 can be used to toggle between Password On and Password O...

Страница 27: ...s caused by different gravity The user has the chance to provide the position info of the job site to the product This is the degree of latitude as well as the altitude Chose Settings and navigate to...

Страница 28: ...5 131 Rake Angle Limit Pre tilt the unit closer to the alignment point 140 Laser beam blocked Make sure there are no obstacles between the transmitter and the HL750 141 Time Out Alignment could not be...

Отзывы: