Chapter 9 - Working with Tape Libraries and Media
Import Foreign Tapes
5.
Using the
Storage Domain
drop-down list, select a storage domain from the list of
previously created storage domains for all buckets on the foreign tape.
6.
Using the
Verify Data Prior to Import
drop-down list, select whether or not to verify the
data on the media before importing.
7.
Using the
Verify Data After Import Priority
drop-down list, select whether or not to verify
the data on the media after importing. This setting makes imported foreign options
available, and schedules a verify job with the selected priority at a later time.
Note:
This option is unavailable if you selected
Verify Data Prior to Import
in
.
8.
Click
Save
. The foreign tape is imported into the BlackPearl system.
9.
Repeat
through
to import additional BlackPearl foreign tapes.
Import LTFS Foreign Tape(s)
Use the instructions in this section to import LTFS foreign tapes.
IMPORTANT
LTFS foreign tapes must have the physical write-protect tab set in the “write-
protected” position before you import them into the BlackPearl system. Tapes
not set to write protected are not imported.
IMPORTANT
When importing LTFS foreign tapes, if the target bucket uses the dual copy on
tape data policy, the import fails. You must disable IOM before you can import
LTFS foreign tapes into a bucket using the dual copy on tape data policy.
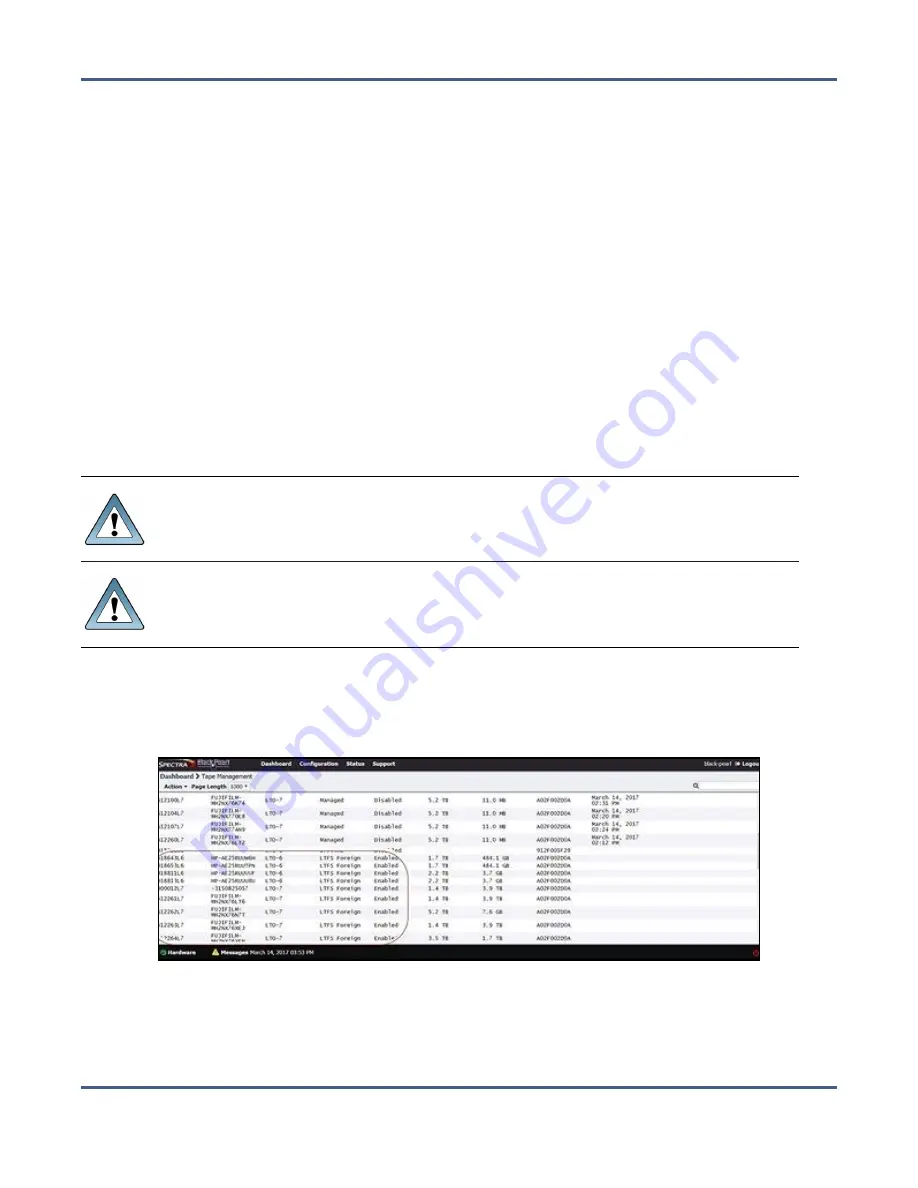
1.
Select
Status > Tape Management
from the menu bar. The Tape Management screen
displays.
Figure 186
The Tape Management screen with LTFS foreign tapes listed.
November 2020
User Guide-BlackPearl Converged Storage System
- 282 -


