


10
Saturation: Set the degree of color purity. The purer the color is, the brighter the image is.
WDR: WDR can adjust the camera to provide a better image when there are both very bright and very dark areas simultaneously
in the field of the view by lowering the brightness of the bright area and increasing the brightness of the dark area. Recording
will be stopped for a few seconds while the mode is changing from non-WDR to WDR mode.
Sharpness: Set the resolution level of the image plane and the sharpness level of the image edge.
Noise Reduction: Decrease the noise and make the image more thorough. Increasing the value will make the noise reduction
effect better but it will reduce the image resolution.
Defog: Activating this function and setting an appropriate value as needed in foggy, dusty, smoggy or rainy environment to get
clear images.
Backlight Compensation:
Off: disables the backlight compensation function. It is the default mode.
HLC: lowers the brightness of the entire image by suppressing the brightness of the image’s bright area and reducing the
size of the halo area.
BLC: If enabled, the auto exposure will activate according to the scene so that the object of the image in the darkest area
will be seen clearly.
Antiflicker:
Off: disables the anti-flicker function. This is used mostly in outdoor installations.
50Hz: reduces flicker in 50Hz lighting conditions.
60Hz: reduces flicker in 60Hz lighting conditions.
White Balance: Adjust the color temperature according to the environment automatically.
Frequency: 50Hz and 60Hz can be optional.
Day/night Mode: Please choose the mode as needed.
Sensitivity: High, middle and low can be selected for switching back and forth from day to night modes.
Infrared Mode: Choose “ON”, “OFF” and “Auto”.
Exposure Mode: Choose “Auto” or “Manual”. If manual is chosen, the digital shutter speed can be adjusted.
Image Mirror: Turn the current video image horizontally.
Image Flip: Turn the current video image vertically.
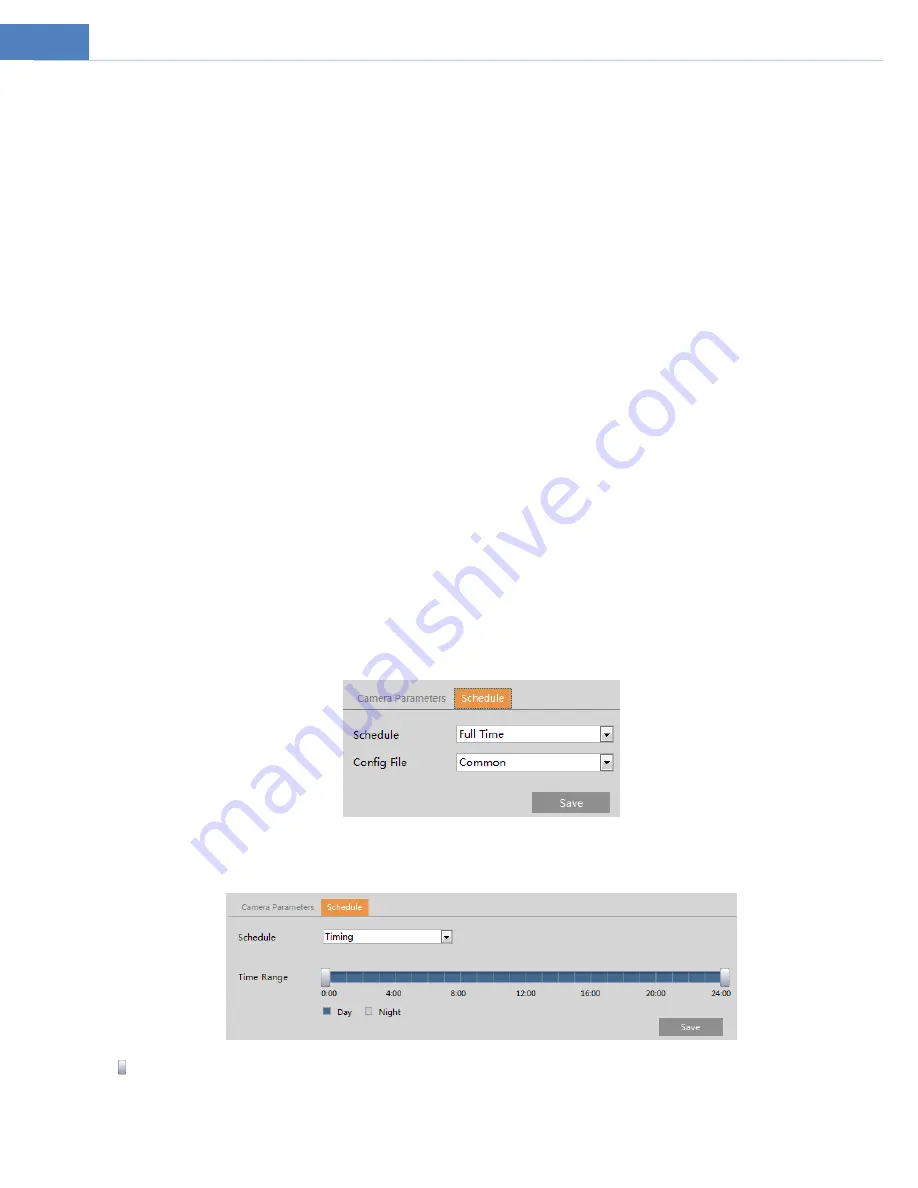
Schedule Settings of Image Parameters:
Click the “Schedule” tab as shown below.
Set full time schedule for common, day or night mode and specified time schedule for day and night. Choose “Timing” in the
drop-down box of schedule as shown below.
Drag “ ” icons to set the time of day and night. Blue means day time and blank means night time. If the current mode of camera
parameters is set to “Timing”, the image configuration mode will automatically switch between day and night according to the
schedule.


