Digital Video Recorder
71
Highlight the box beside
To
and press the
button to toggle between On and Off. When set to Off, you can enter a
specific Date and Time. When set to On, the search will be from the last recorded image. When highlighting
and
pressing the
button the bookmark list displays and the bookmark point you selected will be the ending date and time.
Highlight the
Channel
and press the
button. Select the text-in devices that you want to search for text input.
Highlight the
Text Input Device
box and press the
button. Select your Text Input Device from the list.
Highlighting the + and pressing the
button allows you to add a new set of search parameter. Set up the desired search
parameter. Refer to the
Appendix – Text-In Search Examples
for further information on setting up search parameters.
The column can be used to delete a set of search parameter or entire sets of search parameters.
Highlighting the
Option…
box
and pressing the
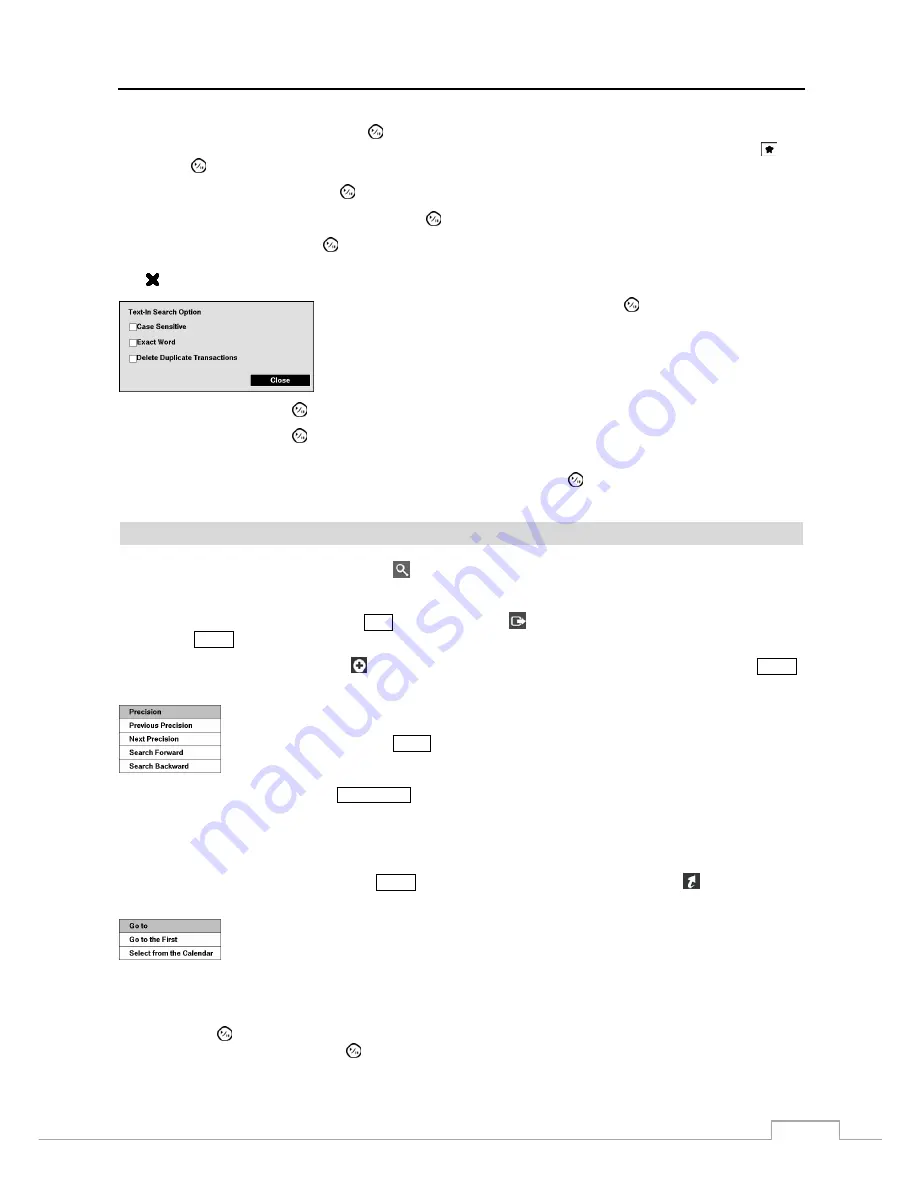
button allows you to select
whether or not the search will find only text strings in which the case matches,
find only exact words that match with the word you entered during text-in setup,
or delete transactions duplicated within text input strings.
Highlight
Load
and press the
button to load saved search option settings. Select the desired search option settings.
Highlight
Save
and press the
button to save the current search option settings. A virtual keyboard appears that you
can use to enter the search option name.
Once you set your desired search conditions, highlight
Search
and press the
button to display the search results in
the
Text-In
Search
screen. Selecting
Cancel
exits the screen without saving the changes.
EZ Search
You can enter the EZ Search mode by selecting
(Search)
EZ Search
in the Search menu while the DVR displays
the camera full screen. When entering the EZ Search mode, the DVR will play video in 4x4 display format starting
with the first recorded image using the Day precision (default). There are three precision levels: Day, Hour and Minute.
Exit the EZ Search mode by pressing the
ESC
button or selecting
(Exit) in the EZ Search menu displayed when
pressing the
MENU
button.
While in the EZ Search mode, selecting
(Precision) from the EZ Search menu, displayed when pressing the
MENU
button, displays the following Precision Menu.
Previous Precision
: Selecting
Previous Precision
moves to the previous precision level starting
with the window currently selected on the screen (Day
Minute
Hour
Day
…). It is
the same as pressing the
COPY
button on the front panel when in the EZ Search mode.
Next Precision
: Selecting
Next Precision
moves to the next precision level starting with the
window currently selected on the screen (Day
Hour
Minute
Day
…). It is the same
as pressing the
PLAY/STOP
button on the front panel when in the EZ Search mode.
Search Forward:
Selecting
Search Forward
moves to the next page while maintaining the current precision level.
Search Backward:
Selecting
Search Backward
moves to the previous page while maintaining the current precision
level.
While in the EZ Search mode, pressing the
MENU
button displays the EZ Search menu. Select
(Go to) from the
EZ Search menu to display the following Go to Menu.
Go to the First:
Selecting
Go to the First
displays video using day precision starting with the
first recorded image.
Select from the Calendar:
Selecting
Select from the Calendar
displays video using day
precision starting with the date selected on the Calendar.
In the EZ Search mode, pressing the camera number button on the front panel displays video starting with that window
number using the current precision setting. Arrow buttons on the front panel are used to navigate through windows
and pressing the
(Play/Pause) button moves to the next precision level starting with the selected window. When in
the Minute precision mode, pressing the
button exits the EZ Search mode and displays the selected window full screen.


