User’s manual
Semiautomatic welder SPARTUS® ProMIG
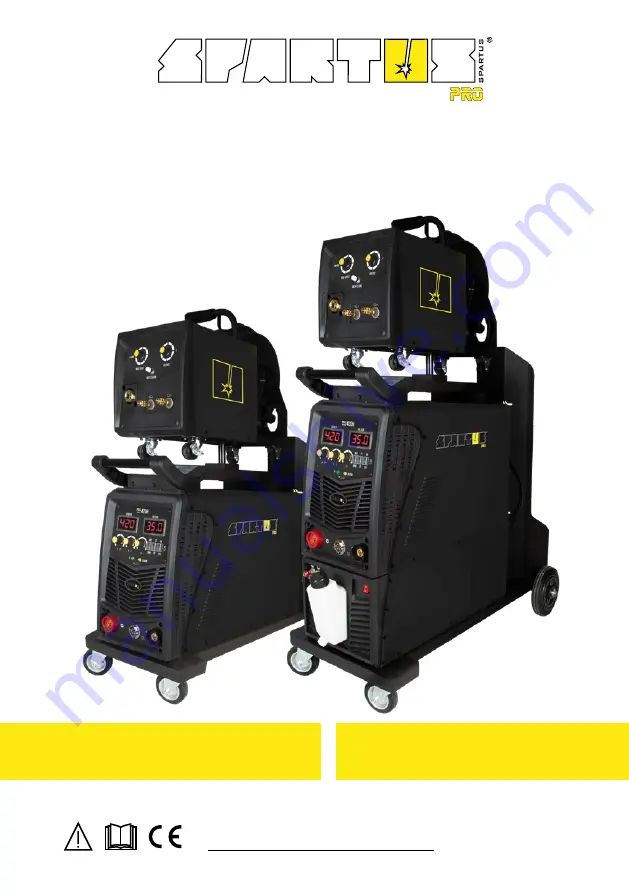
420H 420HW
Страница 1: ...User s manual Semiautomatic welder SPARTUS ProMIG 420H 420HW...
Страница 2: ...nd performance during realization of the above mentioned processes SPAR TUS products are characterized by precisely such features they are primarily reliable and durable but they are also versatile We...
Страница 3: ...Fire or explosion hazard 5 1 7 Other hazards 6 1 8 Other informations 6 1 9 Symbols used in instructions 7 2 ELECTROMAGNETIC FIELD EMF 7 3 ELECTROMAGNETIC COMPATIBILITY EMC 7 3 1 General informations...
Страница 4: ...ding operations are expected to be carried out All equipment should be placed so that it does not present a hazard in passageways on ladders or stairways etc Falling objects can cause injuries or kill...
Страница 5: ...n dazzle and impair vision infrared heat radiation can damage skin and eyes Such radiation can be direct or reflected from surfaces such as bright metals and light colo ured objects 1 3 1 Eye and face...
Страница 6: ...st draught to keep vapours and gases away from the breathing zone When welding is carried out in a confined space operators should only be permitted to weld when other persons who have been instructed...
Страница 7: ...ible place The surroundings of the work should be observed for an adequate period after its termination Hot spots and immediate surroundings should be observed until their temperature has dropped to n...
Страница 8: ...er The welding wire tip may be sharp Never aim the burner tip of the welding torch at your face eyes or other people 1 7 4 Moving elements can be dangerous All protective elements and device housing s...
Страница 9: ...ices for example cardiac pacemakers Persons with implanted medical devices such as cardiac pacemakers are obliged to consult a doctor before starting to weld plasma cutting and to exercise special cau...
Страница 10: ...at other equi pment being used in the environment is compatible This may require additional protection measures h the time of day that welding or other activities are to be carried out The size of the...
Страница 11: ...dicated to specialized industrial applica tions Machines are ready to work in toughest conditions 5 1 PURPOSE OF USE SPARTUS ProMIG 420H i 420HW welding devices are designed for Manual Metal Arc MMA w...
Страница 12: ...not designed to be used outdoor during precipitation if it is not covered 6 2 TECHNICAL PARAMETERS OF DEVICE SPARTUS ProMIG 420H SPARTUS ProMIG 420HW Input 3 x 400V 10 50 60 Hz Welding current MIG A 8...
Страница 13: ...ive the risk and avoid hazards during use of the product IEC 60204 1 7 1 PROPER COOLING The unit should be placed stable on a dry and flat surface Avoid too much slope and slippery surfaces Check regu...
Страница 14: ...N 12 6 Control panel 7 Connection cable set control socket 8 SK socket 9 SK socket 10 ON OFF switch 11 Gas heater socket 12 Fan 13 Water cooler connector 14 Power cable 400V 15 Rating plate 8 7 10 11...
Страница 15: ...ction Output 21 Connection cable set control socket 22 Connection cable set current socket 23 Gas inlet 24 Coolant Connection Output 25 Coolant Connection Input 26 Wire inlet guide 27 Tension adjustme...
Страница 16: ...t with plug A P8 P6 P7 P3 P2 P1 P1 P3 P2 P5 P4 P7 P6 P8 P10 P9 P6 Control plug B P7 Current plug B P8 Gas hose P9 Hose liquid cooling input with plug B P10 Hose liquid cooling output with plug B 7 3 4...
Страница 17: ...It is forbidden bridging PE and N cables it may cause serious risk of electric shock In some cases colours of power cords may vary from those shown on diagram For example when the device has a four wi...
Страница 18: ...e end of cooling hose P9 into cooler and wire feeder 30 5 Only for ProMIG 420HW Connect the end of cooling hose P5 into wire feeder 25 Connect the end of cooling hose P10 into cooler and wire feeder 3...
Страница 19: ...ce approx 30mm beyond the torch outline release the button INCH FEEDING 7 Assemble welding wire into liner gas nozzle contact tip 8 Cut off the end of wire properly 7 5 6 Device installation 1 Connect...
Страница 20: ...g into appropriate SK socket 8 or 9 3 Connect earth clamp into workpiece 4 Connect the welder into power supply in accordance with appropriate guidelines see 7 4 5 Turn on the welder by setting power...
Страница 21: ...Check if cooling fan is working properly Make sure that all vents are not obstructed At least once a month Regularly remove dust from inside of the machine Use for this compressed air The pressure sh...
Страница 22: ...he control circuit Excessive heating of MIG gun Contact tip is not properly fastened or tightened Too high welding current in relation into MIG gun capacity Unstable arc welding Contact tip is worn or...
Страница 23: ...igh quality production excellentparametersandergonomics thesearefea turesoftheSPARTUS Masterseriesofdevices which werecreatedwithdemandingweldingjobsinmind Precision functionality excellent parameters...
Страница 24: ...Videopresentation of products Subscribe to the channel SPARTUS INFO...