


21
User Setup
Please follow the instructions included with the Wi-Fi module to connect to an
Access Point or view status. The general instructions are below.
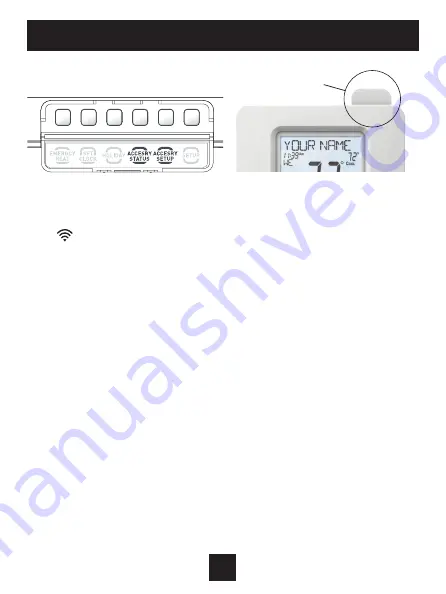
Wi-Fi Module
If the
is present on the display then the thermostat is connected to the
Wi-Fi Access Point. If just the “dot” of this icon appears, then just the Wi-Fi
module is recognized.
Press the ACCESSORY STATUS button, until you see the scrolling message
starting with, PRESS THE WARMER. After that, press WARMER to view the
Wi-Fi status/settings or press COOLER to view connected Wi-Fi sensors.
Press the MODE button to step through the connected sensors or the Wi-Fi
status screens listed below.
a. Wi-Fi status (connecting, connected, etc.)
b. Signal strength
c. Access point name
d. IP address
e. MAC address
f. Skyport status (connecting, connected with, etc.)
g. Local API status (Enabled, Disabled)
h. Module version
• At any time press the ACCESSORY STATUS button to leave the status screens.
Press the ACCESSORY SETUP button to enter Wi-Fi or Skyport setup:
Press the COOLER button to configure Wi-Fi settings.
Press the Warmer button to join this thermostat to a Skyport account. If the
thermostat is connected to Wi-Fi and the Internet, a Device ID will appear on
the scrolling display of the thermostat. You will enter this code to add this
thermostat to your Skyport account via a browser or the Skyport mobile app.
Note: To connect to Skyport Cloud Services, Setup Step #44 must be set to on.
Wi-Fi Module
Wi-Fi Module
Содержание S1-TBSU305-S
Страница 6: ...2 Get To Know Your Thermostat Setup Buttons...
Страница 47: ...P N 88 1259 rev 2 06 19 Patent Pending...


