EVCS_Control Panel_ENGCP18001 5.16
1.800.338.7337 / www.soundoffsignal.com
HIGH
LOW
2
6
5
3
7
4
*
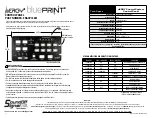
Setting PA Volume:
1. Press and Hold Auxiliary Push-Button “1” and “2” until slide switch
#2 and #3 indicator LED flashes.
2. Depress and hold PA switch on microphone and press Push-button
“1”-“8” depending on volume required. When correct
volume is determined, press Radio Rebroadcast and the
volume setting will be permanently stored.
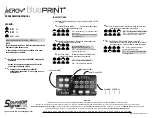
ALTERNATE HORN RING CONTROL
OPTION 1
OPTION 2
STANDBY
OEM HORN
OEM HORN
LEVEL 1
OEM HORN
OEM HORN
LEVEL 2
Air Horn or Wail
Button Tone while
Pressed
*
Tap to Turn On Warning Tone,
Tap again to Change Warning
Tone. Press and Hold for Air
Horn Tone
LEVEL 3
Tap to turn ON
Warning Tone, Tap
again to change
Warning Tone. Press
and Hold for Air Horn
Tone
TONE
SWITCH OFF:
Air Horn Tone
or Wail Button
Tone while
Pressed
*
TONE
SWITCH ON:
Tap to change
Warning Tone,
Press and Hold
for Air Horn
Tone
BACKLIGHT INTENSITY:
While pressing RADIO REBROADCAST BUTTON,
press Auxiliary Button 1-8 to adjust backlight intensity.
Button 1 = Lowest intensity, Button 8 = Highest intensity.
Backlight must be enabled by the Gray wire on CN6.
3
. GUN LOCK SECURITY:
ON = Operator must press Standby button
within 1 second after pressing 8
second time delay button to active
switch
OFF = 8 second time delay switch is
activated immediately when
pressed
3
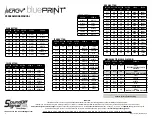
SLIDE SWITCH SETTINGS
MODE
RELA
Y
OUTPUT
#1
RELA
Y
OUTPUT
#2
RELA
Y
OUTPUT
#3
SLIDE SWIT
CH
POSITION
1
AUXILIARY PUSH-BUTTON ‘1’
IS SELECTED
1
2
3
2
AUXILIARY PUSH-BUTTON ‘2’
IS SELECTED
1
2
3
3
AUXILIARY PUSH-BUTTON ‘3’
IS SELECTED
1
2
3
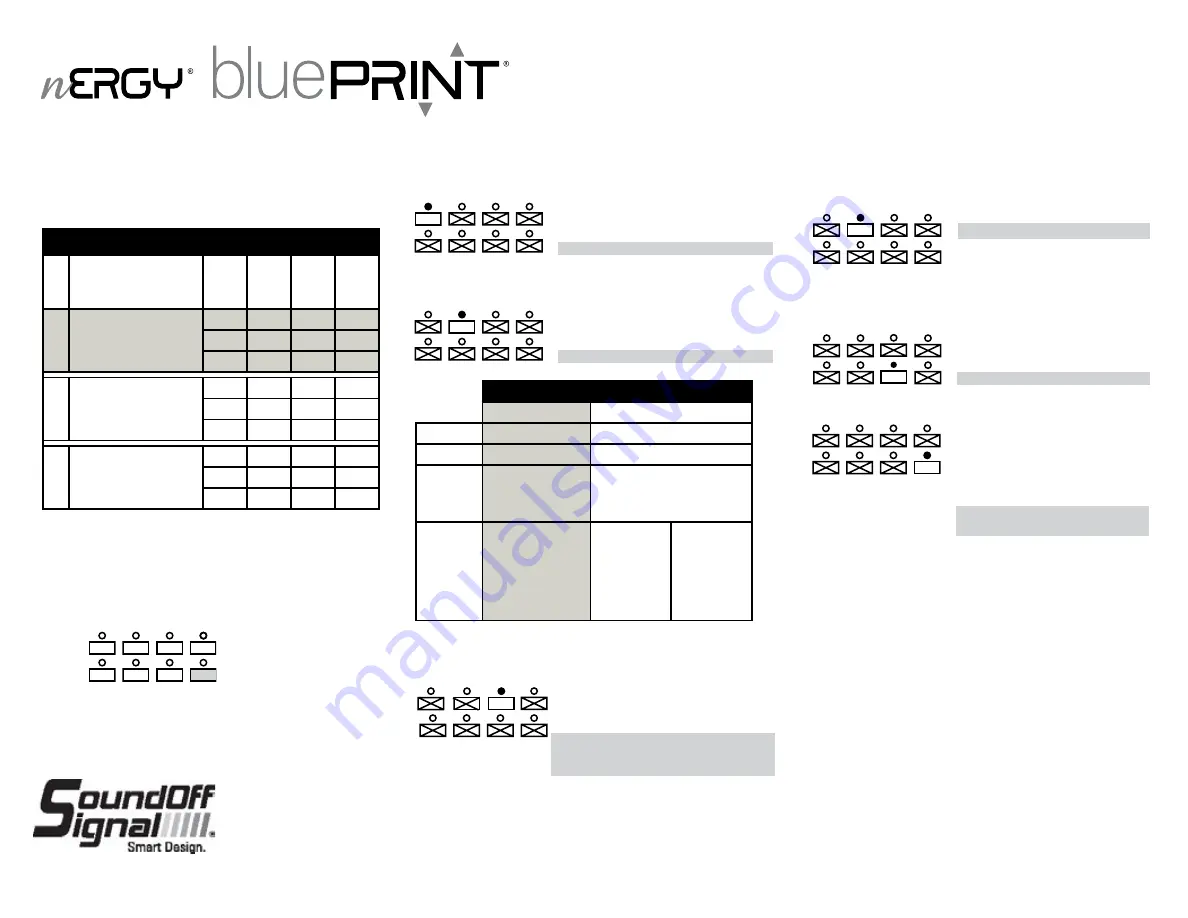
SLIDE SWITCH SETTINGS:
1. Press and hold Auxiliary Push-Button “1” and “4” until
slide switch #2 indicator LED flashes.
2. Press Auxiliary Push-Button “1”, “2” or “3” depending on
which configuration for the slide switch is required.
PROGRAMMING MANUAL
*
Set in “OTHER MODES” 6. Horn Ring Standby Tone
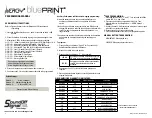
ALTERNATE MODES:
1. Press and Hold Auxiliary Push-Button “2” and “6” until Slide
Switch indicator #1 and indicator #2 LED flashes.
1.
Alternate Horn Ring control: Custom operation of vehicle
horn when pressed. Refer to figure below for details.
ON = Enabled
OFF = Disabled
2.
Alternate Horn Ring control option: (Alternate Horn Ring
Control must be enabled). Custom operation of vehicle
horn when pressed. Refer to figure below for details.
ON = Option 2
OFF = Option 1
OTHER MODES:
1. Press and Hold Auxiliary Button “1” and “5” until slide switch
#1 and #3 indicator LED flashes.
1.
Buzzer: Audible tone from control panel whenever operator
presses push-button or changes position of slide/rotary
switch
ON = Buzzer enabled
OFF = Buzzer disabled
2.
8 Second Buzzer Alert: Provides audible beep whenever any
auxiliary switches are ON or level 1, 2, or 3 is active.
ON = Enabled
OFF = Disabled
3.
Air Horn Button Output Channels
ON =In standby mode, Air Horn tone is
output on Spkr A & B. When Warning
Tone is Active, Warning Tone continues
on Spkr A & Air Horn Button Tone is
output on Spkr B
OFF =Air Horn Button Tone always
produced on Spkr A & B

