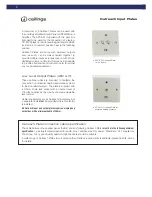
Sound Panel Loudspeaker
positioning and installation
(Packs A, C & G):
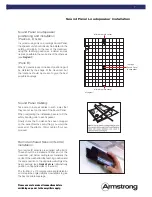
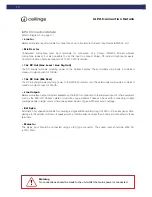
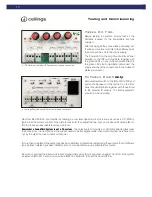
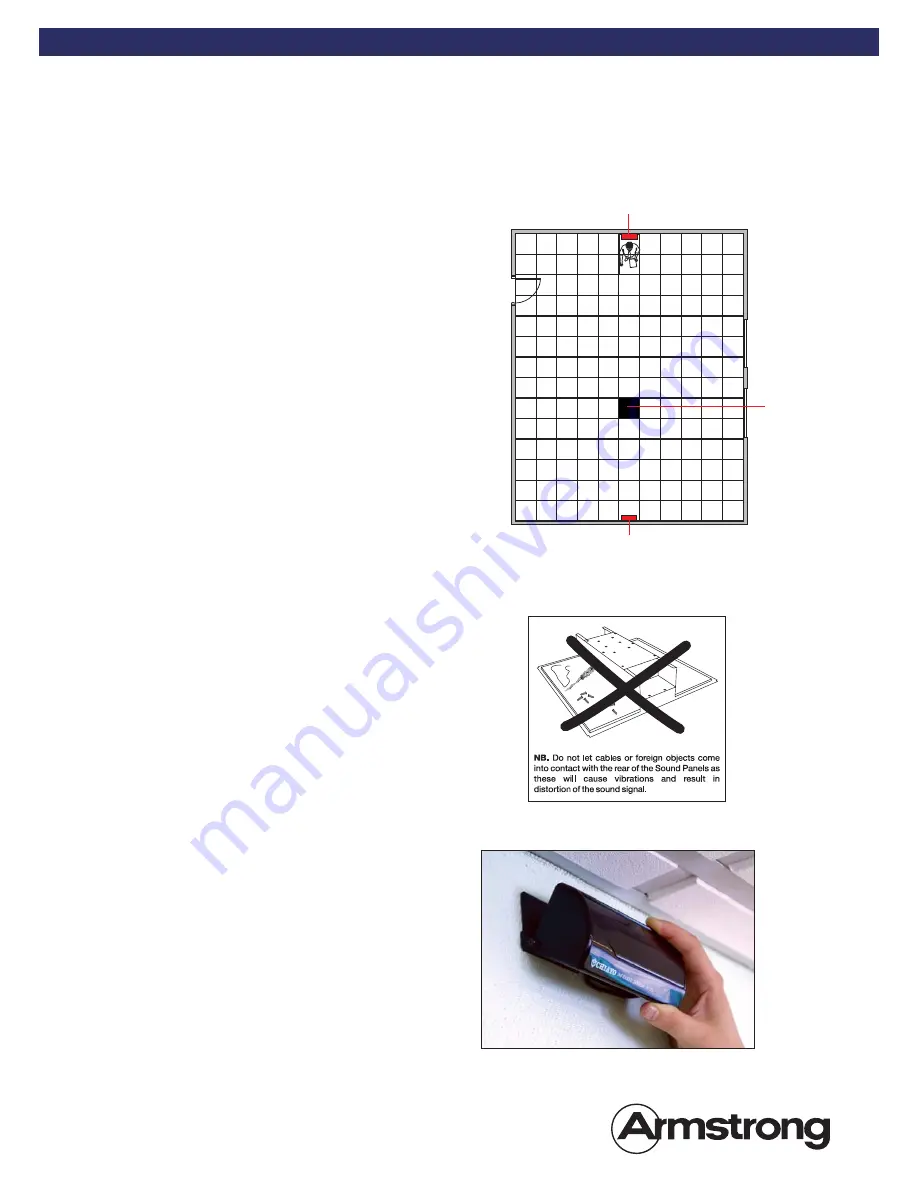
In systems using only one i-ceilings Sound Panel,
the speaker unit should ideally be installed in the
ceiling grid slightly to the rear of the classroom
using the teaching position as a datum and as
near as possible to the centre line of the other axis
(see
Diagram 1
).
(Pack B):
When 2 panels are used, the exact positioning will
be dictated by the shape of the classroom but
the locations should be chosen to give the best
possible coverage.
Remote Infrared Sensor (IS-20A)
installation
:
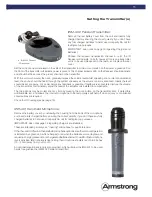
Two remote IR sensors are supplied with all kits.
These should be installed at either end of the
classroom just below ceiling level. Generally the
centre of the wall behind the teaching position and
the same position on the opposite wall will give the
best coverage (see
Diagram1 above
) (alternatively
position on opposite sides of the room).
The IS-20A is a 170 degree wide angle detector
and should be angled slightly downwards to give
the best possible coverage.
Sound Panel Loudspeaker Installation
7
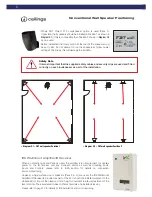
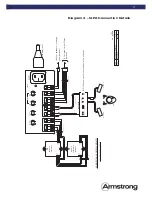
Sound Panel Cabling:
Take care to route all cables in such a way that
they cannot rest on the rear of the Sound Panel.
When completing the installation be sure to
fi
t the
safety bonding wire to each speaker.
Finally check that no debris has been dropped
on the panel. Remove everything; you would be
amazed at the effect a 10mm cable off-cut can
produce!
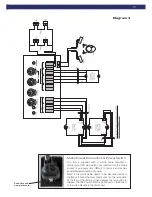
• Diagram 1
Infrared remote sensor
i-ceilings
Sound Panel
loudspeaker
Infrared remote sensor
Please ensure to make all connections before
switching on power to the amplifier supply.


