Quick Start
This Quick Start guide assumes that the A20-Nexus is being used as a standalone receiver.
1.
Connect a 10-18V DC power source to either or both TA4-M DC inputs. Alternatively, connect PoE+ to Ethernet port 1.
2.
Connect suitable passive, bias-powered, or smart antennas to either the front or rear BNC A and B antenna ports.
3.
If using NexLink to control and monitor A20-Mini transmitters, connect 2.4 GHz antennas to both rear panel 2.4 GHz SMA
ports.
4.
Connect required rear panel audio outputs (Analog, AES, and/or Dante) from Nexus to external devices.
5.
Connect headphones to the front panel 3.5 mm headphone output.
6.
Power Up.
Press the front panel triangle button to power up. Press and hold to power down. When powered up for the
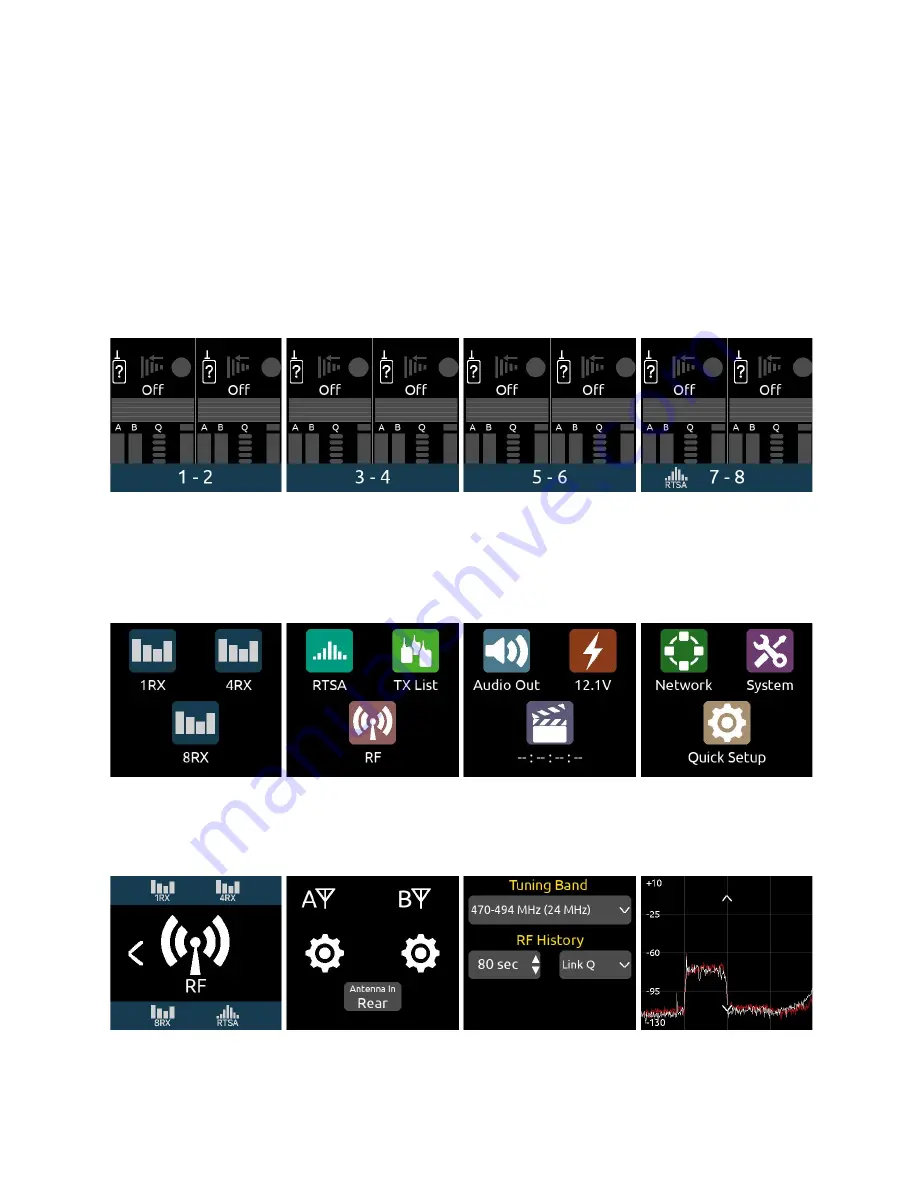
very first time, receiver channels 1-8 are displayed. This view is called the 8RX View. All RX channels will be Off.
8RX View
7.
Press the triangle button to display the Main Menu.
8.
Tap the System icon to enter the System menu.
9.
Ensure Country is set to the country that you are in. The Country setting determines which Tuning Bands and RF
frequencies are legally unrestricted and available for selection in the A20-Nexus. If using A20-Mini transmitters, make sure
that the A20-Remote app they are paired to is also set to the same country.
Main Menu
10. Tap the RF icon in screen 2 to access the RF menu.
11. Select Front or Rear antennas by tapping the button at the bottom of screen 2. When ‘Rear’ is displayed, the rear
antennas are selected. When ‘Front’ is displayed, the front antennas are selected.
RF Menu
12. If the antennas require bias-power, tap the A and B antenna gear icons to display A and B antenna settings respectively
and set both their Power (Bias) settings to On.
A20-Nexus
User Guide
16


