


23
EN
CD/MD Unit
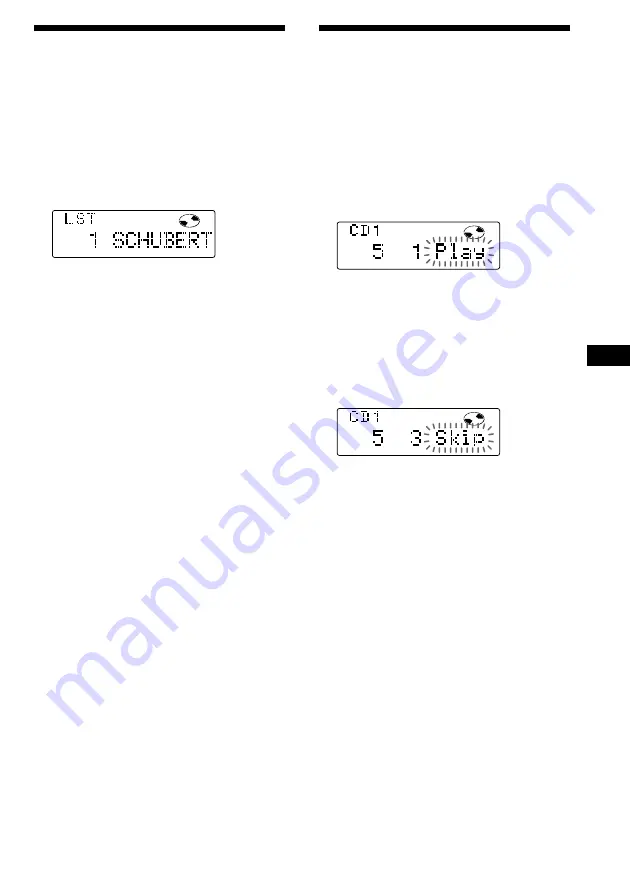
Selecting specific tracks
for playback
— Bank
(CD unit with the custom file function)
If you label the disc, you can set the unit to
skip tracks and play only the tracks you want.
1
Start playing the disc and press
(SHIFT)
.
Then press
(4)
(PLAY MODE) for two
seconds.
Bank edit mode.
Note
If you have not labeled the disc, the bank edit
mode does not appear and the program edit
mode appears. To go back to normal playback
mode, press
(4)
(PLAY MODE) for two seconds.
2
Push the SEEK/AMS control up or down
to select the track number you want to
skip and press
(6)
(ENTER).
The indication changes from “Play” to
“Skip.” To return the indication to“Play,”
press
(6)
(ENTER) again.
3
Repeat step 2 to set “Play” or “Skip”
mode for all the tracks.
4
Press
(4)
(PLAY MODE) for two seconds.
The unit returns to normal CD playback
mode.
5
Press
(SHIFT)
.
Notes
• You can set the “Play” and “Skip” mode for up
to 24 tracks.
• You cannot set the “Skip” mode for all the
tracks.
PLAY
DISC
TRACK
MODE
ENTER
PLAY
DISC
TRACK
MODE
ENTER
Locating a disc by name
— List-up (CD unit with the custom file
function or MD unit)
You can use this function for discs that have
been assigned a custom name. For more
information on disc names, refer to “Labeling a
CD” (page 21).
1
Press
(LIST)
momentarily.
The name assigned to the current disc
appears in the display.
When you assign a disc memo label to a CD
TEXT disc, it takes priority over the original
CD TEXT information.
2
Press
(LIST)
repeatedly until you find the
desired disc.
3
Press
(6)
(ENTER) to play back the disc.
Notes
• After a disc name has been displayed for five
seconds, the display goes back to normal
playback mode. To turn off the display, press
(DSPL)
.
• The track names are not displayed during MD or
CD TEXT disc playback.
• If there are no discs in the magazine, “NO Disc”
appears in the display.
• If a disc has not been assigned a custom file,
“
********
” appears in the display.
• If the disc information has not been read by the
unit, “?” appears in the display. To load a disc,
first press the number button, then choose the
disc that has not been loaded.
• The information appears only in upper case.
There are also some letters which cannot be
displayed (during MD or CD TEXT disc playback).
DISC
ENTER


