


To download a small app
1
To make the small apps bar appear, press .
2
Tap > .
3
Find a small app that you want to download, then follow the instructions to
complete the installation.
Application menu
You can open a menu at any time when you are using an application. The menu will look
different depending on which application you are using.
To open a menu in an application
•
While using the application, press .
A menu is not available in all applications.
Rearranging your Application screen
Move the applications around on the Application screen according to your preferences.
To arrange applications on the Application screen
1
From your
Home screen
, tap to go to the Application screen.
2
Tap the drop-down list on the top left of the screen and select an option.
To move an application on the Application screen
1
Open the Application screen.
2
Touch and hold an item until it magnifies and the device vibrates, then drag the
item to the new location.
You can only move your applications when
Own order
is selected.
To uninstall an application from the Application screen
1
From your
Home screen
, tap .
2
Tap , then tap
Uninstall
. All uninstallable applications are indicated by .
3
Tap the application that you want to uninstall, then tap
Uninstall
.
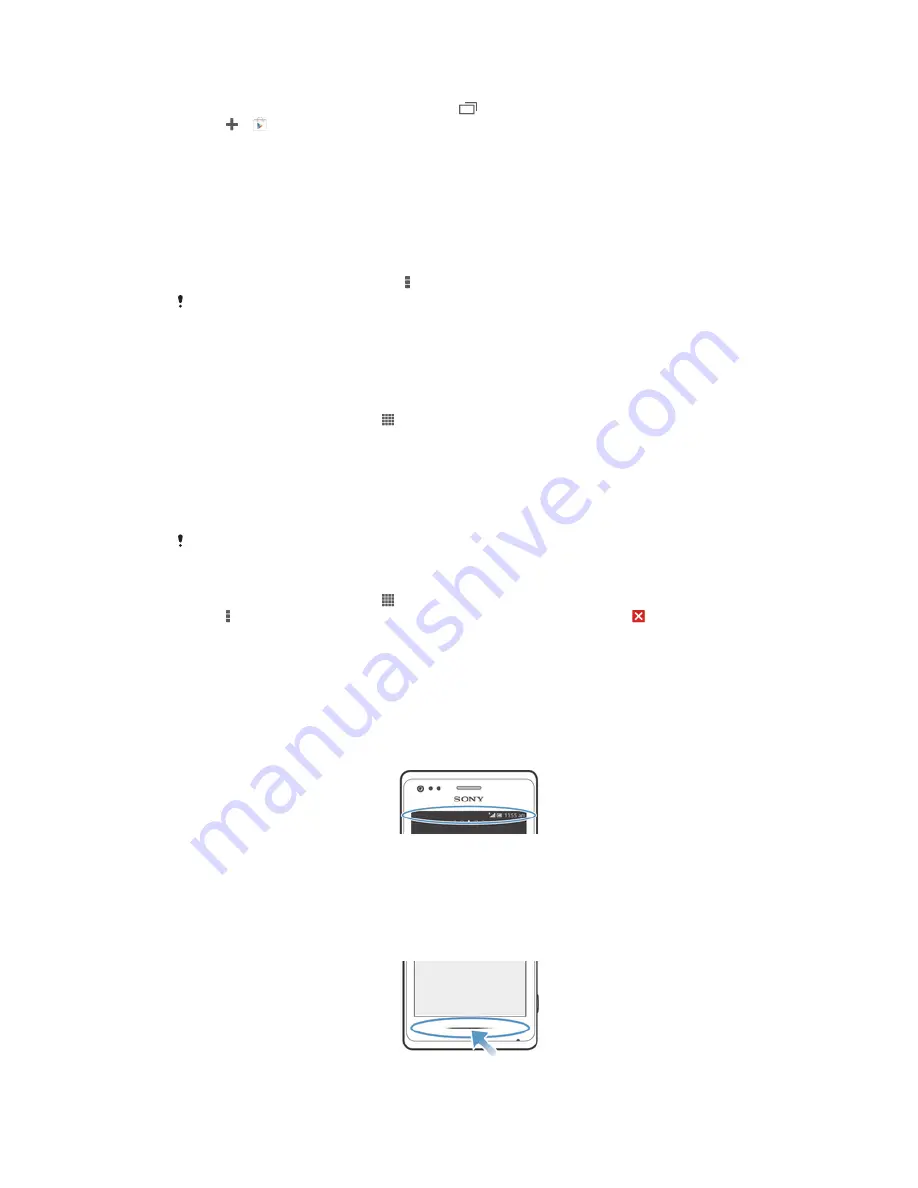
Status and notifications
The status bar at the top of your screen shows what's going on in your device. To the
left you get notifications when there is something new or ongoing. For example, new
message and calendar notifications appear here. The right side shows the signal
strength, battery status, and other information.
The status bar allows you to adjust basic settings on your device, for example, Wi-Fi®,
Bluetooth™, data traffic, and sound. You can also open the settings menu from the
Notification panel to change other settings.
A notification light also gives you battery status information and some notifications. For
example, a flashing blue light means there is a new message or a missed call. The
notification light may not work when the battery level is low.
22
This is an Internet version of this publication. © Print only for private use.


