

42
Inserting and Removing Discs
Inserting and Removing
Discs
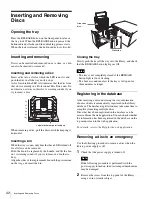
Opening the tray
Press the RELEASE button on the front panel to release
the tray lock. When the RELEASE button is pressed, the
button indicator flashes and the unlocking process starts.
When the lock is released, the button indicator is lit solid.
Inserting and removing
Discs can be inserted and removed one at a time, or a bin
can also be inserted or removed.
Inserting and removing a disc
Insert a disc into a slot for which the LED is not lit, and
push the disc in all the way until it stops.
A slot for which the LED is lit indicates that the disc from
that slot is currently in a Professional Disc Drive unit. Do
not insert a new disc in this slot. A warning sounds if you
try to insert a disc.
When removing a disc, pull the disc out while keeping it
horizontal.
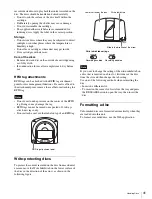
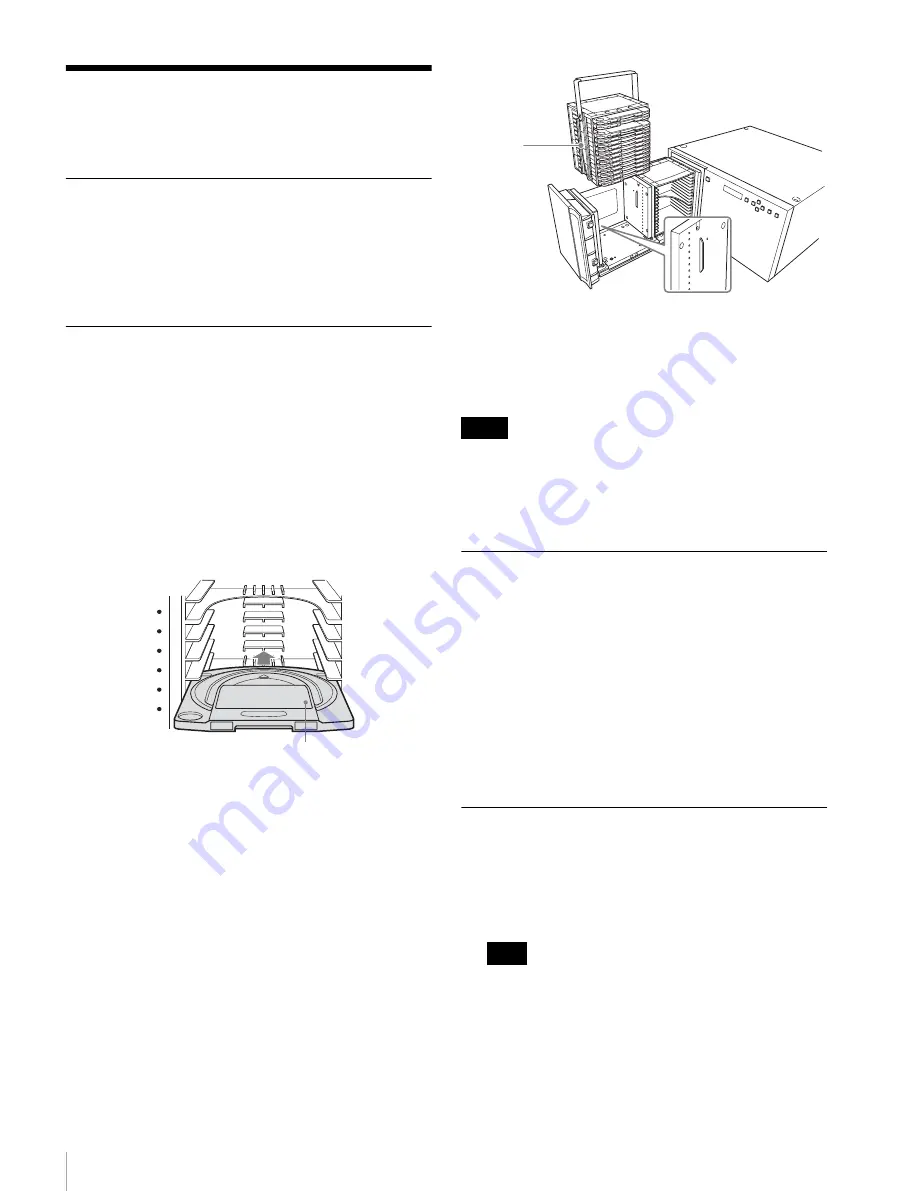
Inserting a bin
When the tray is open, only bins that have LEDs turned off
for all slots can be removed.
Hold the bin to be replaced by the handle, and lift the bin
out. A warning sounds if you try to remove a bin that is
busy.
Align the sides of the replacement bin with the protrusions
on the tray, and insert the bin.
Closing the tray
Slowly push the tray all the way in to the library, and check
that the RELEASE button light goes Off.
• The tray is not completely closed if the RELEASE
button light is On or flashing.
• The buzzer sounds an alert if the tray is left open for
three minutes or longer.
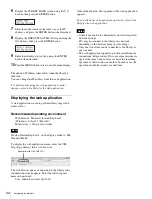
Registering in the database
After inserting a disc and closing the tray, information
about each disc is automatically registered in the library
database. The database registration may take some time to
complete if inserting multiple discs.
Discs that have been registered in the database can be
accessed from the web application. You can check whether
the information has been registered in the database on the
top menu screen in the web application.
For details, refer to the Help for the web application.
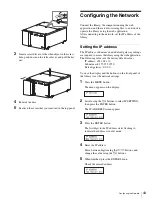
Removing a disc in an emergency
Use the following procedure to remove a disc when the
library power supply is off.
1
Check that the power supply is turned off.
If the following procedure is performed with the
power supply turned on, the disc transport mechanism
may be damaged.
2
Remove the screw from the top panel of the library
using a coin or similar object.
6
5
7
8
9
10
Label attachment point facing up
Notes
Note
Groove on
bins
Protrusion


