Sony VX-1000
Page 3
Releasing Steadyshot Feature:
1. Slide OPEN and open the battery door cover.
2. Set the STEADYSHOT MODE on the rear of the battery cover
to OFF so that the “hand” indicator disappears.
To Activate Steadyshot Feature:
1. Set to Steadyshot to ON to display the “hand” indicator in the
viewfinder.
Note: the Steadyshot feature detects and compensates for normal
camera- shake, but this wont correct for excessive camera-shake.
Using the Overlap Function:
1. Slide OPEN and open the battery cover.
2. Set DIGITAL MODE on the rear of battery cover to OVERLAP.
3. Press FADER/OVERLAP repeatedly until “OVERLAP” appears
in the viewfinder. The stored last scene overlaps the scene being
shot.
4. Press START/START to start recording.
The scene being shot gradually fades in over the still picture of the
last recorded scene.
Notes on overlap function:
* You cannot set D ZOOM to ON. Once you set DIGITAL MODE
to OVERLAP, D ZOOM settings are changed to OFF automati-
cally.
Using the Fading Function:
1. Follow the steps in “Using the Overlap Function.”
2. In step 3, press FADER/OVERLAP repeatedly until “FADER”
appears in the viewfinder.
To use the fading function repeatedly, start from step 1 each time.
Notes on the fading and overlap function
* You cannot fade in, fade out, or use the overlap function while
you record with interval recording, cut recording or photo record-
ing.
* The last scene for overlap is stored only when you record and
press START/STOP again (recording standby/pause mode) before
using overlap. In other cases, this camcorder starts Rec Review
automatically to store the picture on the tape before it overlaps the
scene being shot.
Focusing Manually:
1. Set FOCUS to MANUAL while the
camcorder is recording or in Standby
mode. A “
☞
” appears in the
viewfinder.
2. Keep pushing the “ T ” (telephoto) side
of the zoom button until the zooming stops.
3. Turn the focus ring to achieve a sharp
focus. Turn the focus ring until
appears in the viewfinder in focus.
4. Set the desired shot length using the
zoom button.
Using the PROGRAM AE Function:
1. Set HOLD/AUTO LOCK selector to the center (auto lock
release) position.
2. Press PROGRAM AE repeatedly to
select the desired mode.
The modes changes AE A (Priority to
iris) AE S (Priority to shutter speed),
(Twilight) or No indication (Manual),
cyclically in the viewfinder.
* Turn the CONTROL dial to select the
desired exposure (iris) or shutter speed.
Two Ways of
Adjusting the
White
Balance:
1. Set HOLD/AUTO
LOCK selector to the
center (auto lock
release) position
while the camcorder
is in Standby mode.
2. Press WHT BAL
repeatedly to select
the appropriate white
balance mode.
Each time you press the button, the indicator inside the viewfinder
changes: No indicator (auto), "sun" (outdoor), "bulb" (indoor).
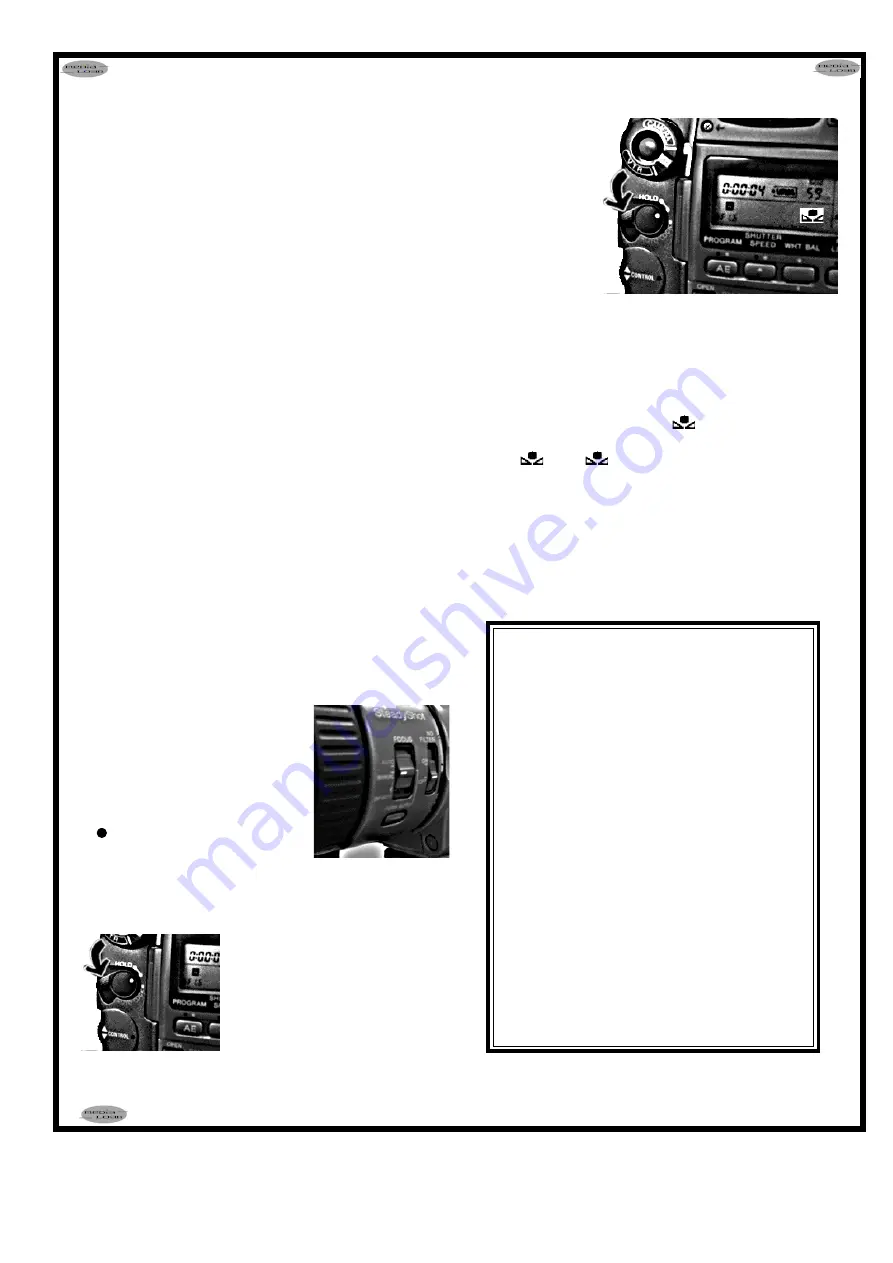
One-push White Balance Mode:
1. Set HOLD/AUTO LOCK selector to the center (auto lock
release) position.
2. Press WHT BAL twice to display
in the viewfinder.
3. Shoot a white object such as paper fully in the viewfinder.
4. Press
The
indicator flashes rapidly. When the
white balance has been adjusted and stored in memory, the
indicator stops flashing.
➮
➮
Charging the Battery Pack:
1. Connect the AC power adapter to a
wall outlet.
2. Align the surface of the battery pack
indicated by the ( mark with the edge of
the terminal shutter of the AC power
adapter. Then fit and slide the battery
pack in the direction of the arrow. The
CHARGE lamp (orange) lights up.
Charging begins.
When charging is completed, the
CHARGE lamp goes out. Unplug the
unit from the wall outlet.
Charging Time: 190 minutes
Battery Life:
*Typical recording time: 40 minutes
*Continuous using time: 80 minutes


