Using PhotoAlbum
Capture your special photos in an organized photo album. You can share your custom-made photo albums with friends and
family.
1.
Click
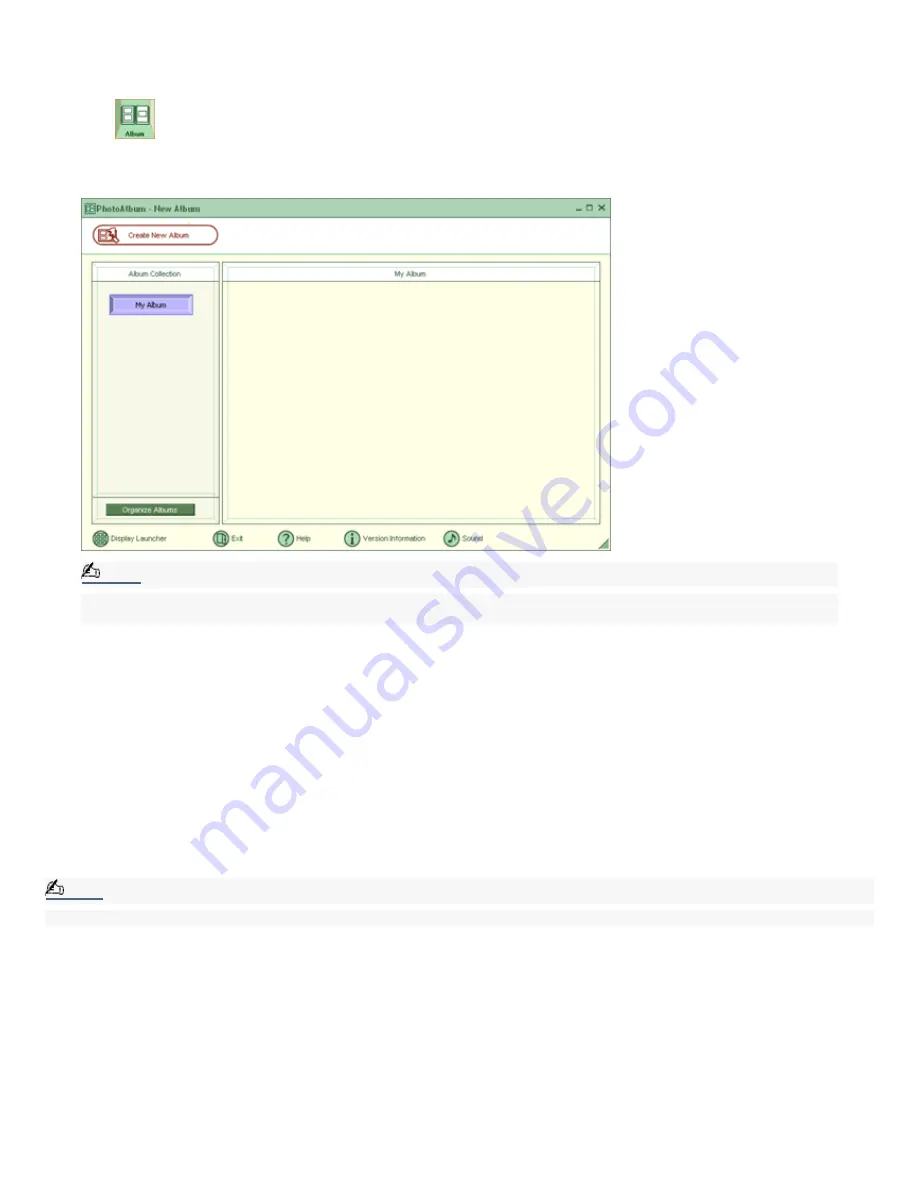
(Album) to open the PhotoAlbum - New Album window.
PhotoAlbum - New Album window
Note:
If you wish to work on a previously created album, do not click Create New Album. Instead, select the desired
album from the Album Collection view on the right side of the window.
2.
Click Create New Album. The Select Photo window appears.
3.
Select the photos you want to include in your album from the available folders displayed. Click List to select
individual pictures from each folder. The Select Design window appears.
4.
Select a design template for your album. Use the scroll bar to see all available designs. When you have selected
the design, the Select Layout window appears.
5.
Select a page layout for your album. A preview of your selected design and page layout is displayed. Scroll
through the album using the book icons at the bottom of the window.
6.
Click Page List to edit your album. Customize your album by adding more pictures, decorations, comments, or
deleting pages.
7.
You can save your album before printing by clicking Save.
8.
Click Print. Select an album type, and click Print again.
Note:
For information on stitching your album, click Stitch Album. See the online Help file for more details.
Page 131
Содержание VAIO PCG-GR300K
Страница 9: ...Some functions are not available until Windows launches Page 9 ...
Страница 62: ...5 Turn on the notebook Page 62 ...
Страница 103: ...Battery icon descriptions Battery icon Battery status Charging Fully charged Discharging No battery Page 103 ...
Страница 129: ...6 Click Print All to print all pages or click Print the selected page only to print a specific page of photos Page 129 ...
Страница 133: ...See the online Help for detailed information on using DigitalPrint software Page 133 ...


