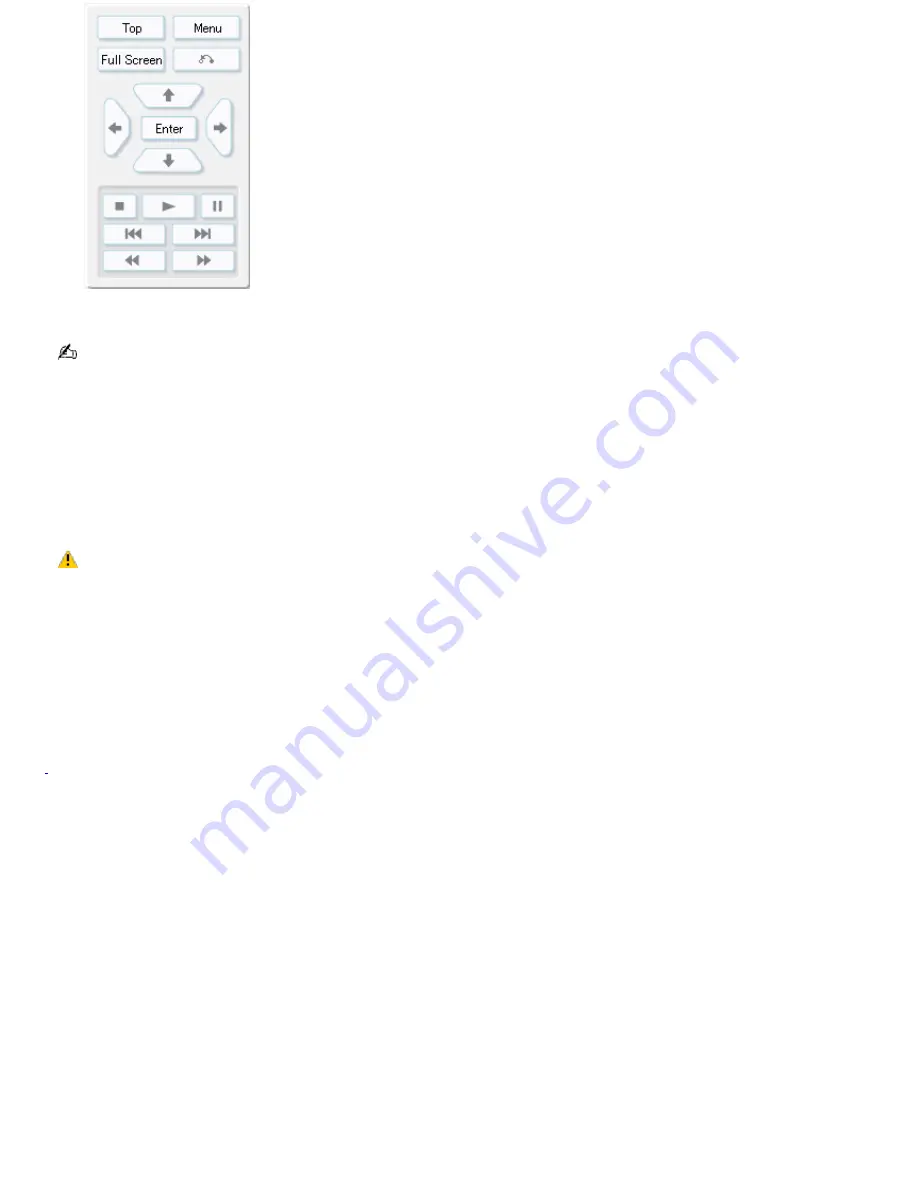
3.
After previewing the DVD, click
Close
.
After viewing your DVD, you can make further changes by returning to the
Create Menu
feature.
To burn your DVD
1.
When your DVD project is complete, click
Create DVD!
to begin burning the project to a DVD disc.
2.
At the message prompt,
Insert a recordable DVD disc into the drive, and click OK to continue
, insert a blank
DVD-R, a DVD-RW, a DVD+R, or a DVD+RW disc into your DVD-RW or DVD±RW drive, and then click
OK
.
The Click to DVD software program begins burning your DVD.
Creating a DVD can require several hours to complete. Interrupting the DVD creation process can result
in an unusable DVD disc. Sony recommends that you do not use other software applications on your computer while
Click to DVD software is burning your DVD.
While the Click to DVD program is creating a DVD, you may see your computer's hard disk drive access indicator
flash repeatedly. This is normal behavior.
3.
When Click to DVD software finishes burning the DVD, click
No
.
The DVD-RW or DVD±RW drive tray opens.
The DVD is now ready for use in a home DVD player or on a computer with a DVD drive and DVD player software.
1
Do not c lic k C reate DV D! at this s tage, as this s tarts the DV D burning proc es s . Y ou are not able to make any c hanges to your video c ontent onc e the DV D
has been c reated.
Page 88


