17
GB
D:\NORM'S JOB\SO0135\4262412121_GB\GB04GET_STR-DH720-CEL.fm
masterpage: Right
STR-DH720
4-262-412-
12
(1)
Getting started
You can enjoy your audio/video equipment connected to the receiver by following the simple steps
below.
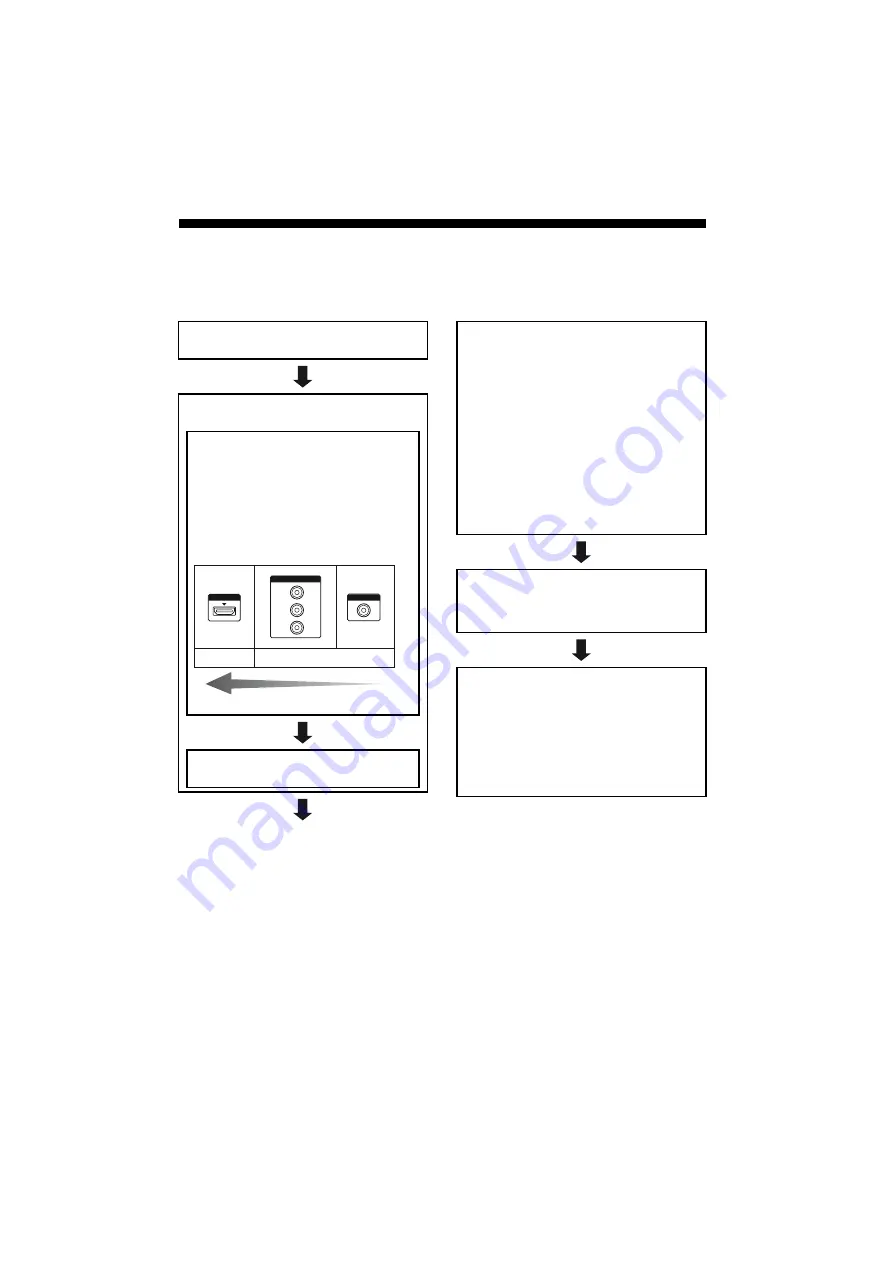
Installing and connecting the
speakers (page 18, 20)
Checking the connection
appropriate for your equipment
Connecting the TV and video
equipment (page 22, 23)
The image quality depends on the connecting
jack. See the illustration below. Select the
connection according to the jacks on your
equipment.
We recommend that you connect your video
components via HDMI connection if they have
HDMI jacks.
Connecting the audio equipment
(page 31)
HDMI
VIDEO
COMPONENT VIDEO
Y
P
B
/C
B
P
R
/C
R
Analog
High quality image
Digital
Setting the audio output settings on
the connected equipment
To output multi channel digital audio, check the
digital audio output setting on the connected
equipment.
For a Blu-ray Disc player, check that “Audio
(HDMI)”, “Dolby Digital (Coaxial/Optical)”, and
“DTS (Coaxial/Optical)” are set to “Auto”,
“Dolby Digital” and “DTS” respectively (as of
September 2010).
For a PlayStation 3, check that “BD/DVD Audio
Output Format (HDMI)” is set to “Bitstream”
(with system software version 3.5).
For details, refer to the operating instructions
supplied with the connected equipment.
Preparing the receiver
See “6: Connecting the AC power cord (mains
lead)” (page 32) and “Initializing the receiver”
(page 33).
Setting the speakers
Select the speaker pattern (page 33), then perform
Auto Calibration (page 34).
Note
You can check the speaker connection using
“Test Tone” (page 65). If the sound is not output
correctly, check the speaker connection and make
the settings explained above again.


