
5
RM-AX4000
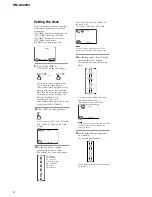
CLOCK
SU
AM
LEARN
NG
SET
SET
STD_TIME
Notes
• If you press the
g
button, the minute is
set and the setting mode returns to step 3.
• If you press the
G
button, the minute is
eturns to step 4.
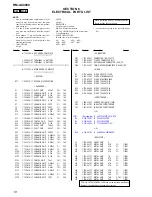
6
Press “SET” on the Label keys.
The beep sounds, and the clock starts
from the 0 second of the current
minute.
Note
If you press the SET key in any step above, the
clock starts from the 0 second of the current
minute.
set and the setting mode r
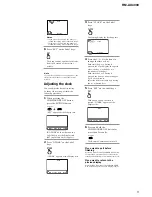
Adjusting the clock
You can adjust the clock after setting.
To change this setting, perform the
following procedure.
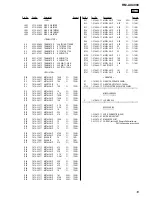
1
While pressing the
COMMANDER OFF button,
press the MUTING button.
MUTING
OFF
COMMANDER
“SET” appears as the Display title.
If “OTHER” does not flash on the
Label keys, press the Display title
(SET) repeatedly until it appears.
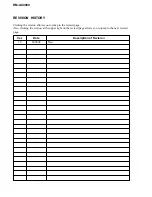
2
Press “OTHER” on the Label
keys.
OTHER
“OTHER” appears as the Display title.
OTHER
SU
LEARN
NG
BEEP DS_TIME CLOCK RESET
SET
SU
LEARN
NG
PRESET LEARN MACRO TIMER
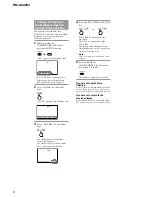
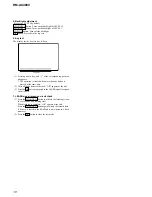
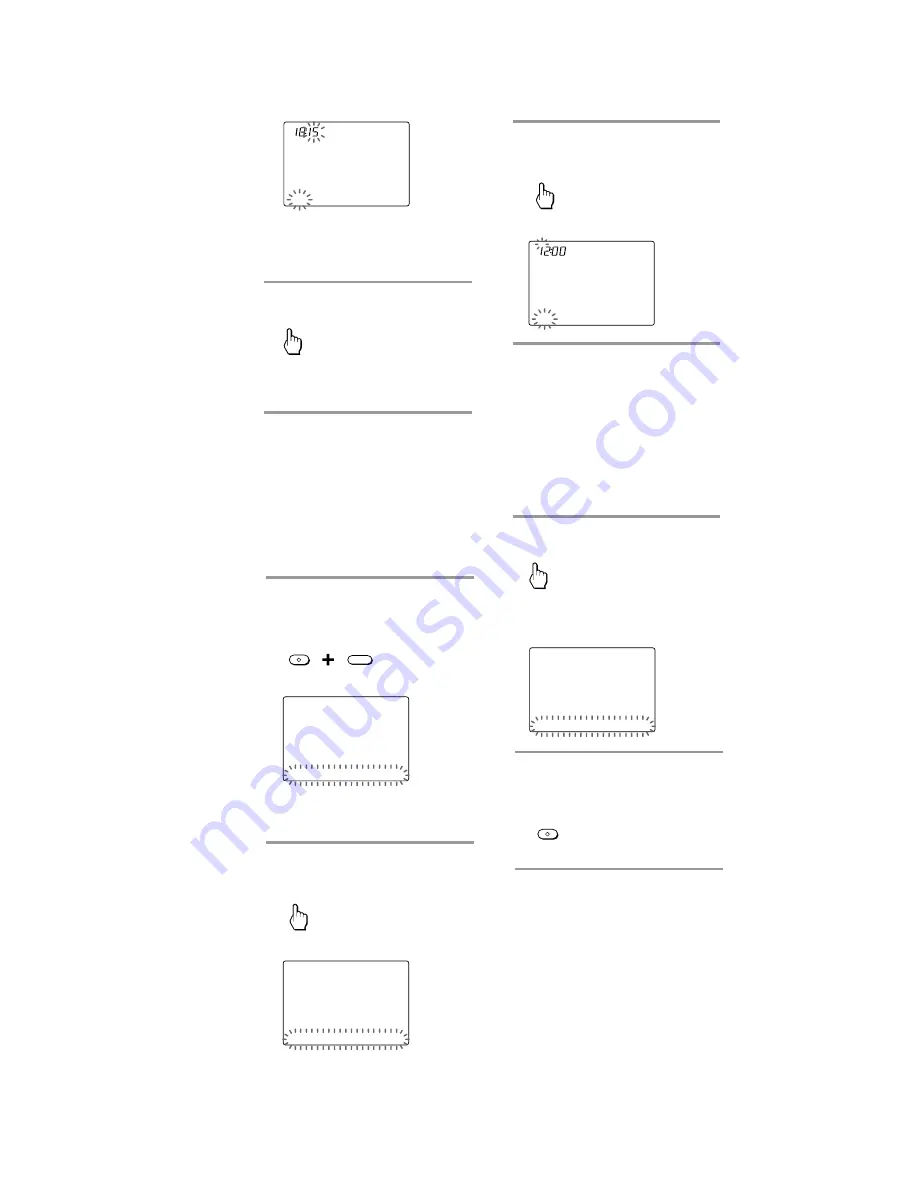
3
Press “CLOCK” on the Label
keys.
CLOCK
The setting display for clock appears.
CLOCK
SU
AM
LEARN
NG
SET
STD_TIME
4
Press the
F
/
f
/
g
/
G
buttons to
change the time or day.
Each time the
G
or
g
button is
pressed, the Clock display changes in
order (the day
y
the hour
y
the minute
y
the day).
Each time the
F
or
f
button is
pressed, the hour or minute changes
by 1 hour or minute.
Select the hour or minute by pressing
the (
G
/
g
) button first.
5
Press “SET” on the Label keys.
SET
With a beep sound, the clock is
started. “OTHER” appears as the
Display title.
OTHER
SU
LEARN
NG
BEEP DS_TIME CLOCK RESET
6
Press and hold the
COMMANDER OFF button for
more than 2 seconds.
OFF
COMMANDER
The Remote Commander turns off.
If you want to quit before
finishing
Press and hold the COMMANDER OFF button
for more than 2 seconds. The previous status
returns, and the Remote Commander turns off.
If you want to return to the
previous display
Press the BACK button or the COMMANDER
OFF button, the previous LCD display returns.


