1-22
90
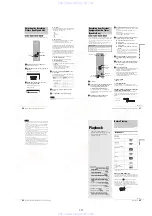
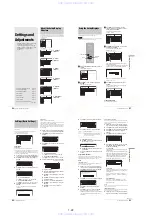
About the Setup Display Structure
Settings and
Adjustments
The Setup Displays allow you to adjust the
recorder to suit your preferences.
This section first lists the types of Setup
Displays, and then explains how to use the
Setup Displays (“Using the Setup
Displays”).
About the Setup Display
Structure
By using the Setup Displays, you can make various adjustments
to items such as picture and sound, as well as select a language
for the subtitles.
Select “SETUP”
1.
“
Settings
”
(page 92)
2.
“
Video
”
(page 94)
3.
“
Audio
”
(page 95)
4.
“
Features
”
(page 97)
5.
“
Options
”
(page 99)
6.
“
Easy Setup
”
(page 100)
Settings
Video
Audio
Features
Options
Easy Setup
TV Type :
Pause Mode :
Component Black Level :
Progressive Mode :
Line1 Input :
Line3 Input :
4 : 3 Letter Box
Auto
On
Auto
Video
Video
SETUP
Settings
Video
Audio
Features
Options
Easy Setup
Auto Stereo :
Tuner Audio :
Audio ATT :
Audio DRC :
Downmix :
Digital Out :
Dolby Digital
DTS :
On
Main
Off
Standard
Dolby Surround
On
D-PCM
Off
SETUP
Settings
Video
Audio
Features
Options
Easy Setup
Auto Chapter :
Parental Control
One Touch Dubbing
6 Min
SETUP
Settings
Video
Audio
Features
Options
Easy Setup
Format Disc :
Dimmer :
Auto Display :
Command Mode :
Factory Setup
Selectable
Bright
On
DVD3
SETUP
Settings
Video
Audio
Features
Options
Easy Setup
Easy Setup
SETUP
TITLE LIST
TIMER
TIMER LIST
DV/D8 EDIT
SETUP
Plays/erases/edits recorded titles.
SYSTEM
MENU
DVD Recorder
Dual RW
Compatible
System Menu
Setup Displays
m
SETUP
Settings
Video
Audio
Features
Options
Easy Setup
Tuner Preset
Set VCR Plus+ Channels
Clock
Language
•
About the Setup Display Structure
. . .
page 90
•
Using the Setup Displays
. . . . . . . . . .
page 91
•
Settings (Basic Settings)
. . . . . . . . . .
page 92
•
Video Settings
. . . . . . . . . . . . . . . . . .
page 94
•
Audio Settings
. . . . . . . . . . . . . . . . . .
page 95
•
Features Settings
. . . . . . . . . . . . . . . .
page 97
•
Options Settings
. . . . . . . . . . . . . . . . .
page 99
•
Easy Setup (Resetting the Recorder)
. . . . . . . . . . . . . . . . . . . . . . . . . .
page 100
91
Using the Setup Displays
S
e
ttings and A
d
jus
tments
Using the Setup Displays
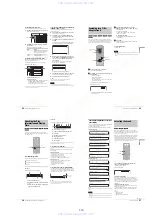
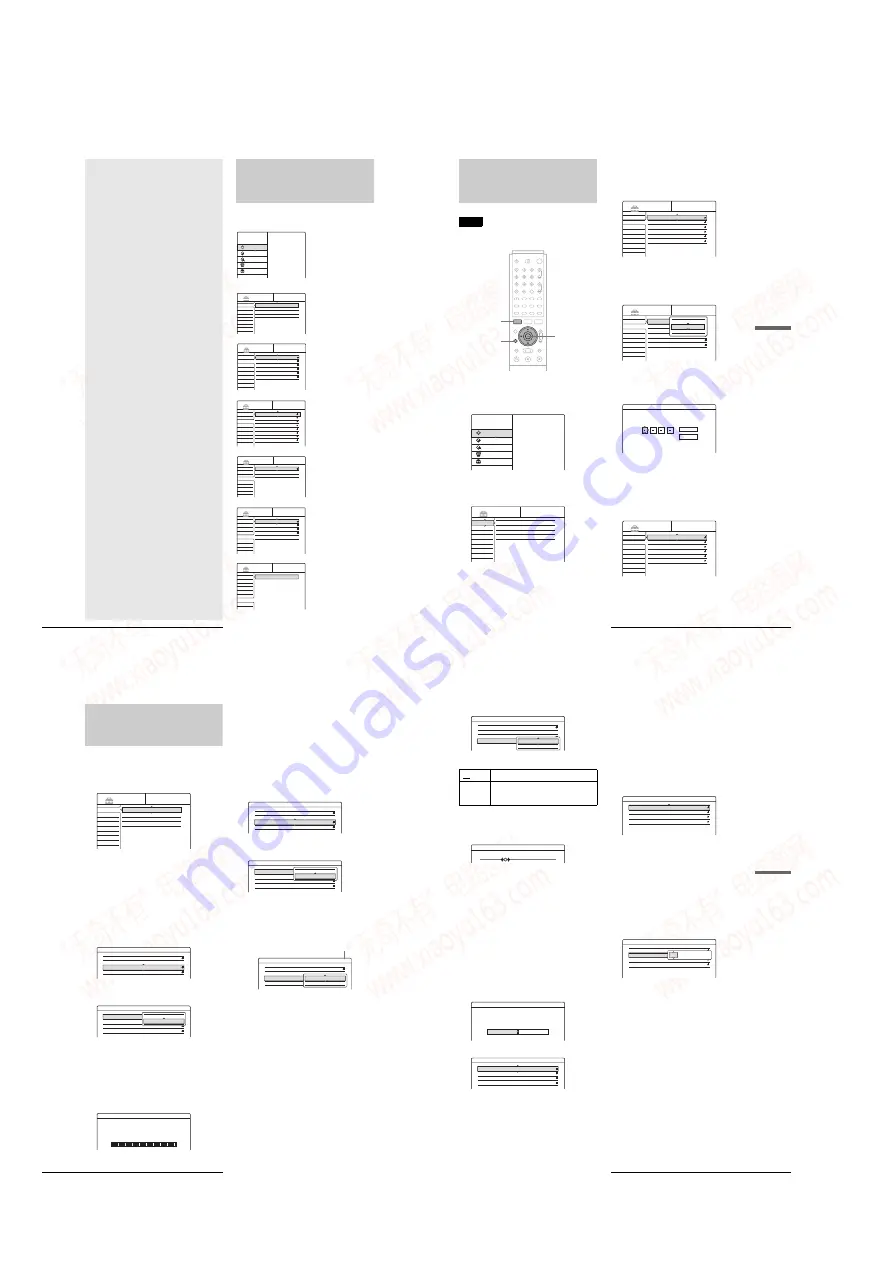
The Setup Displays are used in the following way.
Note
Playback settings stored in the disc take priority over the Setup Display
settings, and not all the functions described may work.
a
Press SYSTEM MENU while the recorder is
stopped.
The System Menu appears.
b
Press
M
/
m
to select “SETUP,” then press
ENTER.
The Setup Display appears.
c
Press
M
/
m
to select “Settings,” “Video,”
“Audio,” “Features,” “Options,” or “Easy
Setup,” then press ENTER.
The selected Setup Display appears.
Example: “Video”
d
Press
M
/
m
to select the item you want to set
up, then press ENTER.
Available options for the item appear.
Example: “TV Type”
Some items display a dialogue box that provides
further detailed settings.
Example: The following dialogue box appears when
“Parental Control” in Features Setup is selected.
In this case, see “Parental Control” in “Features
Settings” (page 97).
e
Press
M
/
m
to select an option, then press
ENTER.
The set option is displayed next to the setup item.
Example: when “16:9” is set.
To turn off the display
Press SYSTEM MENU repeatedly.
<
/
M
/
m
/
,
,
ENTER
RETURN
SYSTEM MENU
TITLE LIST
TIMER
TIMER LIST
DV/D8 EDIT
SETUP
Plays/erases/edits recorded titles.
SYSTEM
MENU
DVD Recorder
Dual RW
Compatible
SETUP
Settings
Video
Audio
Features
Options
Easy Setup
Tuner Preset
Set VCR Plus+ Channels
Clock
Language
Settings
Video
Audio
Features
Options
Easy Setup
TV Type :
Pause Mode :
Component Black Level :
Progressive Mode :
Line1 Input :
Line3 Input :
4 : 3 Letter Box
Auto
On
Auto
Video
Video
SETUP
Settings
Video
Audio
Features
Options
Easy Setup
SETUP
TV Type :
Pause Mode :
Component Black Level :
Progressive Mode :
Line1 Input :
Line3 Input :
4 : 3 Letter Box
Auto
On
Auto
Video
Video
16 : 9
4 : 3 Letter Box
4 : 3 Pan Scan
Features - Parental Control
Enter your password.
OK
Cancel
Settings
Video
Audio
Features
Options
Easy Setup
SETUP
TV Type :
Pause Mode :
Component Black Level :
Progressive Mode :
Line1 Input :
Line3 Input :
16 : 9
Auto
On
Auto
Video
Video
92
Settings (Basic Settings)
Settings (Basic Settings)
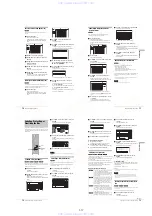
The Settings Setup helps you to make fundamental settings for
the recorder.
Select “Video” in the Setup Display. To use the display, see
“Using the Setup Displays” (page 91).
The default settings are underlined.
to select “Tuner Preset,” then press
to select “Antenna/Cable,” then press
◆
To preset cable TV channels
Press
M
/
m
to select “Cable,” then press ENTER.
◆
To preset VHF and UHF channels
Press
M
/
m
to select “Antenna,” then press ENTER.
4
Press
M
/
m
to select “Auto Preset,” then press
ENTER.
All receivable channels are preset in numerical
sequence.
◆
Manual Set
Presets or disables channels manually.
If some channels could not be set using the Auto Preset or Easy
Setup function, you can set them manually.
If there is no sound or if the picture is distorted, the tuner system
may not have been preset correctly or completely during Auto
Preset or Easy Setup. Set the correct tuner system manually by
the steps below.
1
Follow steps 1 to 3 of “Using the Setup Displays”
(page 91) to select “Settings” in the Setup Display.
2
Press
M
/
m
to select “Tuner Preset,” then press
ENTER.
to select “Antenna/Cable,” then press
To preset cable TV channels
to select “Cable,” then press ENTER.
To preset VHF and UHF channels
to select “Antenna,” then press ENTER.
Select the channel you want to preset or disable.
To preset a channel
Enter the channel number using the number
button(s), then press SET.
B
Press
M
/
m
to select “Manual Set,” then press
ENTER.
C
Press
M
/
m
to select “Add,” then press ENTER.
◆
To disable a channel
A
Press CH +/– to select the channel number.
B
Press
M
/
m
to select “Manual Set,” then press
ENTER.
C
Press
M
/
m
to select “Erase,” then press
ENTER.
SETUP
Settings
Video
Tuner Preset
Set VCR Plus+ Channels
Antenna / Cable :
Auto Preset
Manual Set :
AFT :
Cable
Add
On
Antenna
Cable
Settings - Tuner Preset - Auto Preset
Searching for receivable channels.
Please Wait.
Ch 23
Settings - Tuner Preset
Ch1
Antenna / Cable :
Auto Preset
Cable
Add
On
Settings - Tuner Preset
Ch1
Cable
Add
On
Antenna
Cable
Settings - Tuner Preset
Ch34
Antenna / Cable :
Cable
Add
On
Add
Erase
Channel to be preset/disabled
93
Settings (Basic Settings)
S
e
ttings and A
d
jus
tments
5
Press
M
/
m
to select “AFT,” then press ENTER.
6
Press
M
/
m
to select “On,” then press ENTER.
◆
If the picture is not clear
A
Press
M
/
m
to select
“
Off,
”
then press ENTER.
The fine tuning bar appears.
B
Press
<
/
,
to obtain a clearer picture, the
press ENTER.
7
To preset or disable another channel, repeat steps
3 and 6.
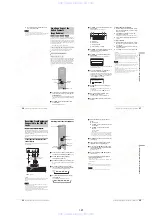
Set VCR Plus+ Channels
Sets up the guide channel number assigned to each channel.
You need to set this correctly when you set the timer recording
using the VCR Plus+ function. For details, see page 25.
Clock
◆
Auto (Auto Clock Set)
Turns on the Auto Clock Set function when a channel in your
local area broadcasts a time signal.
1
Follow steps 1 to 3 of “Using the Setup Displays”
(page 91) to select “Settings” in the Setup Display.
2
Press
M
/
m
to select “Clock,” then press ENTER.
3
Press
<
/
,
to select “Auto,” then press ENTER.
4
Press
M
/
m
to select “Full Auto,” then press
ENTER.
5
Press
M
/
m
to select “Yes,” then press ENTER.
The recorder automatically sets the clock by
searching for a channel that carries a time signal and
sets your time zone and Daylight Saving Time (if
applicable).
◆
If the clock does not activate
If your clock is set to the wrong time zone or Daylight Saving
Time, you can adjust these settings without turning off the Auto
Clock Set function.
1
Follow steps 1 to 3 of “Using the Setup Displays”
(page 91) to select “Settings” in the Setup Display.
2
Press
M
/
m
to select “Clock,” then press ENTER.
3
Press
<
/
,
to select “Auto,” then press ENTER.
4
Press
M
/
m
to select “Full Auto,” then press
ENTER.
5
Press
M
/
m
to select “No,” then press ENTER.
6
Press
M
/
m
to select the item you want to set and
press ENTER. Then press
M
/
m
to make the
setting and press ENTER.
◆
Clock Set CH
Select a channel that carries a time signal using the
number buttons.
Use this option if you know of a channel that carries
a time signal. Most PBS member stations broadcast a
time signal. For the fastest response select your local
PBS station. Leave the setting at “--” to have the
recorder automatically search for a channel that
carries a time signal. To return to “- -,” enter “0.”
◆
Time Zone
Select the time zone of your area, or select “Auto” to
have the recorder automatically set your time zone.
The options are:
Auto
y
Atlantic
y
Eastern
y
Central
y
Mountain
y
Pacific
y
Alaska
y
Hawaii
y
Auto
◆
Daylight Saving
Select “On” or “Off” (standard time), or select
“Auto” to have the recorder automatically set the
daylight saving time.
z
Hint
If you set “Full Auto” to “Yes,” the Auto Clock Set function is activated
whenever the recorder is turned off.
◆
Manual (Manual Clock Set)
If the Auto Clock Set function did not set the clock correctly for
your local area, set the clock manually.
1
Follow steps 1 to 3 of “Using the Setup Displays”
(page 91) to select “Settings” in the Setup Display.
On
Normally select this.
Off
Allows you to adjust the pictures manually.
Select this if the Auto Fine Tuning function
does not work effectively.
Settings - Tuner Preset
Ch1
Antenna / Cable :
Auto Preset
Manual Set :
AFT :
Cable
Add
On
On
Off
Fine Tuning
Ch34
Settings - Clock
Select a method for setting the clock.
If you select "Auto", this recorder will look for a
time signal when you turn it off.
Auto
Manual
Settings - Clock - Auto Clock Set
Full Auto :
Clock Set CH :
Time Zone :
Daylight Saving :
Yes
– –
Settings - Clock - Auto Clock Set
Full Auto :
Clock Set CH :
Time Zone :
Daylight Saving :
No
– –
Auto
Auto
Settings - Clock - Auto Clock Set
Full Auto :
Clock Set CH :
Time Zone :
Daylight Saving :
No
– –
Auto
Auto
– –
,
continued
www. xiaoyu163. com
QQ 376315150
9
9
2
8
9
4
2
9
8
TEL 13942296513
9
9
2
8
9
4
2
9
8
0
5
1
5
1
3
6
7
3
Q
Q
TEL 13942296513 QQ 376315150 892498299
TEL 13942296513 QQ 376315150 892498299


