1-19
79
Settings and
Adjus
tments
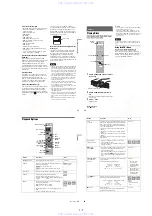
Press ENTER, and select “Dolby Digital Output”
or “DTS.”
If you connect a component that does not accept
the selected audio signal, a loud noise (or no
sound) will come out from the speakers, and may
affect your ears or cause speaker damage.
• Dolby Digital Output (DVDs only)
Selects the type of Dolby Digital signal.
• DTS (DVD VIDEOs only)
Selects whether or not to output DTS signals.
Downmix (DVDs only)
Switches the method for mixing down to two
channels when you play a DVD which has rear
sound elements (channels) or is recorded in Dolby
Digital format. For details on the rear signal
components, see “
A
Connecting to audio L/R
jacks” on page 18. This function affects the output
of the following jacks:
– LINE OUT (AUDIO L/R) 1/2 jacks
– DIGITAL OUT (OPTICAL or COAXIAL) jack
when “Dolby Digital Output” is set to “D-PCM”
(page 78).
Audio DRC (Dynamic Range Control) (DVDs
only)
Makes the sound clear when the volume is turned
down when playing a DVD that conforms to
“Audio DRC.” This affects the output from the
following jacks:
– LINE OUT (AUDIO L/R) 1/2 jacks
– DIGITAL OUT (OPTICAL or COAXIAL) jack
only when “Dolby Digital Output” is set to “D-
PCM” (page 78).
Scan Audio (DVDs only)
Note
Sound will be interrupted during Scan Audio.
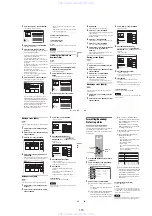
D-PCM
Select this when the recorder
is connected to an audio
component lacking a built-in
Dolby Digital decoder. You
can select whether the
signals conform to Dolby
Surround (Pro Logic) or not
by making adjustments to
the “Downmix” item in
“Audio” setup (page 79).
Dolby
Digital
Select this when the recorder
is connected to an audio
component with a built-in
Dolby Digital decoder.
On
Select this when the recorder
is connected to an audio
component with a built-in
DTS decoder.
Off
Select this when the recorder
is connected to an audio
component without a built-in
DTS decoder.
10:10 AM
Dolby Digital Output
DTS
Digital Out
: 4:3 Letter Box
On
Setup
Disc Setting
Edit
Title List
Timer
DV/D8 Dubbing
D-PCM
Dolby Digital
Dolby
Surround
Normally select this
position.
Multi-channel audio signals
are output to two channels
for enjoying surround
sounds.
Normal
Multi-channel audio signals
are downmixed to two
channels for use with your
stereo.
Standard
Normally select this
position.
Wide
Range
Gives you the feeling of
being at a live performance.
On
Outputs audio signals during
FF1 fast-forward of a DVD
disc with Dolby Digital
soundtracks.
Off
No sound is output during
FF1 fast-forward.
,
continued
80
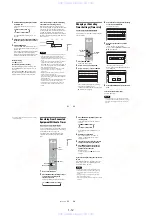
DV Audio Input
Note
Select “Stereo 2” or “Mix” if you have added a second
audio channel when recording with your digital video
camera.
Line Audio Input
When recording from equipment connected to the
LINE 1 IN or LINE 2 IN jack to a DVD disc in this
recorder, select line input audio.
z
Hint
Audio selected with the connected equipment is recorded
on a disc other than DVD-RWs(VR mode).
Recording Settings
(Features)
The “Features” setup allows you to adjust
recording settings.
1
Press SYSTEM MENU while the recorder is
in stop mode.
2
Select “Setup,” and press ENTER.
3
Select “Features,” and press ENTER.
The “Features” setup appears with the
following options. The default settings are
underlined.
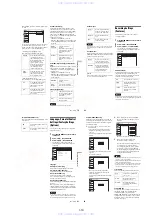
DVD Auto Chapter
Automatically divides a recording (a title) into
chapters by inserting chapter markings at
specified intervals. The markings are inserted
while the recording is being made.
Note
Actual intervals may differ depending on the size of the
recording. The selected setting should be regarded as an
approximate chapter interval.
Stereo 1
Records original sound only.
Normally select this when
dubbing a DV format tape.
Stereo 2
Records additional audio
only.
Mix
Records both original and
additional sounds.
Stereo
Records stereo sound only.
Select this for discs other
than DVD-RWs (VR mode).
Main/Sub
Records the two different
soundtracks on DVD-RWs
(VR mode). You can select
either soundtrack when
playing back the disc.
Off
No chapter mark is inserted.
5 Min
Inserts chapter marks at
approximately 5 minute
intervals.
15 Min
Inserts chapter marks at
approximately 15 minute
intervals.
Setup
Disc Setting
Edit
Title List
Timer
10:10 AM
DVD Auto Chapter
Format DVD
Features
: 5 Min
: VR
DV/D8 Dubbing
81
Settings and
Adjus
tments
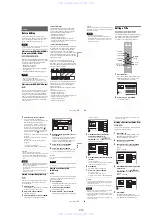
Format DVD (DVD-RWs only)
Selects the format for an unused DVD-RW, when
first inserted.
Language, Parental Control
Settings/Factory Settings
(Options)
The “Options” setup allows you to set up other
operational settings.
1
Press SYSTEM MENU while the recorder is
in stop mode.
2
Select “Setup,” and press ENTER.
3
Select “Options,” and press ENTER.
The “Options” setup appears with the
following options. The default settings are
underlined.
Language
◆
OSD (On-Screen Display)
Switches the display language on the screen.
◆
Disc Menu (DVD VIDEOs only)
Switches the language for the DVD menu.
◆
Audio (DVD VIDEOs only)
Switches the language of the soundtrack.
When you select “Original,” the language given
priority in the disc is selected.
◆
Subtitle (DVD VIDEOs only)
Switches the language of the subtitles recorded on
the disc.
When you select “Auto,” the subtitle language
changes according to the language you selected
for the soundtrack. See page 96 for an explanation
of the language abbreviations.
Note
If you select a language in “Disc Menu,” “Subtitle,” or
“Audio” that is not recorded on the DVD VIDEO, one of
the recorded languages will be automatically selected.
VR
Automatically formats the disc in
VR mode.
Video
Automatically formats the disc in
Video mode.
Language
Parental
Front Display
Command Mode
Factory Setting
: Auto
: DVD 3
10:10 AM
Options
Setup
Disc Setting
Edit
Title List
Timer
DV/D8 Dubbing
,
continued
82
Parental (DVD VIDEOs only)
Playback of some DVD VIDEOs can be limited
according to a predetermined level, such as the age
of the users. Scenes may be blocked or replaced
with different scenes.
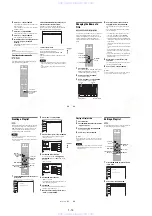
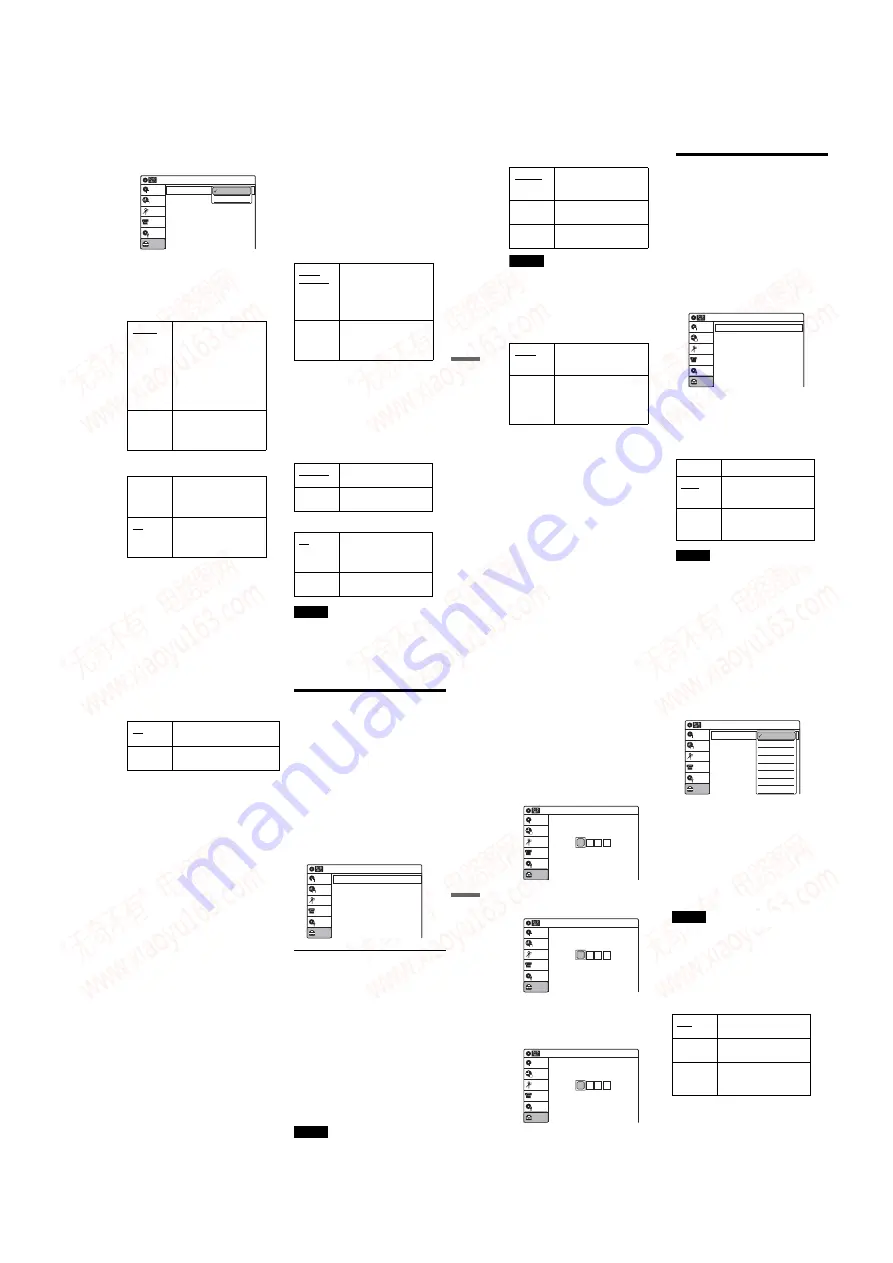
1
After step 3 above, select “Parental,” and
press ENTER.
• If you have not entered a password, the
display for registering a new password
appears.
Enter a 4-digit password using the number
buttons.
The display for confirming the password
appears.
Re-enter the password.
• When you have already registered a
password, the display for entering the
password appears.
Enter a 4-digit password using the number
buttons.
2
Select “Rating Level,” and press ENTER.
The selection items for “Rating Level” are
displayed.
The lower the value, the stricter the limitation.
3
Select the level, and press ENTER.
The Parental setting is complete.
• To cancel the Parental setting for the disc,
set “Rating Level” to “Off” in step 3.
• To change the password, select “Change
Password” in step 2, and press ENTER.
When the display for registering a password
appears, enter a new four-digit password
using the number buttons.
Notes
• If you forget your password, select “Factory Setting” of
“Options” in the “Setup” display.
• Playback of discs without the Parental Control function
cannot be limited on this recorder.
• Depending on the disc, you may be asked to change the
Parental Control level while playing the disc. In this
case, enter your password, then change the level.
Front Display
Adjusts the lighting of the front panel display.
Command Mode
Changes the command mode of this recorder if
other DVD equipment is assigned the same
command mode. Be sure to match the
COMMAND MODE switch on the remote to the
setting made here. For details, see “If you have a
Sony DVD player or more than one Sony DVD
recorder” on page 24.
10:10 AM
Create the password.
Create the password.
Setup
Disc Setting
Edit
Title List
Timer
DV/D8 Dubbing
10:10 AM
Confirm the password.
Create the password.
Setup
Disc Setting
Edit
Title List
Timer
DV/D8 Dubbing
10:10 AM
Enter the password.
Enter the password.
Setup
Disc Setting
Edit
Title List
Timer
DV/D8 Dubbing
Auto
Adjusts to low lighting when
power is off.
Bright
Maintains bright lighting
when power is off.
Dimmer
Maintains low lighting
regardless of whether power
is on or off.
Rating Level
Change Password
: Level 1 (Kids)
10:10 AM
Parental
Setup
Disc Setting
Edit
Title List
Timer
DV/D8 Dubbing
Off
Level 8 (Adults)
Level 7
Level 6
Level 5
Level 4
Level 3
Level 2
www. xiaoyu163. com
QQ 376315150
9
9
2
8
9
4
2
9
8
TEL 13942296513
9
9
2
8
9
4
2
9
8
0
5
1
5
1
3
6
7
3
Q
Q
TEL 13942296513 QQ 376315150 892498299
TEL 13942296513 QQ 376315150 892498299


