


1-8
32
z
Hints
• If “DTS” is set to “Off” in “Audio” setup, the DTS
track selection option will not appear on the screen
even if the disc contains DTS tracks (page 88).
• When “Auto Display” is set to “On” (default) in
“Options” setup (page 92), playback information
automatically appears when the recorder is turned on,
etc.
b
Note
The letters or symbols that cannot be displayed are
replaced with “*.”
You can view the playing or time information
displayed on the TV screen and the front panel
display.
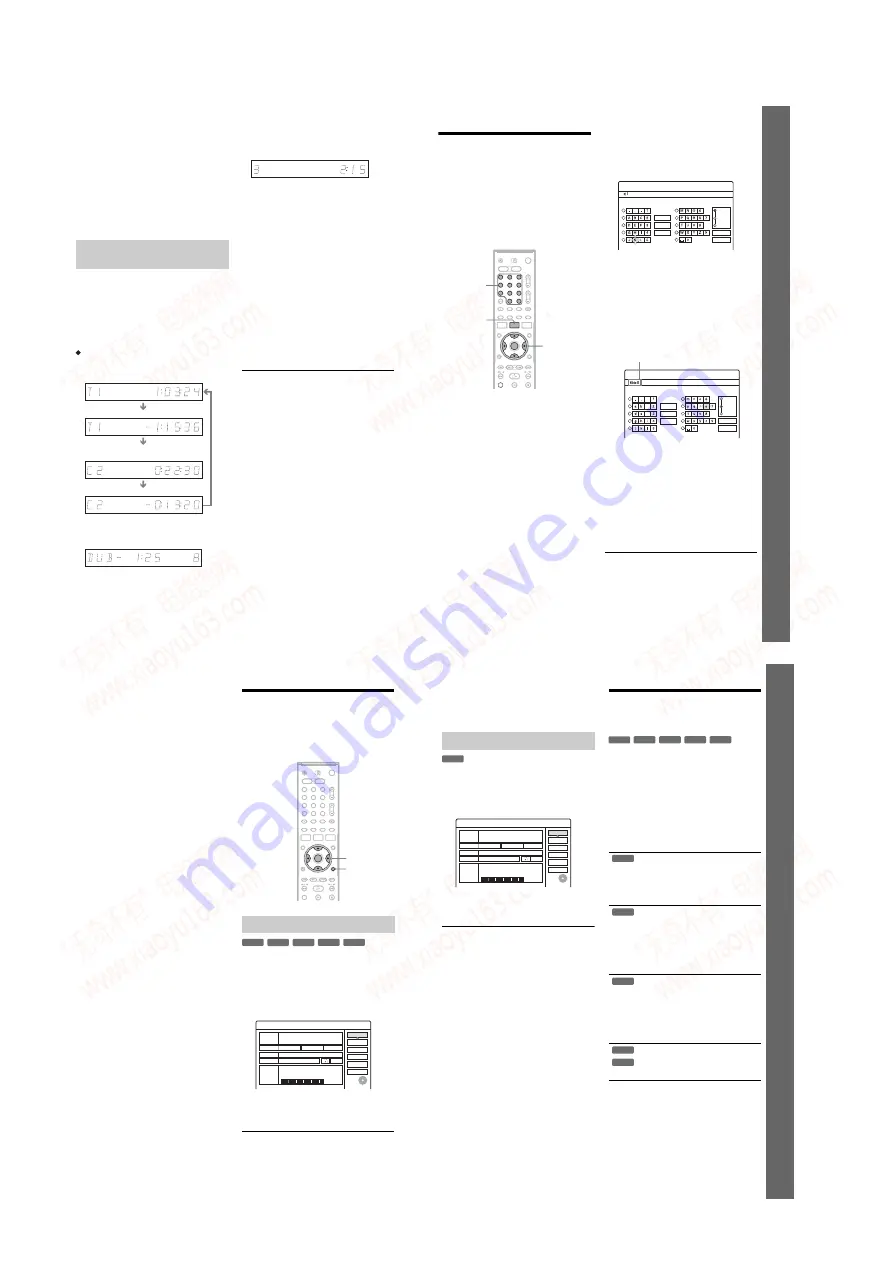
Press TIME/TEXT repeatedly.
The displays differ depending on the disc type or
playing status.
Front panel display
Example: When playing a DVD
Example: When dubbing a DVD
Example: When playing a VIDEO CD
Example: When playing a CD
Track playing time and the current track/index number
m
Remaining time of the current track
m
Playing time of the disc
m
Remaining time of the disc
m
CD text (when available)
Example: When playing an MP3 audio track
Playing time and number of the current track
m
Current album number
Example: When viewing a JPEG image
Current file number and total number of files in the
current album
m
Current album number and total number of albums
b
Notes
• The recorder can only display the first level of a CD’s
text, such as the disc name.
• The letters or symbols that cannot be displayed are
replaced with “*.”
• Playing time of MP3 audio tracks may not be displayed
correctly.
Checking the playing/remaining
time
Playing time and number of the current title
Remaining time of the current title
Playing time and number of the current
chapter
Remaining time of the current chapter
Remaining time of dubbing in progress
Playing time and number of the current
scene or track
33
Se
ve
n B
a
si
c O
p
e
rat
ion
s
—
G
e
tt
in
g
t
o
Kn
o
w
Yo
u
r DVD Re
c
o
rd
e
r
5. Changing the Name of a
Recorded Programme
You can label a DVD, title, or programme by
entering characters. You can enter up to 64
characters for a title or disc name, but the actual
number of characters displayed in the menus such
as the Title List will vary. The steps below explain
how to change the name of the recorded
programme.
1
Press TITLE LIST.
2
Select a title, and press ENTER.
The sub-menu appears.
3
Select “Title Name,” and press ENTER.
The display for entering characters appears.
4
Press
<
/
M
/
m
/
,
to move the cursor to
the right of the screen and select “A”
(upper-case), “a” (lower-case), or
“Symbol,” and press ENTER.
The characters of the selected type are
displayed.
5
Press
<
/
M
/
m
/
,
to select the character
you want to enter, and press ENTER.
The selected character appears at the top of
the display.
Example: Input Title Name
The type of characters will change according
to the language you select in “Easy Setup.”
Some languages allow you to enter an accent
mark.
To enter a letter with an accent mark, select an
accent followed by the letter.
Example: Select “ ` ” and then “a” to enter “à.”
To insert a space, select “Space.”
6
Repeat steps 4 and 5 to enter the
remaining characters.
To erase a character, move the cursor to the
right of the character at the input row. Select
“Back” and press ENTER.
To insert a character, move the cursor to the
right of the point where you want to insert the
character. Select the character and press
ENTER.
To erase all of the characters, select “Clear
All” and press ENTER.
7
Select “Finish,” and press ENTER.
To cancel the setting, select “Cancel.”
1
2
3
4
6
7
8
9
5
0
<
/
M
/
m
/
,
,
ENTER
Number
buttons, SET
TITLE LIST
"A"
Cancel
Finish
Space
Clear All
Back
1
2
3
4
5
6
7
8
9
0
Input Title Name
Symbol
"a"
Cancel
Finish
1
2
3
4
5
6
7
8
9
0
Input Title Name
-
c
f
"A"
Symbol
"a"
Space
Clear All
Back
Input row
,
continued
34
To use the number buttons
You can also use the number buttons to enter
characters.
1
In step 5 above, press a number button
repeatedly to select a character.
Example:
Press the number 3 button once to enter “D.”
Press the number 3 button three times to enter
“F.”
2
Press SET and select the next character.
3
Select “Finish” and press ENTER.
z
Hints
• You can erase all displayed characters by pressing and
holding CLEAR for 2 seconds or more.
• You can switch between “A” (upper-case), “a” (lower-
case), or “Symbol” even if you press INPUT SELECT.
6. Labelling and Protecting
a Disc
You can execute options effective for the entire
disc using the Disc Information display.
Insert a disc.
See “Inserting a Disc” on page 25.
Press TOOLS to select “Disc Info,” and
press ENTER.
Example: When the inserted disc is a DVD-
RW (VR mode).
3
Select “Disc Name,” and press ENTER.
Enter the disc name in the “Input Disc Name”
display (page 33).
Labelling a disc
1
2
3
4
6
7
8
9
0
5
TOOLS
<
/
M
/
m
/
,
,
ENTER
-RWVR -RW
Video
-
R
+
R
Off
Format
Disc Name
Disc Information
DiscName
Media
DVD-RW
Format
VR
Title no.
/ Playlist 2
2. 3 / 4. 7
Close
Erase All
Finalize
HQ : 0H30M
HSP : 0H45M
SP : 1H00M
LSP : 1H15M
LP : 1H30M
EP : 2H00M
SLP : 3H00M
SEP : 4H00M
Remainder
Date
13.10.2005 ~ 28.10.2005
Original 3
GB
Protect Disc
35
Se
ve
n B
a
si
c O
p
e
rat
ion
s
—
G
e
tt
in
g
t
o
Kn
o
w
Yo
u
r DVD Re
c
o
rd
e
r
b
Note
You can enter up to 64 characters for a DVD’s disc name.
The disc name may not appear when the disc is played on
other DVD equipment.
1
Insert a disc.
See “Inserting a Disc” on page 25.
2
Press TOOLS to select “Disc Info,” and
press ENTER.
3
Select “Protect Disc,” and press ENTER.
4
Select “Protect,” and press ENTER.
To cancel the protection
Select “Don’t Protect” in step 4.
z
Hint
You can set protection for individual titles (page 63).
7. Playing the Disc on Other
DVD Equipment (Finalize)
Finalizing is necessary when you play discs
recorded with this recorder on other DVD
equipment.
When you finalize a DVD+RW, DVD-RW
(Video mode), DVD+R, or DVD-R, a DVD menu
will be automatically created, which can be
displayed on other DVD equipment.
Before finalizing, check the differences between
the disc types in the table below.
Differences between the disc types
Protecting a disc
-RWVR
Off
Format
Disc Name
Disc Information
DiscName
Media
DVD-RW
Format
VR
Title no.
/ Playlist 2
2. 3 / 4. 7
Close
Erase All
Finalize
HQ : 0H30M
HSP : 0H45M
SP : 1H00M
LSP : 1H15M
LP : 1H30M
EP : 2H00M
SLP : 3H00M
SEP : 4H00M
Remainder
Date
13.10.2005 ~ 28.10.2005
Original 3
GB
Protect Disc
Discs are automatically finalized when
removed from the recorder. However,
you may need to finalize the disc for
certain DVD equipment, or if the
recording time is short. You can edit or
record on the disc even after finalizing.
Finalizing is unnecessary when playing
a disc on VR format compatible
equipment.
Even if your other DVD equipment is
VR format compatible, you may need to
finalize the disc, especially if the
recording time is short. You can edit or
record on the disc even after finalizing.
Finalizing is necessary when playing on
any equipment other than this recorder.
After finalizing, you cannot edit or
record on the disc. If you want to record
on it again, unfinalize or reformat the
disc (page 25). However, if you reformat
the disc, all recorded contents will be
erased.
Finalizing is necessary when playing on
any equipment other than this recorder.
After finalizing, you cannot edit or
record on the disc.
+
RW
-RWVR -RW
Video
-
R
+
R
+
RW
-RWVR
-RW
Video
+
R
-
R
,
continued
www. xiaoyu163. com
QQ 376315150
9
9
2
8
9
4
2
9
8
TEL 13942296513
9
9
2
8
9
4
2
9
8
0
5
1
5
1
3
6
7
3
Q
Q
TEL 13942296513 QQ 376315150 892498299
TEL 13942296513 QQ 376315150 892498299