background image

Chapter 5: Sound Adjustment

19

Selecting The Audio
Emphasis

Your stereo system is provided with 15
different preset effects (music menu)
created from different graphic equalizer
and surround effect settings.
With the press of a single button, you can
choose between a  variety of effects
according to musical genre or use. The
personal file function (see page 20) lets you
store your own effects.

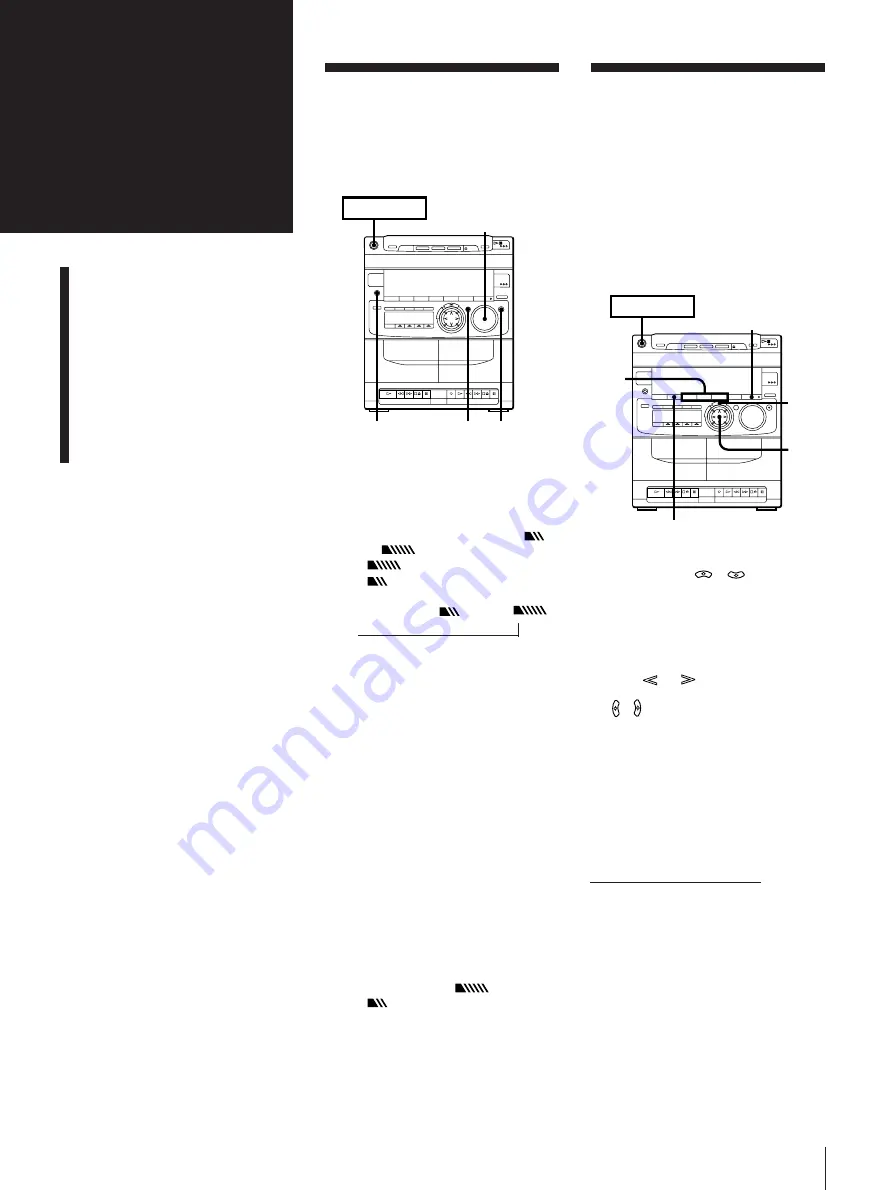
1

Press one of the MENU buttons (or
MUSIC MENU 

/

 on the

remote) to select MENU.
See the chart “Music menu options” on
the following page. The last effect
chosen from that menu appears in the
display.

2

Press 

 or 

 on MULTI

CONTROLLER (or press MUSIC MENU

/

 on the remote repeatedly) to

select the preset you desire.
The preset name appears in the display.

3

Press ENTER/NEXT.

To cancel the effect

Press EFFECT ON/OFF (or MUSIC MENU
ON/OFF on the remote) so that “EFFECT
OFF” appears in the display.

Adjusting the Sound

To fully enjoy the sound coming from your
stereo system, make the following audio
adjustments. See the following sections for
additional sound adjustments.

To adjust the volume

Turn VOLUME on the unit or press
VOL (+/–) on the remote.

To reinforce bass

Press DBFB* repeatedly until “DBFB 

or “DBFB 

” appears in the display.

“DBFB 

” is more effective than

“DBFB 

” .

display off


n


DBFB 

n


DBFB 

*

DBFB = Dynamic Bass Feedback

If you use the DBFB System with the
graphic equalizer

If the bass is too strong, the music will
sound distorted. Adjust the bass slowly
while listening to music so that you can
monitor the effect of the adjustment.

To get a powerful sound (GROOVE)

Press GROOVE.
The volume switches to power mode, DBFB
is automatically set to full strength, the
equalizer curve changes and the
“GROOVE” button lights up. Press
GROOVE again to return to the previous
volume.

Note

Cancelling GROOVE does not cancel the
DBFB level or equalizer curve.
To cancel the DBFB level, press DBFB
repeatedly until “DBFB 

” or

“DBFB 

” disappears from the display.

Adjust the equalization to obtain the effect
you desire.

To listen through the headphones

Connect the headphones to PHONES jack.
No sound will come from the speakers.

Chapter 5:

Sound
Adjustment

Adjusting the Sound

Selecting the Audio

Emphasis

Adjusting the Audio

Emphasis

Making a Personal Audio

Emphasis File
(personal file)

POWER

n

ON

PHONES

DBFB GROOVE

VOLUME

POWER

n

ON

2

1

3

EFFECT ON/OFF

SURROUND

continue to next page 

n

Содержание MHC-G330

Страница 1: ...EN 1 Operating Instructions Mini Hi Fi Component System MHC G330 f 1997 by Sony Corporation 3 860 363 11 1 ...

Страница 2: ...EXPOSURE TO BEAM This caution label is located inside the unit Welcome Thank you for purchasing the Sony Mini Hi Fi Component System This series is packed with fun features Here are just a few DBFB Dynamic Bass Feedback system that boosts low frequency range audio provide deep powerful bass sound A preset feature that lets you store and recall up to 40 of your favorite radio stations An amplifier ...

Страница 3: ...ing a Tape 14 Recording a CD 15 Recording a CD Selecting Tape Length Automatically tape select edit 15 Recording a CD Specifying Tape Length time edit 16 Recording a CD Specifying Track Order program edit 17 Recording From the Radio 17 Recording From Another Tape dubbing 18 Chapter 5 Sound Adjustment Adjusting the Sound 19 Selecting the Audio Emphasis 19 Adjusting the Audio Emphasis 20 Making a Pe...

Страница 4: ...nt a gas explosion do not connect the ground wire to a gas pipe Connecting the Stereo Use the illustrations below to connect your stereo If you want to connect any optional components to the stereo see Connecting Optional Equipment in Chapter 6 Connecting the Speakers To connect the front speakers Connect the right front speaker to the SPEAKER R connectors and the left front speaker to the SPEAKER...

Страница 5: ...AM loop antenna supplied Right speaker Left speaker Connecting the Power Connect the AC Power cord to a wall outlet after you have made all the above connections STEP 3 STEP 1 STEP 2 STEP 3 FM lead antenna supplied to a wall outlet to a wall outlet ...

Страница 6: ...ears 4 6 3 5 1 2 DISPLAY flashing flashing Setting the Clock The built in clock shows the time in the display even if the power is off You need to set the clock to utilize the timer activated features of your stereo system Use the buttons on the unit to do this operation 1 Press TIMER 2 Press CLOCK SET The AM hour indication begin flashing 3 Set the current hour by press and hold down or on MULTI ...

Страница 7: ...ng Tracks in the Desired Order program play Playing Tracks Repeatedly repeat play Grouping Tracks music clip Playing Tracks Repeating a Specified Portion loop play Chapter 2 the CD Player 4 Press OPEN CLOSE again to close the disc tray 5 Press 1 ALL DISCS to choose 1 DISC or ALL DISCS 6 Press one of the DISC 1 3 buttons to select the disc tray Play starts from the CD loaded on the tray whose butto...

Страница 8: ...s not selected When the indicator is off there is no CD on the tray and the tray is not selected Automatic Source Selection If the CD player has been in the normal play mode you can select the CD player just by pressing fl or the DISC 1 3 buttons If the CD player has been in the program play or the shuffle play mode only fl can be used for this function If there is no CD in the player CD no dISC a...

Страница 9: ...otal playing time DISC PROGRAM 1 2 3 8 OFF NR DOLBY CLIP VOL Track number To Check the program Program a pause Stop play Cancel program play Erase a track from the end Erase a specific track Erase the entire program Press CHECK on the remote repeatedly 1 fl 2 on the remote p on the remote PLAY MODE 3 repeatedly until PROGRAM or SHUFFLE disappear CLEAR on the remote in stop mode CHECK on the remote...

Страница 10: ...ess or on MULTI CONTROLLER to select the track you want 3 Press CLIP button A B or C CLIP FILE appears and the selected CLIP indicator A B or C appears in the display Normal playback continues 4 Repeat steps 2 and 3 to store other tracks into the same or a different clip If the memory becomes full You can store tracks from up to ten different CDs one or more tracks per CD to each clip data The cli...

Страница 11: ...r NORMAL and RHYTHM see What is the difference between NORMAL and RHYTHM for details NORMAL or RHYTHM has five modes respectively depending on the interval you want The display changes as follows The interval about 0 25 to 1 00 second is longer as the number is bigger 4 Press fl POWERnON 2 3 5 1 4 DISC SKIP EX CHANGE NORMAL 1 NORMAL 5 RHYTHM 5 RHYTHM 1 5 Press and hold down LOOP when a portion you...

Страница 12: ...ion is not tuned in Automatic tuning may skip stations with weak signal Tune in the station manually 1 Press TUNING MODE repeatedly until MANUAL appears in the display 2 Press and hold down or on MULTI CONTROLLER until the desired station is tuned in To improve MW SW AM broadcast reception Reorient the supplied AM loop antenna for MW SW AM To change the MW AM tuning interval The MW AM tuning inter...

Страница 13: ... used preset channel number It will erase the old station and replace it with the new station If you have trouble storing a station or if you made a mistake Make sure MEMORY is lit in the display If not press TUNER MEMORY again so that MEMORY appears for about eight seconds in the display and then proceed with steps 3 and 4 POWERnON 1 2 3 Playing Preset Radio Stations Once you have preset the stat...

Страница 14: ...t Recording From the Radio Recording From Another Tape dubbing If you play both decks at the same time You will hear the sound from deck B When listening to a tape recorded with the Dolby B type noise reduction system Press DOLBY NR button so that DOLBY NR B appears in the display The setting affects both decks Dolby noise reduction system reduces tape hiss noise in low level high frequency signal...

Страница 15: ...he determined tracks for side A starts playing and are recorded After those tracks have been recorded the unit will pause 8 Set the tape to the beginning of side B Take the tape out and insert the tape with side B facing forward 9 Press P and then press r is linked and depressed at the same time on deck B Be sure to press the button firmly and swiftly Deck B stands by for recording 10Press P on de...

Страница 16: ... The CD player determines the tracks to be recorded on side A automatically 6 When you want to record on both sides press EDIT again The CD player determines the tracks to be recorded on side B When you want to record only on side A press p on the CD player to stop the indication from flashing 7 Press p6 and insert a blank tape into deck B with the side you want to record on facing forward Recordi...

Страница 17: ...E repeatedly until PROGRAM disappears from the display To activate DOLBY NR When you want to reduce the hiss noise in low level high frequency signals press DOLBY NR so that DOLBY NR B appears in the display after step 10 Recording From the Radio You can record from the tuner onto a tape Use TYPE I normal or TYPE II CrO2 tape 1 Press p6 and insert a blank tape into deck B with the side you want to...

Страница 18: ...n you want to reduce the hiss noise in low level high frequency signals press DOLBY NR so that DOLBY NR B appears in the display after step 1 Recording From Another Tape dubbing When you want to dub only part of the tape dub manually at normal speed Use TYPE I normal or TYPE II CrO2 tape for recording 1 Press p6 and insert a recorded tape in deck A with the side you want to play facing forward Als...

Страница 19: ...lume Turn VOLUME on the unit or press VOL on the remote To reinforce bass Press DBFB repeatedly until DBFB or DBFB appears in the display DBFB is more effective than DBFB display off n DBFB n DBFB DBFB Dynamic Bass Feedback If you use the DBFB System with the graphic equalizer If the bass is too strong the music will sound distorted Adjust the bass slowly while listening to music so that you can m...

Страница 20: ...up an audio pattern to play a favorite tape CD or radio program Create up to five audio files Before operation first select the audio emphasis you want for your basic sound 1 Obtain the sound effect you want by using the graphic equalizer and surround effect 2 Press and hold down P FILE for more than a second The personal file number appears in the display 3 Press or on MULTI CONTROLLER to select ...

Страница 21: ... remote several times until the desired length of time indication appears Chapter 6 Additional Features Falling Asleep to Music Waking up to Music Connecting Optional Equipment 3 2 POWERnON 5 6 7 8 2 5 6 7 9 3 10 4 tSELECT continue to next page Note While the sleep timer is activated the daily timer functions do not work When you use the sleep timer function while listening to a tape Choose the mi...

Страница 22: ...ecting Headphones You can connect the headphones stereo phone jack to the PHONES jack front panel With VIDEO IN jacks Connect LINE OUT jacks of the VCR PHONES flashing 4 Press t SET 5 Press or on MULTI CONTROLLER to select either DAILY 1 or 2 and press ENTER NEXT ON appears and the hour digits flash in the display 1DISC 1 2 3 4 5 1 2 3 6 7 8 OFF 1 NR DOLBY CLIP VOL 6 Press or on MULTI CONTROLLER t...

Страница 23: ... turntable you have rear panel Press FUNCTION to select VIDEO Connecting a Super Woofer You can connect a super woofer to SUPER WOOFER jack rear panel Is the turntable supplied with a phono equalizer Yes No Connect with VIDEO IN jacks VIDEO IN jacks using a MM cartridge equalizer and connecting cable not supplied a super woofer a turntable ...

Страница 24: ...nnected to the wall outlet even if the unit itself has been turned off Unplug the system from the AC power outlet if it is not to be used for an extended period of time To disconnect the AC power cord pull it out by the plug Never pull the lead itself Should any solid object or liquid fall into the component unplug the stereo system and have the component checked by qualified personnel before oper...

Страница 25: ...CD is dirty clean it with a cleaning cloth Wipe the CD from the center out Notes on CD Do not use solvents such as benzene thinner commercially available cleaners or antistatic spray intended for vinyl LPs If there is a scratch dirt or fingerprints on the CD these may cause a tracking error Deck B CD Player The disc tray does not close The CD is not placed correctly The CD will not play The CD is ...

Страница 26: ...FM tuner section Tuning range 87 5 108 0 MHz Antenna FM lead antenna Antenna terminals 75 ohm unbalanced Intermediate frequency 10 7 MHz AM tuner section Tuning range MW 531 1 602 kHz with the tuning interval set at 9 kHz 530 1 710 kHz with the tuning interval set at 10 kHz SW 5 95 17 90 MHz Antenna AM loop antenna External antenna terminals Intermediate frequency 450 kHz Amplifier section Peak mu...

Страница 27: ...ons 19 20 7 MUSIC MENU ON OFF button 19 8 buttons 19 20 9 POWER switch 7 º pause button 7 p stop button 7 AMS buttons 7 rewind fast forward buttons 7 EDIT button 15 CHECK button 9 DISC SKIP button CLEAR button 9 VOL button 19 AMS Auto Music Sensor Tape operating buttons play button 14 0 rewind button 14 fast forward button 14 p6 stop eject button 14 P pause button 14 r rec button 15 for deck B onl...

Страница 28: ...s in random order shuffle play 8 tracks in the desired order program play 9 tracks repeatedly repeat play 9 tracks Repeating a specified portion loop play 11 Precautions 24 Program play 9 Radio stations presetting 13 tuning in 12 Recording a CD 15 a CD program edit 17 a CD time edit 16 a radio 17 another tape dubbing 18 Relay play 14 Repeat play 9 Restoring the factory settings 25 Saving a recordi...

Отзывы: