background image

EN

2

WARNING

To prevent fire or shock hazard, do not
expose the unit to rain or moisture.

To avoid electrical shock, do not open the cabinet. Refer servicing to
qualified personnel only.

Do not install the appliance in a confined space, such as a bookcase
or built-in cabinet.

NOTICE FOR THE CUSTOMERS IN THE U. S. A.

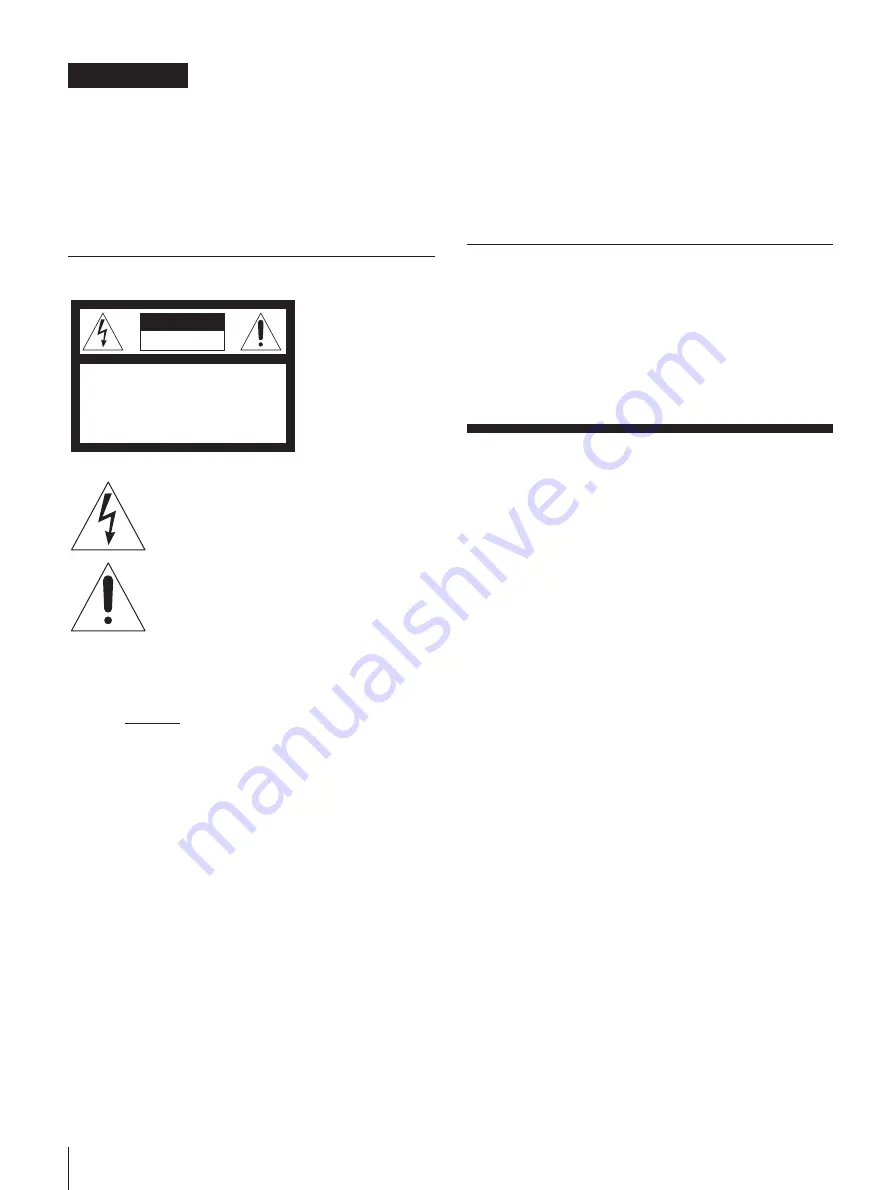
CAUTION

RISK OF ELECTRIC  SHOCK

DO NOT OPEN

CAUTION :   TO REDUCE THE RISK OF ELECTRIC SHOCK,

DO NOT REMOVE COVER (OR BACK).

NO USER-SERVICEABLE PARTS INSIDE.

REFER SERVICING TO QUALIFIED SERVICE PERSONNEL.

Note on CATV system installer:

This reminder is provided to call CATV system installer’s attention
to Article 820–40 of the NEC that provides guidelines for proper
grounding and, in particular, specifies that the cable ground shall be
connected to the grounding system of the building, as close to the
point of cable entry as practical.

CAUTION

The use of optical instruments with this product will increase eye
hazard.

NOTICE FOR THE CUSTOMERS IN CANADA

CAUTION:

TO PREVENT ELECTRIC SHOCK, DO NOT USE THIS
POLARIZED AC PLUG WITH AN EXTENSION CORD,
RECEPTACLE OR OTHER OUTLET UNLESS THE BLADES CAN
BE FULLY INSERTED TO PREVENT BLADE EXPOSURE.

This symbol is intended to alert the user to the
presence of uninsulated “dangerous voltage”
within the product’s enclosure that may be of
sufficient magnitude to constitute a risk of
electric shock to persons.

This symbol is intended to alert the user to the
presence of important operating and
maintenance (servicing) instructions in the
literature accompanying the appliance.

Owner’s Record

The model and serial numbers are located on the rear panel.
Record the serial number in the space provided below. Refer to them
whenever you call upon your Sony dealer regarding this product.
Model No. MHC-771  Serial No.  ____________________________

INFORMATION

This equipment has been tested and found to comply with the limits
for a Class B digital device, pursuant to Part 15 of the FCC Rules.
These limits are designed to provide reasonable protection against
harmful interference in a residential installation. This equipment
generates, uses, and can radiate radio frequency energy and, if not
installed and used in accordance with the instructions, may cause
harmful interference to radio communications. However, there is no
guarantee that interference will not occur in a particular installation.
If this equipment does cause harmful interference to radio or
television reception, which can be determined by turning the
equipment off and on, the user is encouraged to try to correct the
interference by one or more of the following measures:

— Reorient or relocate the receiving antenna.
— Increase the separation between the equipment and receiver.
— Connect the equipment into an outlet on a circuit different from

that to which the receiver is connected.

— Consult the dealer or an experienced radio/TV technician for

help.

CAUTION

You are cautioned that any changes or modifications not expressly
approved in this manual could void your authority to operate this
equipment.

Welcome!

Thank you for purchasing the Sony Mini Hi-Fi Component System.
This series is packed with fun features. Here are just a few:
•DBFB (Dynamic Bass Feedback) system that boosts low frequency

range audio provide deep, powerful bass sound

•A preset feature that lets you store and recall up to 30 of your

favorite radio stations

•An amplifier that lets you adjust the audio quality to fit a variety of

music types and environments

•A timer that lets you set the CD player, tape player or radio to turn

on and off whenever you want

•A dual tape deck that lets you record from the radio, CD player or

from the other tape deck and relay play from both decks

•A CD player that lets you play up to three CDs in a row and

seamlessly advance (or reverse) through all the tracks on all the
discs on the CD tray

•A music clip feature that lets you create groups of favorite tracks

from your CDs

•A remote that lets you control your  system from your seat
•A loop play feature that lets you play a CD with sound effect like

sampler play

•The MHC-771 consists of following things:

— Main unit: HCD-H771
— Speaker system: SS-H771

Содержание MHC-771 - Mini Hi-fi Component System

Страница 1: ...EN 2 Sony Corporation Printed in Malaysia ...

Страница 2: ...EN 3 3 810 989 51 1 EN Operating Instructions Mini Hi Fi Component System MHC 771 f 1996 by Sony Corporation ...

Страница 3: ...igned to provide reasonable protection against harmful interference in a residential installation This equipment generates uses and can radiate radio frequency energy and if not installed and used in accordance with the instructions may cause harmful interference to radio communications However there is no guarantee that interference will not occur in a particular installation If this equipment do...

Страница 4: ...ing a CD Selecting Tape Length Automatically tape select edit 15 Recording a CD Specifying Tape Length time edit 16 Recording a CD Specifying Track Order program edit 17 Recording From the Radio 17 Recording From Another Tape dubbing 18 Chapter 5 Sound Adjustment Adjusting the Sound 19 Selecting the Audio Emphasis 19 Adjusting the Audio Emphasis 20 Making a Personal Audio Emphasis File personal fi...

Страница 5: ...he Stereo Use the illustrations below to connect your stereo If you want to connect any optional components to the stereo see Connecting Optional Equipment in Chapter 6 Connecting the Speakers To connect the speakers Connect the right speaker to the SPEAKER R connectors and the left speaker to the SPEAKER L connectors with the red cords to and the black cords to R L STEP 2 STEP 1 FM 75Ω AM FM lead...

Страница 6: ...tenna against lightning from the y terminal To prevent a gas explosion do not connect the ground wire to a gas pipe STEP 3 Demo mode The demo mode appears in the display when you connect the AC power cord to a wall outlet To deactivate the demo mode press DISPLAY DEMO with the system power turned off FM 75Ω AM y Ground wire not supplied Screw clamp Insulated wire not supplied to a wall outlet STEP...

Страница 7: ...ons to the diagram in the battery compartment 3 Close the lid Battery life You can expect the remote to operate for about six months using Sony SUM 3 NS batteries before the batteries run down When the batteries no longer operate the remote replace all the batteries with new ones To avoid battery leakage If you are not going to use the remote for a long time remove the batteries to avoid damage ca...

Страница 8: ...SCS to choose 1 DISC or ALL DISCS 5 Press one of the DISC 1 3 buttons to select the disc tray Play starts from the CD loaded on the tray whose button is lit green To Stop play Pause Resume play Go forward to another track Go back to a previous track Select a particular CD directly Remove the CD Exchange other CDs while playing Press π 1 fl 1 fl CD 1 or 1 During play or pause rotate the JOG dial cl...

Страница 9: ...OFF 1 1 DISC mode 2 ALL DISCS mode To check the total playing time and the total number of tracks Press DISPLAY DEMO in stop mode When you press DISPLAY DEMO again the display shows the clock display for eight seconds and returns to the previous indication Notes You cannot check the total playing time during program play The disc number total playing time and number of tracks also appear in the di...

Страница 10: ... reset to 0 00 3 The program is erased To change the order of programmed tracks To change the order erase the entire program and create a new one Notes The program you made remains in the CD player even after it has been played back Press fl to play the same program again If appears instead of the total playing time during programming this means you have programmed a track number which exceeds 20 ...

Страница 11: ...rom a CD to a tape with the sampler play Use the buttons both on the unit and remote to do this operation EXAMPLE Original song Hey come on everybody When you use the loop function Hey come come come come come on everybody Grouping Tracks music clip The music clip function is an easy way to produce up to three groups of tracks from your CDs For example you could store tracks for the morning in CLI...

Страница 12: ... on the interval you want The display changes as follows The interval about 0 25 to 1 00 second is longer as the number is bigger 4 Press fl 5 Press and hold down LOOP when a portion you want to repeat is played and release when until you want to stop repeating it What is the difference between NORMAL and RHYTHM There is a difference between NORMAL and RHYTHM in restarting point of normal play whe...

Страница 13: ...L appears in the display 2 Keep turning the JOG dial until the desired station is tuned in To improve AM broadcast reception Reorient the supplied AM loop antenna for AM To change the AM tuning interval The AM tuning interval is preset to 10 kHz in the factory If you need to change the interval do as follows 1 Turn on the power 2 Change the band to AM 3 Turn off the power 4 Turn the power back on ...

Страница 14: ...ion and replace it with the new station If you have trouble storing a station or if you made a mistake Make sure MEMORY is lit in the display If not press TUNER MEMORY again so that MEMORY appears for about eight seconds in the display and then proceed with steps 3 and 4 Playing Preset Radio Stations Once you have preset the stations use the JOG dial to quickly tune in your favorite stations 1 Pre...

Страница 15: ...s π To cancel relay play Press DIRECTION repeatedly until A or ß appears in the display When listening to a tape recorded with the Dolby B type noise reduction system Press DOLBY NR button so that DOLBY NR B appears in the display The setting affects both decks Dolby noise reduction system reduces tape hiss noise in low level high frequency signals Dolby noise reduction manufactured under license ...

Страница 16: ... a CD as you like for instance record just the songs you want or record from the middle of the tape 1 Press EJECT and insert a blank tape into deck B with the side you want to record on facing forward Recording will start from the front side of the tape unless you have changed the playing direction before recording Make sure the tabs on the cassette have not been removed 2 Press OPEN CLOSE and pla...

Страница 17: ...lect dual or single sided recording Recording always stops at the end of the reverse side Be sure to start from the front side 9 Press CD SYNCHRO Deck B stands by for recording 10 Press PAUSE to release recording pause Recording starts After about 10 seconds the CD starts playing To stop recording Press π on deck or the CD player To check the order Press CHECK on the remote repeatedly Each time yo...

Страница 18: ...h the side you want to record on facing forward Recording will start from the front side of the tape unless you have changed the playing direction before recording Make sure the tabs on the cassette have not been removed 11 Select dual or single sided recording Recording always stops at the end of the reverse side Be sure to start from the front side 12 Press CD SYNCHRO Deck B stands by for record...

Страница 19: ...omatically You can record the whole tape onto another automatically by using high speed dubbing Use the buttons on the unit to do this operation and TYPE I normal or TYPE II CrO2 tape for dubbing 1 Press EJECT and insert a recorded tape in deck A with the side you want to play facing forward Also insert a blank tape in deck B with the side you want to record on facing forward Recording and playbac...

Страница 20: ...just the volume Turn VOLUME on the unit or press VOL on the remote To reinforce bass Press DBFB repeatedly until DBFB or DBFB appears in the display DBFB is more effective than DBFB display off n DBFB n DBFB DBFB Dynamic Bass Feedback If you use the DBFB System with the graphic equalizer If the bass is too strong the music will sound distorted Adjust the bass slowly while listening to music so tha...

Страница 21: ...T OFF the adjusted sound effect is lost To retain the adjusted sound effect for future use store it in a personal file See Making a Personal Audio Emphasis File personal file Activating the Sound Field surround effect You can use the surround effect without connecting surround speakers Before operation first select the audio emphasis you want for your basic sound To turn on the surround effect Pre...

Страница 22: ... second The personal file number appears in the display 3 Use the JOG dial to select the file number P FILE where you want to store the sound effect 4 Press ENTER NEXT The adjusted sound effects are stored under the selected file number The settings previously stored at this memory location are erased and replaced by the new settings To call up the personal file 1 Press P FILE or MUSIC MENU on the...

Страница 23: ...aining time while the sleep timer is on Press SLEEP on the remote several times until the desired length of time indication appears Note While the sleep timer is activated the daily and recording timer functions do not work Waking Up to Music You can wake up to music at the preset time You only need to set the timer once Before setting the timer made sure the clock has been set correctly The prese...

Страница 24: ...e you want to record on facing forward 2 Select dual or single sided recording Recording always stops at the end of the reverse side Be sure to start from the front side 3 Tune in a station you want to record 4 Press TIMER 5 Press t SET 6 Use the JOG dial to select REC and press ENTER NEXT ON appears and the hour digits flash in the display 7 Use the JOG dial to set the hour you want the system to...

Страница 25: ...s Karaoke pon You can minimize the singer s voice vocal reduction so you can sing along with any stereo CD or tape When you want to record the sound of the CD or tape and your voice operate steps below To reduce the vocals Press KARAOKE PON MPX so that h PON appears in the display To cancel vocal reduction press KARAOKE PON MPX repeatedly so that h PON h MPX R or h MPX L disappears from the displa...

Страница 26: ...en the power is turned off 100 CD will be switched to VIDEO To return to 100 CD do the same procedures Connecting a Turntable You can connect a turntable to 100CD VIDEO IN jacks Before you connect check which type of turntable you have rear panel Press FUNCTION to select VIDEO Note If you cannot select VIDEO even when you have pressed FUNCTION press POWER while pressing FUNCTION when the power is ...

Страница 27: ... SURROUND SPEAKER connectors Connect the right rear speaker to the SURROUND SPEAKER R connectors and the left rear speaker to the SURROUND SPEAKER L connectors rear panel Connecting a Super Woofer You can connect a super woofer to SUPER WOOFER jack rear panel continued surround speakers a super woofer ...

Страница 28: ... be used for an extended period of time To disconnect the AC power cord pull it out by the plug Never pull the cord itself Should any solid object or liquid fall into the component unplug the stereo system and have the component checked by qualified personnel before operating it any further AC power cord must be changed only at the qualified service shop On installation Place the stereo system in ...

Страница 29: ... center out Notes on CD Do not use solvents such as benzene thinner commercially available cleaners or antistatic spray intended for vinyl LPs If there is a scratch dirt or fingerprints on the CD it may cause a tracking error Cleaning swab Capstan Pinch roller Playback head Erase head Deck B Pinch roller Capstan Record playback head Cleaning swab Erase head continued CD Player The disc tray does n...

Страница 30: ...c distortion from 250 milliwatts to rated output CD player section System Compact disc and digital audio system Laser Semiconductor laser λ 780 nm Emission duration continuous Laser output Max 44 6 µW This output is the value measured at a distance of 200 mm from the objective lens surface on the Optical Pick up Block with 7 mm aperture Frequency response 2 Hz 20 kHz 0 5 dB Wavelength 780 790 nm S...

Страница 31: ...REC indicator SUR indicator 20 DBFB indicator 19 Karaoke PON MPX indicators 24 Index to Parts and Controls Refer to the pages indicated in parentheses for details on how to use the controls Controls with an asterisk have indicators on themselves Front Panel 1 DISC SKIP EX CHANGE button 7 2 LOOP button 10 3 POWER switch 7 4 Disc tray 7 5 TIMER button 22 6 SURROUND button 20 7 PHONES jack 19 8 DISPL...

Страница 32: ...ually 18 Graphic equalizer 20 Karaoke 24 Maintenance 28 Microphone mixing 24 Multiplex 24 Music calendar 7 8 Normal play 7 One touch play 8 12 14 Parts identification 30 Playing a tape 14 CDs clip play 10 CDs normal play 7 preset radio stations 13 tracks in random order shuffle play 8 tracks in the desired order program play 9 tracks repeatedly repeat play 9 tracks repeating aspecified portion loo...

Отзывы: