—
7
—
KV
-32FV1/34FVL1/36FV1
11
Using Special Sony Features
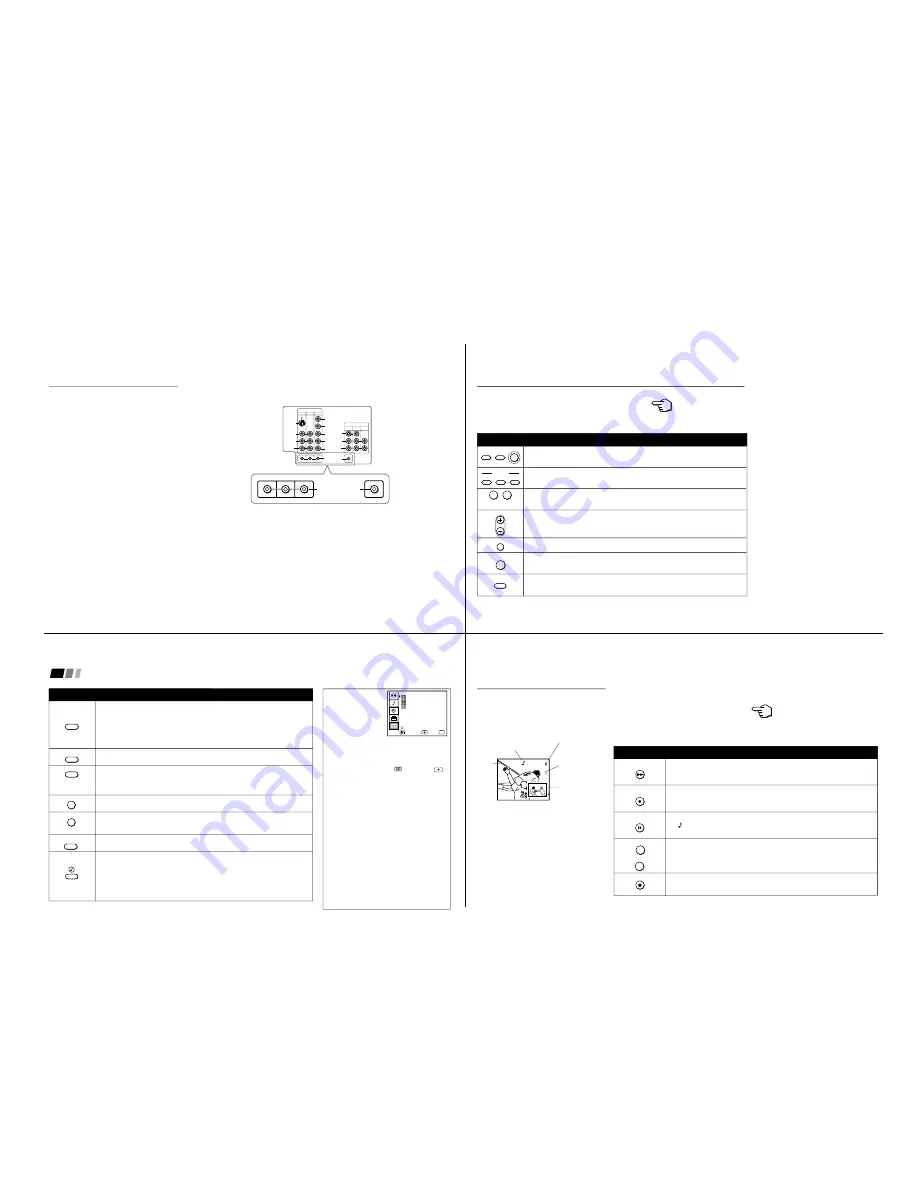
Using the CONTROL S feature
CONTROL S allows you to control your TV
and other Sony equipment with one remote
control.
To control your other Sony equipment with
your TV's remote control, connect the
CONTROL S IN jack of the equipment to the
CONTROL S OUT jack on the TV with the
CONTROL S cable.
To control other Sony equipment with your
TV's remote control, see the next page.
Note
• You can also program your remote control
to control other equipment. (see “Operating
Video Equipment” on page 26)
(Rear of TV)
VIDEO IN
1
3
4
OUT
MONITOR AUDIO
(VAR/FIX)
IN
TV
L
R
(MONO)
VIDEO
VIDEO
S VIDEO
OUT
AUDIO
L
R
(MONO)
AUDIO
L
R
Y
P
B
P
R
AUDIO
S-LINK
CONTROL S
IN
OUT
CONTROL S
15
Press when you want to turn equipment on and off.
Press when you want to control connected components with your remote control. (see
pages 26-28 for instructions on programming your remote control)
Use for direct channel selection. Press 0-9 to select a channel, the channel will
change after 2 seconds, or you can press ENTER for immediate selection.
Press to scan through the channels.
Keeping the CH + or – pressed allows you to rapidly scan to the desired channel.
Press to alternate or
jump back and forth between two channels. You can jump
between the last two channels selected with the 0-9 keys.
Press to mute the sound (MUTING will appear on the screen). Press again or press
VOL + to restore sound.
Press repeatedly until the TV displays the approximate time in minutes (30, 60, or 90)
that you want the TV to remain on before shutting off automatically.
Cancel by pressing until SLEEP OFF appears.
Watching the TV
All of the TV features can be accessed via the remote
control. The following chart will explain the function
of the buttons found on your remote control.
Using the White Labeled Buttons for TV Operations
VTR/DVD
POWER
DBS/CABLE
TV
VTR/DVD
TV
DBS/CABLE
FUNCTION
0
9
-
CH
JUMP
MUTING
SLEEP
and ENTER
REFER TO THE
ILLUSTRATION OF THE
REMOTE CONTROL ON THE
INSIDE FRONT COVER OF
THIS MANUAL AS YOU
REVIEW THIS CHART
16
Using Your New TV (continued)
CAPTION VISION can be used for programs
that are broadcast with closed caption.
To access CAPTION VISION:
1
Press MENU.
2
Press
v
to scroll to
, then press
.
3
Choose a CAPTION VISION option.
4
Access CAPTION VISION through your
DISPLAY button. (see left)
CC1, 2, 3 or 4
Shows you a printed version of the dialog or
sound effects of a program. (The mode should
be set to CC1 for most programs)
TEXT1, 2, 3 or 4
Shows you network/station information
presented using either half or the whole screen.
XDS (Extended Data Service)
Shows a network name, program name,
program length, and time of the show if the
broadcaster offers this service.
Note
•
Poor reception of TV programs can cause
errors in CAPTION VISION and XDS.
Captions may appear with a white box or
other errors instead of intended text.
CAPTION VISION
(Closed Caption)
Move
Exit
MENU
Select
MENU
CAPTION VISION
TEXT1
1
2
3
4
TEXT2
TEXT3
TEXT4
XDS
Press repeatedly to cycle through available displays:
Status
Channel number, current time, channel caption (if set) are displayed.
CAPTION VISION/XDS
Closed Captioning or XDS will be displayed if the broadcaster offers this service.
(see right)
To cancel the display, press DISPLAY until DISPLAY OFF appears.
Press repeatedly to cycle through available video inputs:
TV, VIDEO 1, VIDEO 2, VIDEO 3 and VIDEO 4
Press to change the VHF/UHF input to the AUX input.
(For detailed connection information, see “Cable and antenna” or “Cable box and
cable” on pages 3-4.)
Press to change between VIDEO and TV mode.
Press when you are finished using a VCR and you want to switch to the TV input.
Your VCR power will remain on.
Press this button to cycle through the Multi-channel TV Sound (MTS) options:
STEREO, SAP, MONO (see page 22)
GUIDE is a feature of DBS, refer to your DBS operation instructions.
The SYSTEM OFF button allows you to power off all Sony equipment at once.
Press to turn ON or OFF one of the following audio effects:
SIMULATED: Adds a surround-like effect to mono programs.
SRS: Produces a dynamic three dimensional sound for stereo signals.
AUTO SRS: Automatically detects whether a stereo or mono signal is being received
and switches the TV effect between SRS and SIMULATED.
OFF: Normal stereo or mono reception.
TV/DBS is a feature of DBS, refer to your DBS operating instructions.
(AUX input)
Using the White Labeled Buttons for TV Operations
DISPLAY
TV/VIDEO
ANT
+
TV/VTR
MTS
GUIDE
SYSTEM
OFF
TV DBS
17
Use the Yellow Labeled Buttons for PIP Operations
Watching two programs at
one time - PIP
These models are equipped with dual tuners.
This means that PIP is “ready to use”.
Notes
• You must press TV (FUNCTION) before
you can control PIP with the yellow labeled
buttons.
• The AUX input cannot be viewed in the
window picture.
Press once to display the window picture (1/9 size).
Press again to reduce the size of the window picture (1/16 size).
Press a third time to turn off the window picture.
Press repeatedly to cycle through available video inputs:
TV, VIDEO 1, VIDEO 2, VIDEO 3, VIDEO 4
Press to alternate sound between the main picture and the window picture.
A will appear to indicate which picture is receiving sound.
Press to change the channel in the window picture.
Press to move the location of the window picture (counterclockwise) around the
main picture.
PIP
TV/VIDEO
AUDIO
+
TV/VTR
-
CH
POSITION
REFER TO THE ILLUSTRATION OF
THE REMOTE CONTROL ON THE
INSIDE FRONT COVER OF THIS
MANUAL AS YOU REVIEW THIS
CHART
Main
picture
The sound of the main
picture is received
Main picture
channel or input-
source mode
Window picture
channel or input-
source mode
Window
picture
Содержание KV-32FV1 - 32" Fd Trinitron Wega
Страница 30: ...A IC VOLTAGE ...
Страница 36: ...4 3 1 0 Vp p H 2 1 1 Vp p H B BOARD WAVEFORMS 1 7 Vp p H 1 1 8 Vp p H 2 1 Vp p H 6 1 4 Vp p H 1 8 Vp p H 5 ...
Страница 39: ...Sheet1 WA BOARD MARK LIST KV 32FV1 KV 34FVL1 KV 36FV1 R2967 240K 1 10W 220K 1 10W ...
Страница 42: ...1 2 C BOARD WAVEFORMS 154 7 Vp p H 118 8 Vp p H 142 2 Vp p H 3 ...
Страница 53: ...6 3 1 6 Vp p H 2 0 Vp p H 2 5 2 3 Vp p H UX BOARD WAVEFORMS 1 9 Vp p H 1 1 0 Vp p H 1 0 Vp p H 4 ...
Страница 81: ... 85 REF NO PART NO DESCRIPTION REMARK REF NO PART NO DESCRIPTION REMARK KV 32FV1 34FVL1 36FV1 NOTES ...
Страница 82: ... 86 REF NO PART NO DESCRIPTION REMARK REF NO PART NO DESCRIPTION REMARK KV 32FV1 34FVL1 36FV1 NOTES ...
Страница 83: ... 87 REF NO PART NO DESCRIPTION REMARK REF NO PART NO DESCRIPTION REMARK KV 32FV1 34FVL1 36FV1 ...


