13
GB
Introducing and Using the different Menu systems
Your projection TV uses an On-Screen Display menu system to guide you through the operations.
This projection TV has 2 different Menu Systems as follows:
a) "General TV Menus"
This menu system is available when watching both, Digital and Analogue channels. The displays of this menu system will help
you to alter the picture settings, sound settings etc. For more details, please refer to the relevant sections of the chapter "The
General TV Menus" (pages 14 - 20).
b) "Digital Menus"
This menu system is only available when watching Digital channels and gives you information on the programmes currently
being show, etc. This menu also contains a submenu called “Main Menu” which allows you to customise the Digital side of
your TV etc. For more details, please refer to the relevant sections of the chapter "The Digital Menus" (pages 21 - 27).
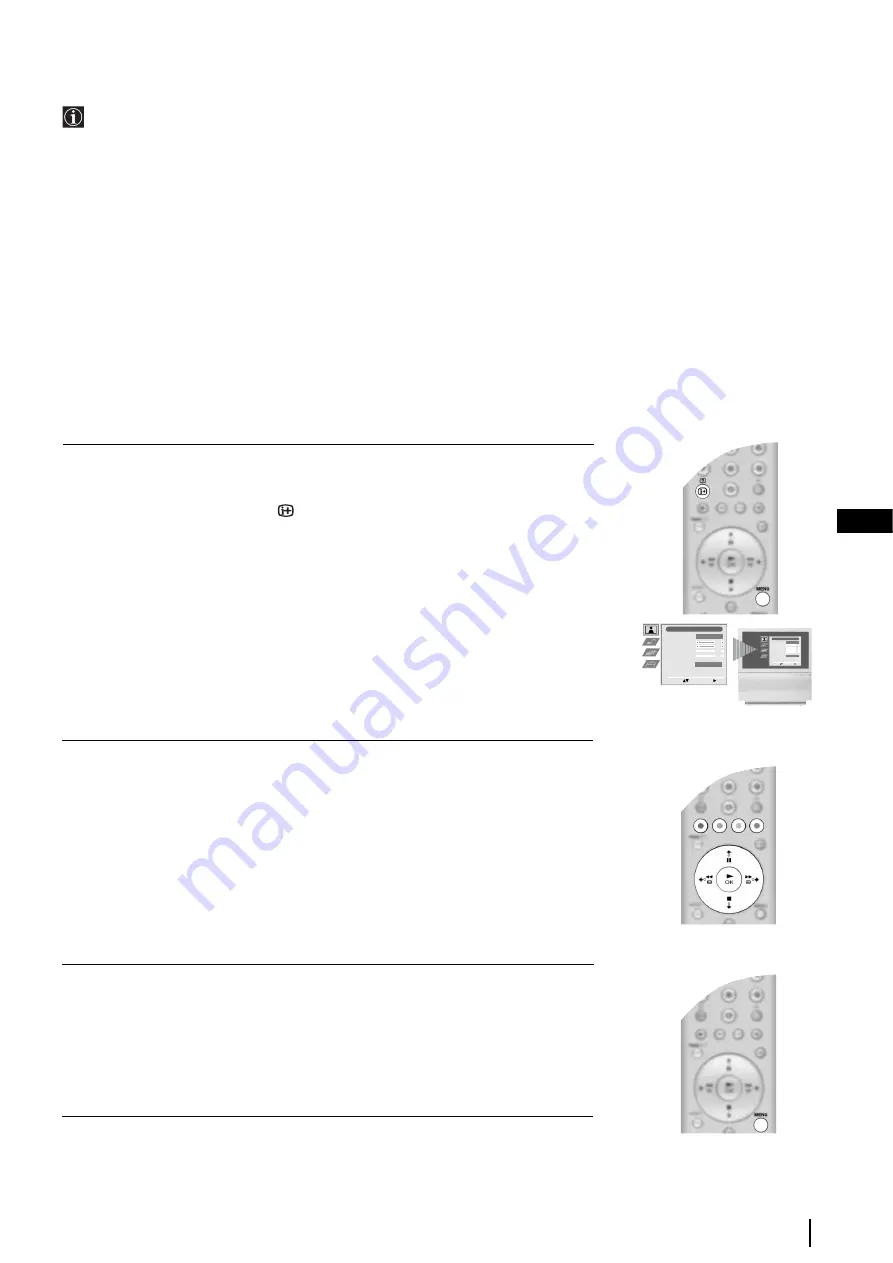
To operate any of the above menu systems, use the following buttons:
1
To switch on the:
• "General TV Menus", press the
MENU
button.
• "Digital Menus", press the
button.
2
•
To navigate through the “General TV Menus”:
• To highlight the desired menu or option, press
V
or
v
.
• To enter the selected menu or option, press
b
.
• To return to the last menu or option, press
B
.
• To alter the settings of your selected option, press
V
/
v
/
B
or
b
.
• To confirm and store your selection, press
OK
.
•
To navigate through the “Digital Menus”:
• Coloured buttons (red, green, yellow and blue) are basically used to display some
of the screens. For details, please refer to the relevant sections.
3
To switch off the:
• "General TV Menus", press the
MENU
button.
• "Digital Menus" press the
MENU
button.
Picture Adjustment
Select:
Enter Menu:
Picture Mode
Contrast
Brightness
Colour
Sharpness
Reset
Noise Reduction
Personal
AUTO
Picture Adjustment
Select:
Enter Menu:
Picture Mode
Contrast
Brightness
Colour
Sharpness
Reset
Noise Reduction
Personal
AUTO
Menu Systems
Содержание KP-44DX2
Страница 39: ......


