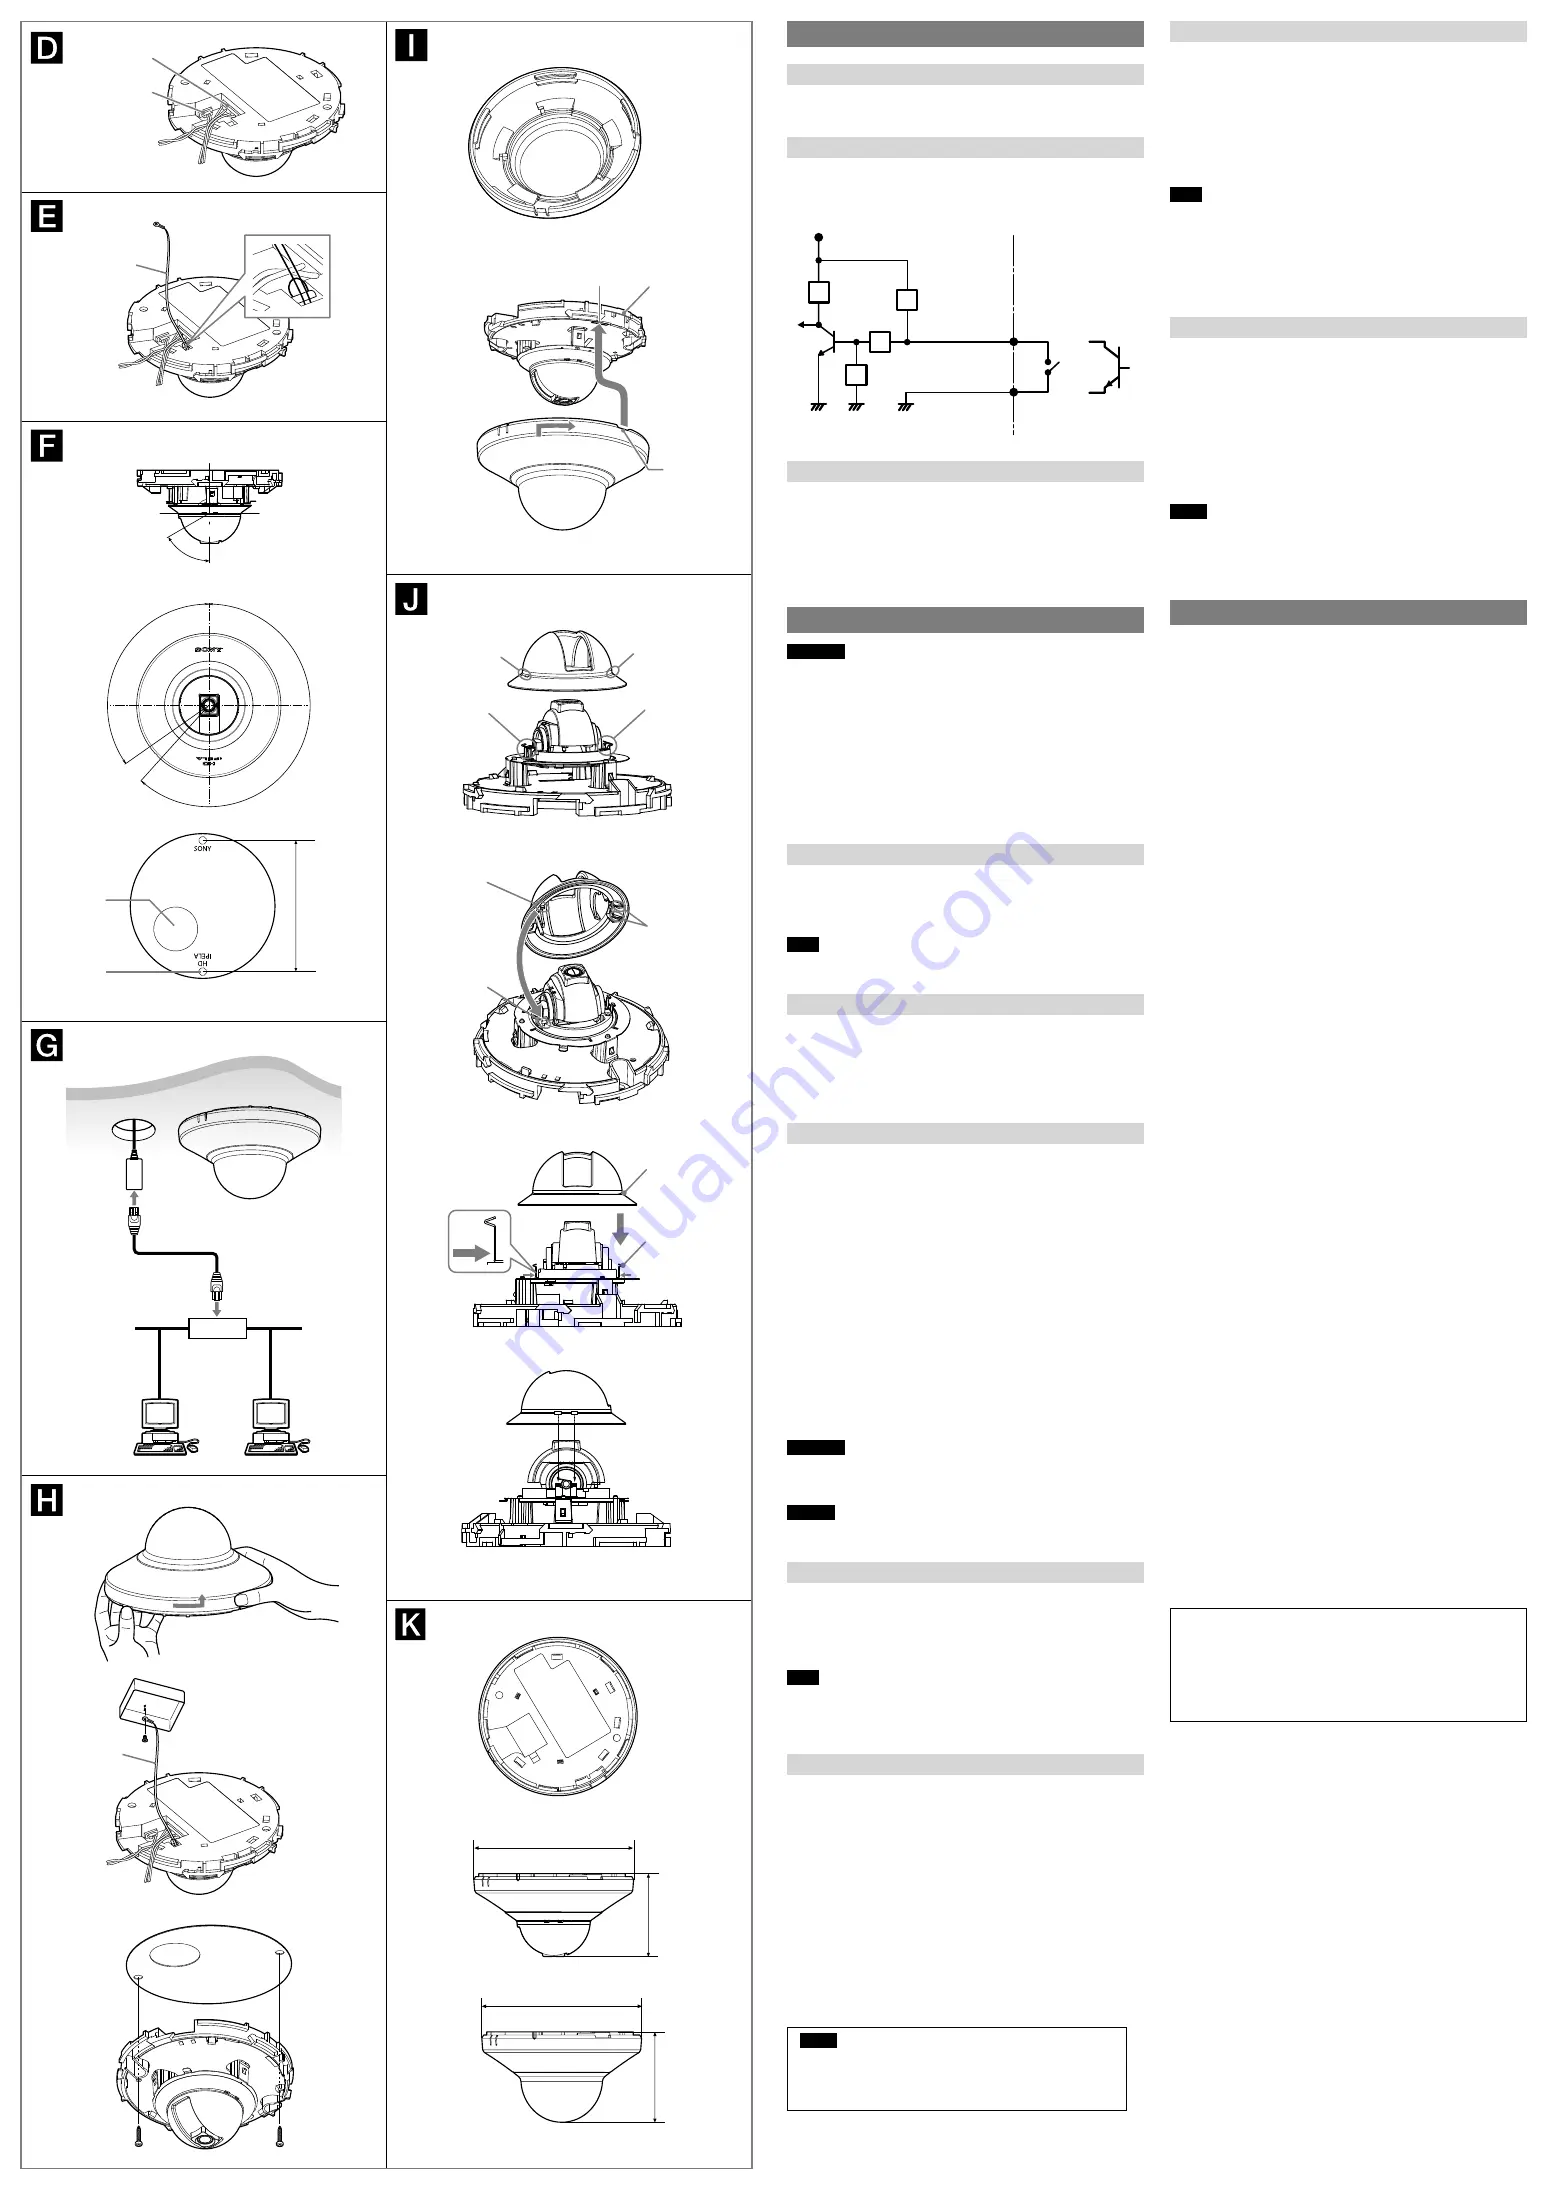
Attaching the Dome Casing
1
Check the dome casing inside.
As in the illustration, make sure the projection on the normal cover
or on the clear cover is fully engaged with the notch of the dome
casing.
2
Align the rectangle silk on the printed circuit board with the
notch of the dome casing, then turn the dome casing in the
direction of arrow to fasten it tightly.
3
Remove the protecting film on the clear cover.
Note
When threading the cables through the side of the camera, use pliers to break off
the knockout flange (with pliers, etc.).
How to remove the dome casing after installation
While pushing slightly on the hook with a minus screwdriver (or thin
instrument of approx. 1 mm diameter), turn the dome casing counter
clockwise.
When the PT casing separates
1
If the camera is installed on the ceiling or wall, detach the
camera unit first.
2
Push inwards and hold the bottom of the flat spring on the
camera to avoid it springing out.
3
Make sure to align the little cube projection on the inside of the
PT casing with the notch of the camera, as in the illustration.
4
Set the slits of PT casing (4 positions) closely with the flat spring
of the camera, then press the PT casing down gently.
Notes
Make sure not to press at the top of flat spring, otherwise it may cause
deformation.
When you find the PT casing can not be easily clicked with the camera unit,
check the direction of the PT casing and whether the slits are aligned with the
flat spring, again. Push the casing forcedly may cause the damage.
Specifications
Compression
Video compression format
JPEG/MPEG4/H.264
Maximum frame rate
JPEG/MPEG4/H.264: 30 fps
(1280 × 720)
Camera
Image device
1/2.8type CMOS (Exmor)
Effective picture elements:
Approx. 3,270,000
Minimum illumination
SNC-DH210
2.0 lx (AGC (max.)/50 IRE (IP))
SNC-DH210T
2.3 lx (AGC (max.)/50 IRE (IP))
Lens
Focal length
3.3 mm
Maximum relative aperture
F2.8
View angle
SNC-DH210
Horizontal: 88° / Vertical: 65°
(4:3 mode)
SNC-DH210T
Horizontal: 86° / Vertical: 64°
(4:3 mode)
Minimum object distance
0.5 m
Interface
LAN (PoE)
10BASE-T/100BASE-TX, auto
negotiation RJ-45
Sensor input
1 port: make contact and break
contact switchable
Monitor out
NTSC/PAL
1.0 Vp-p, 75 ohms, unbalanced,
sync negative AV minijack*
* Use AV cable with mini-plug at
AV4 terminal.
Others
Power
IEEE802.3af compliant (PoE system)
Class 1
Power consumption
2.4 W
Operating temperature
0°C~50°C (32°F to 122°F)
Storage temperature
–20°C to +60°C (–4°F to +140°F)
Operating humidity
20% to 80% (Non-condensing)
Storage humidity
20% to 95%
Dimensions (diameter × height)
SNC-DH210:
Ø106 mm × 50.5 mm
(4
1
/
4
inches × 2 inches)
SNC-DH210T:
Ø106 mm × 56.5 mm
(4
1
/
4
inches × 2
1
/
4
inches)
Mass
SNC-DH210
Approx. 160 g (5.6 oz), not including
the cables
SNC-DH210T
Approx. 170 g (6.0 oz), not including
the cables
Supplied accessories
CD-ROM (User’s Guides, and supplied
programs) (1)
Template (1)
Sensor input cable (1)
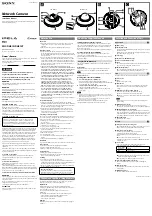
Installation Manual (this document)
(1)
Design and specifications are subject to change without notice.
Recommendation of Periodic Inspections
In case using this device over an extended period of time, please
have it inspected periodically for safe use.
It may appear flawless, but the components may have deteriorated
over time, which may cause a malfunction or accident.
For details, please consult the store of purchase or an authorized
Sony dealer.
LAN connector
Sensor input
Rope (not
supplied)
125
°
83.5 (3
3
/
8
)
Screw hole
Hole for
connecting
cables Ø28
222°
Adjustable angle of lens (Tilt)
Adjustable angle of lens (Pan)
60
°
Ceiling
LAN cable
Network cable
(straight, not
supplied)
10BASE-T/
100BASE-TX
PoE supported
device (such as
a hub)
Rope (not
supplied)
3
1
2
Unit: mm (inches)
Notch
Silk
Hook
Slit
Flat spring
Flat spring
Slit
Slit
Flat spring
Cube
projection
Notch
Slots for flat
spring
SNC-DH210T
50.5 (2)
SNC-DH210
Ø106 (4
1
/
4
)
Ø106 (4
1
/
4
)
56.5 (2
1
/
4
)
1
2, 3
Preparations
Connect the sensor input cable to the camera
Before installation, connect the supplied sensor input cable to the
camera according to your usage environment.
Wiring diagram for sensor input
Mechanical switch/open collector output device
Camera inside
Outside
or
GND
Mechanical
switch
Open collector
output device
3.3 V
2.2 kΩ
Sensor input −
(GND)
10 kΩ
GND
GND
10 kΩ
10 kΩ
Sensor input +
Attaching the fall-prevention rope
When you install the camera on a ceiling or a high location, be sure to
attach a fall-prevention rope (not supplied) to prevent the camera from
falling. Thread the fall-prevention rope through the hole on the camera
as in the illustration, and then fix it to the junction box on the ceiling or
wall with a screw (not supplied).
For details about the fall-prevention rope, please consult the store of
purchase or an authorized Sony dealer.
Installation
WARNING
If you attach the camera in the height such as the wall or the ceiling,
etc., entrust the installation to an experienced contractor or installer.
If you install the camera on the ceiling, ensure that the ceiling is
strong enough to withstand the weight of the camera and then
install the camera securely. If the ceiling is not strong enough, the
camera may fall and cause serious injury.
To prevent the camera from falling, make sure to attach the
fall-prevention rope (not supplied).
If you attach the camera to the ceiling, check periodically, at least
once a year, to ensure that the connection has not loosened. If
conditions warrant, make this periodic check more frequently.
Deciding the Installation Location of the Camera
After deciding the direction in which the camera will shoot, use the
supplied template to decide the location of the hole for connecting
cables and required screw holes.
Make the hole for connecting cables (Ø28 mm).
Note
When threading the cables through the side of the camera, there is no need to
make the hole for connecting cables.
Connect to the Network
Connect the LAN connector of the camera to a PoE* supported device
(such as a hub) using the network cable (straight, not supplied).
The electrical power is supplied through the network cable. For details,
refer to the instruction manuals of the PoE supported devices.
(* PoE: The acronym for Power over Ethernet. IEEE 802.3af standard
compliant devices.)
Installing the Camera
1
Remove the dome casing.
Press the hook and meanwhile turn the dome casing in the
counterclockwise direction, then remove the dome casing from the
camera unit.
2
Fix the fall-prevention rope (not supplied) to the ceiling or wall.
3
Install the camera.
The supplied template indicates the location of screw holes to
be made in the ceiling or wall. Align with the 2 screw holes in the
camera, and fix the screws (not supplied).
Mounting screws
The required mounting screws differ depending on the installation
location and its material. (Mounting screws are not supplied.)
Steel wall or ceiling:
Use M4 bolts and nuts.
Wooden wall or ceiling:
Use M4 tapping screws. The panel thickness
must be 15 mm (
5
/
8
inch) or more.
Concrete wall:
Use anchors, bolts and plugs suitable for concrete walls.
Junction box:
Use screws to match the holes on the junction box.
WARNING
The required mounting screws differ depending on the installation location and
its material. If you do not secure the camera with the appropriate mounting
screws, the camera may fall off.
Caution
Take care not to trap the cables between the camera and the ceiling or the wall. If
the cable is trapped, it may cause a fire or electric shock due to breaking.
Adjusting the Camera Direction and Coverage
Turn the PT casing and lens casing to adjust the pan and tilt directions
separately, then you are able to turn the lens in the desired shoot
direction.
You can turn the PT casing by holding it. If you pull the PT casing, it may
separate.
Note
As you rotate the lens, it may reach a stop. In this case, do not force the lens;
instead, turn the lens in the opposite direction to select the shoot direction.
Do not pull the PT casing, as it may separate. Should this occur, see“When the PT
casing separates”, and install the casing correctly.
Using the monitor out
Setting the view angle of the monitor out
1
Make sure the POWER indicator lights up.
2
Select the installation tab in system setting menu, then set
monitor out to On.
3
Connect the AV cable to the monitor out [AV minijack].
4
Adjust the view angle.
5
Select the installation tab in system setting menu, then set
monitor out to Off.
6
Disconnect the AV cable.
The system setting is changed from PC.
For details on required settings, see the User’s Guide stored in the
supplied CD-ROM.
Notes
Connect the AV cable when the POWER indicator lights up.
Be aware that the system performance may be influenced, if the
monitor out is set to On. Be sure to set it to Off and disconnect the
AV cable.
Unit: mm (inches)


