26
4
Move the arrow marker (
,
) to the item to be added
(this operation is unnecessary if no item exists on the
page, as shown in the figure in the previous step) then
press the MENU SEL knob/ENTER button.
The EDIT FUNCTION screen appears.
5
Move the arrow marker (
,
) to “INSERT” and press
the MENU SEL knob/ENTER button.
The page with the last item added appears.
6
Add the items.
1
Turn the MENU SEL knob/ENTER button until the
page that has the desired items appears then press
the MENU SEL knob/ENTER button.
2
Turn the MENU SEL knob/ENTER button to move the
arrow marker (
,
) to the desired item then press the
MENU SEL knob/ENTER button.
The USER 2 EDIT page appears again, displaying the
newly added item.
7
Add the remaining items by repeating steps 4 to 6.
You can add up to 10 items on one page.
To delete items from a page
Proceed as follows.
1
Move the arrow marker (
,
) to the item to be deleted,
and press the MENU SEL knob/ENTER button.
The EDIT FUNCTION screen appears.
2
Select DELETE, then press the MENU SEL knob/
ENTER button.
The previously displayed page appears again, and the
message “DELETE OK? YES
,
NO” appears at the
upper right.
3
To delete, turn the MENU SEL knob/ENTER button to
move the arrow marker (
,
) to “YES,” and press the
MENU SEL knob/ENTER button.
To change the order of items on a page
Proceed as follows.
1
Turn the MENU SEL knob/ENTER button to move the
arrow marker (
,
) to the item to be moved then press
the MENU SEL knob/ENTER button.
The EDIT FUNCTION screen appears.
2
Select MOVE, then press the MENU SEL knob/ENTER
button.
The previously displayed page appears again.
3
Turn the MENU SEL knob/ENTER button to move the
arrow marker (
,
) to the position where you wish to
move the item then press the MENU SEL knob/ENTER
button.
The item selected in step
1
moves to the position above
the item that you selected in step
3
.
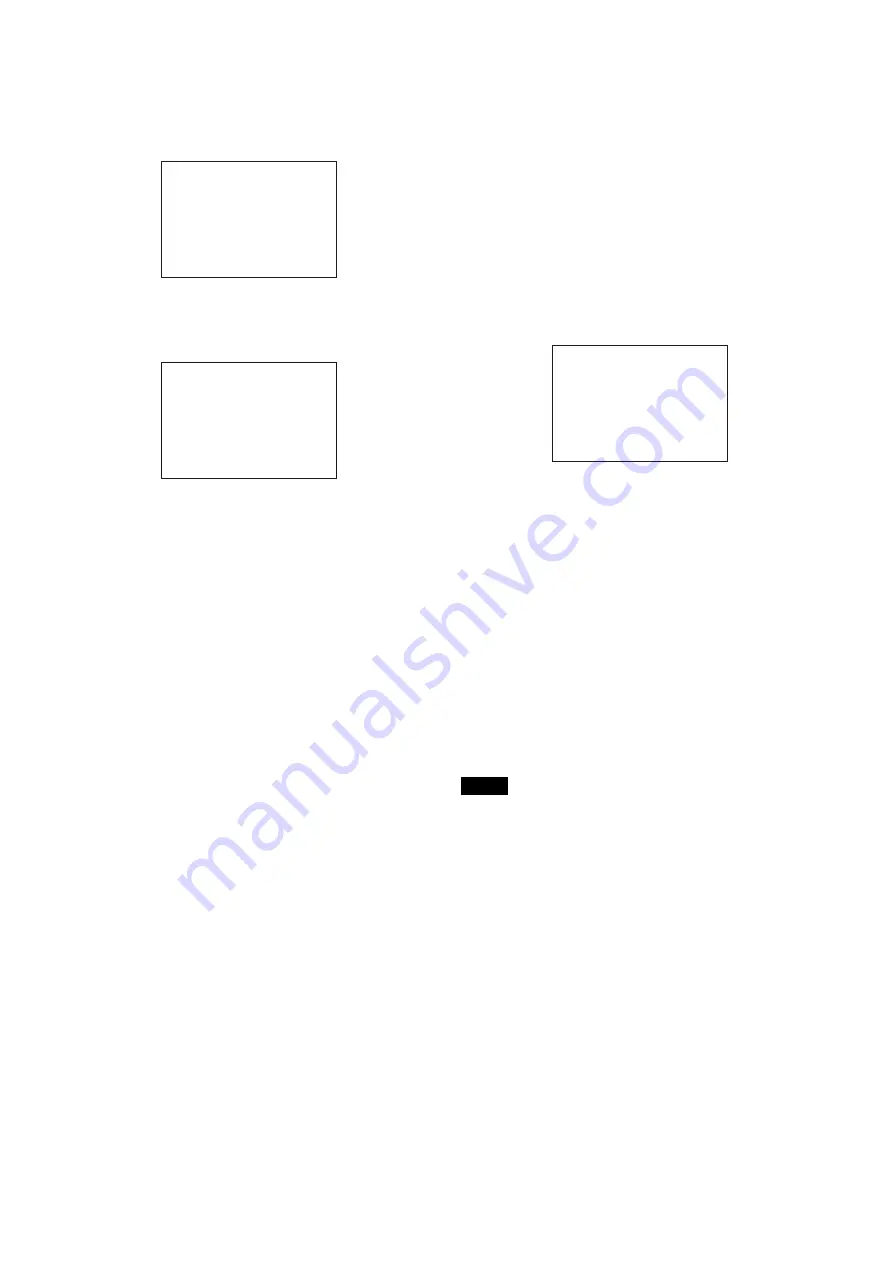
In the above example, “ASSIGNABLE” is moved to the top
and the other items are moved down one line.
To insert a blank line
Proceed as follows.
1
Turn the MENU SEL knob/ENTER button to move the
arrow marker (
,
) to the item above which you wish
to insert a blank line.
The EDIT FUNCTION screen appears.
2
Select “BLANK” then press the MENU SEL knob/
ENTER button.
The previously displayed page appears again, and a blank
line is inserted above the specified item.
You cannot insert a blank line on a page where 10 items have
already been registered.
Editing by pages
You can add a page to the USER menu, delete a page from
the USER menu, or replace pages, using the EDIT PAGE of
the USER MENU CUSTOMIZE menu.
To add a page
Proceed as follows.
1
Select USER MENU CUSTOMIZE on the TOP MENU
screen.
If this is the first time the USER MENU CUSTOMIZE
menu has been displayed, the CONTENTS page of the
menu appears.
If the USER MENU CUSTOMIZE menu has been used
before, the page last accessed appears.
EDIT FUNCTION
c
INSERT
MOVE
DELETE
BLANK
ESC
<SW STATUS> P01
FLARE :
c
ON
GAMMA : ON
BLK GAM : OFF
KNEE : ON
WHT CLIP: ON
DETAIL : ON
LVL DEP : ON
SKIN DTL: OFF
MATRIX : OFF
ESC
Note
ITEM MOVE
xx
c
VF OUT : COLOR
VF DETAIL : OFF
MARKER : ON
CURSOR : OFF
ZEBRA SW : OFF
: 1
z
ASSIGNABLE : OFF
ESC


