22
To disable the “TOP” indication
Turn the power once off then on again, or set the DISPLAY
switch from OFF to MENU while holding the STATUS/
CANCEL switch pressed toward CANCEL. This disables the
TOP selection.
Available menus
USER menu
This menu can include menu pages selected from among the
OPERATION, PAINT, MAINTENANCE, FILE, and
DIAGNOSIS menus, for convenience. Changing, adding, and
deleting pages can be performed with the USER MENU
CUSTOMIZE menu.
USER MENU CUSTOMIZE menu
This menu allows you to edit the USER menu.
For details on the USER menu, see “Editing the USER Menu”
on page 23.
ALL menu
This menu permits you to control all items of the OPERATION
menu, PAINT menu, MAINTENANCE menu, FILE menu, and
DIAGNOSIS menu as a single menu.
OPERATION menu
This menu contains items for camera operators to operate the
camera. It mainly permits viewfinder, intercom, and switch
settings.
PAINT menu
This menu contains items for making detailed image
adjustments while using a waveform monitor to monitor the
waveforms output from the camera. Support of a video
engineer is usually required to use this menu.
Although you can also use an external remote control panel or
master setup unit to set the items on this menu, the menu is
effective when using the camera by itself outdoors.
MAINTENANCE menu
This menu contains items for performing camera maintenance
operations, such as changing the system or setting
infrequently used “paint” items.
FILE menu
This menu is for performing file operations, such as writing or
clearing the reference file.
DIAGNOSIS menu
This menu enables you to confirm the self-diagnostic
information.
To select a menu on the TOP MENU screen
1
Rotate the MENU SEL knob/ENTER button to align the
arrow marker (
,
) with the desired menu indication.
2
Push on the MENU SEL knob/ENTER button.
The CONTENTS page or the last operated page of the
selected menu is displayed.
Selecting Pages
When selecting a page from a CONTENTS
page
Rotate the MENU SEL knob/ENTER button to align the arrow
marker (
,
) with the desired page indication, then push on the
MENU SEL knob/ENTER button.
The selected page is displayed.
To change the displayed page
1
Check that the arrow marker (
,
) is located at the left
of the page number, then push on the MENU SEL
knob/ENTER button.
The arrow marker (
,
) changes to a flashing question (
?
)
mark.
2
Rotate the MENU SEL knob/ENTER button to flip
through the pages.
3
When the desired page is displayed, push on the
MENU SEL knob/ENTER button.
The “
?
” mark will change back to the arrow marker (
,
),
and operations with the displayed page are enabled.
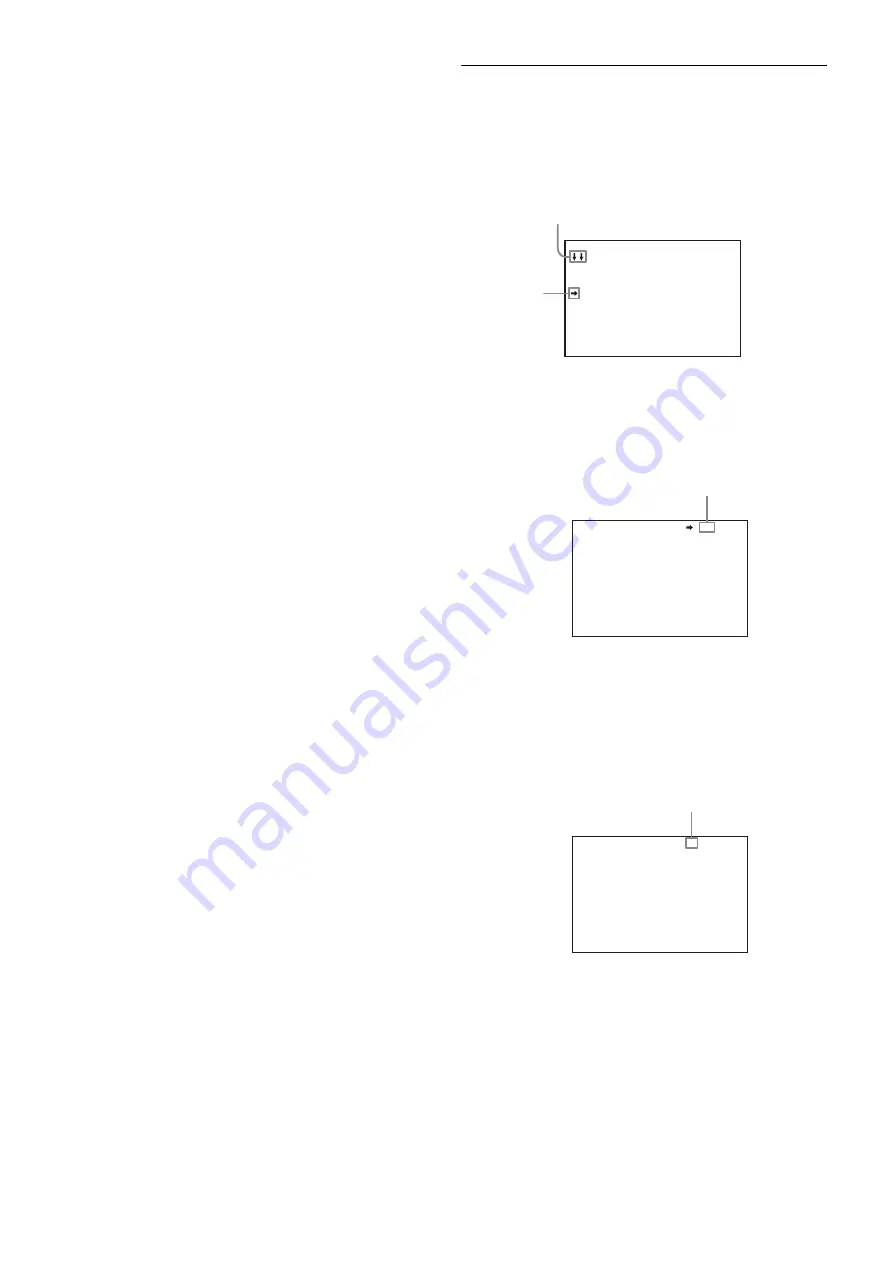
CONTENTS 00 TOP
01.<VF DISPLAY>
02.<'!'IND>
03.<VF MARKER>
04.<VF DETAIL>
05.<FOCUS POSITION METER1
06.<FOCUS POSITION METER2
07.<FOCUS ASSIST>
08.<ZEBRA>
09.<CURSOR>
10.<BOX CURSOR FILE>
If the screen can be scrolled, arrows will
indicate the direction of scrolling.
,
marker
Example: CONTENTS page of the OPERATION menu
<VF DETAIL> 04 TOP
VF DETAIL : ON 25%
CRISP : 0
FREQUENCY: 9M
FLICKER : OFF
AREA : 70%
ZOOM LINK: ON 100%
COLOR DETAIL : ON BLUE
PEAK COLOR : ON
CHROMA LEVEL: 100%
Page number
<VF DETAIL> ? 04 TOP
VF DETAIL : ON 25%
CRISP : 0
FREQUENCY: 9M
FLICKER : OFF
AREA : 70%
ZOOM LINK: ON 100%
COLOR DETAIL : ON BLUE
PEAK COLOR : ON
CHROMA LEVEL: 100%
Flashes


