


14
continued...
MANUAL PROGRAMME PRESET
The “Manual Programme Preset” option in the
“Set Up” menu allows you to:
a)
Preset channels or a video input source one by one to the programme order of your choice.
To do this:
1
After selecting the ”Manual Programme Preset” option, press
then with
Programme
option highlighted press
. Press
or
to select on which programme number you
want to preset the channel (for VCR, select programme number “0”). Then press
.
2
The following option is only available depending on the country you have selected
in the “Language/Country” menu.
After selecting the
System
option, press
. Then press
or
to select the TV Broadcast
system (
B/G
for western European countries,
D/K
for eastern European countries,
L
for
France or
I
for United Kingdom). Then press
.
3
After selecting the
Channel
option, press
. Then press
or
to select the channel
tuning (“
C
” for terrestrial channels or “
S
” for cable channels). Next press
. After that,
press the number buttons to enter directly the channel number of the TV Broadcast or the
channel of the VCR signal. If you do not know the channel number, press
or
to search
for it. When you have tuned the desired channel, press
OK
twice to store.
Repeat all the above steps to tune and store more channels.
b)
Label a channel using up to five characters.
To do this: Highlighting the
Programme
option, press the
PROGR +/-
button to select the
programme number with the channel you wish to name. When the programme you want to
name appears on the screen, select the
Label
option and press
. Next press
o
r
to
select a letter, number or “-“ for a blank. Press
to confirm this character. Select the other
four characters in the same way. After selecting all the characters, press
OK
twice to store.
c)
Normally the automatic fine tuning (AFT) is operating, however you can manually fine tune
the TV to obtain a better picture reception in the case that the picture is distorted.
To do this: while watching the channel (TV Broadcast) you wish to fine tune, select the
AFT
option and press
. Next press
or
to adjust the fine tuning between -15 and +15.
Finally press
OK
twice to store.
d)
Skip any unwanted programme numbers when they are selected with the PROGR +/-
buttons.
To do this: Highlighting the
Programme
option, press the
PROGR +/-
button to select the
programme number you want to skip. When the programme you want to skip appears on
the screen, select the
Skip
option and press
. Next press
or
to select
Yes
. Finally
press
OK
twice to confirm and store.
To cancel this function afterwards, select “No” instead of “Yes” in the step above.
e)
View and record correctly scrambled channels when using a decoder connected directly to
the Scart
:
2/
or through a VCR.
This option is only available depending on the country you have selected in the “Language/
Country” menu.
To do this: select the
Decoder
option and press
. Next press
or
to select
On
. Finally
press
OK
twice to confirm and store.
To cancel this function afterwards, select “Off” instead of “On” in the step above.
S
Level 1
Level 2
Level 3 / Function
Menu System
Set Up
Language/Country
Auto Tuning
Programme Sorting
Progamme Labels
AV Preset
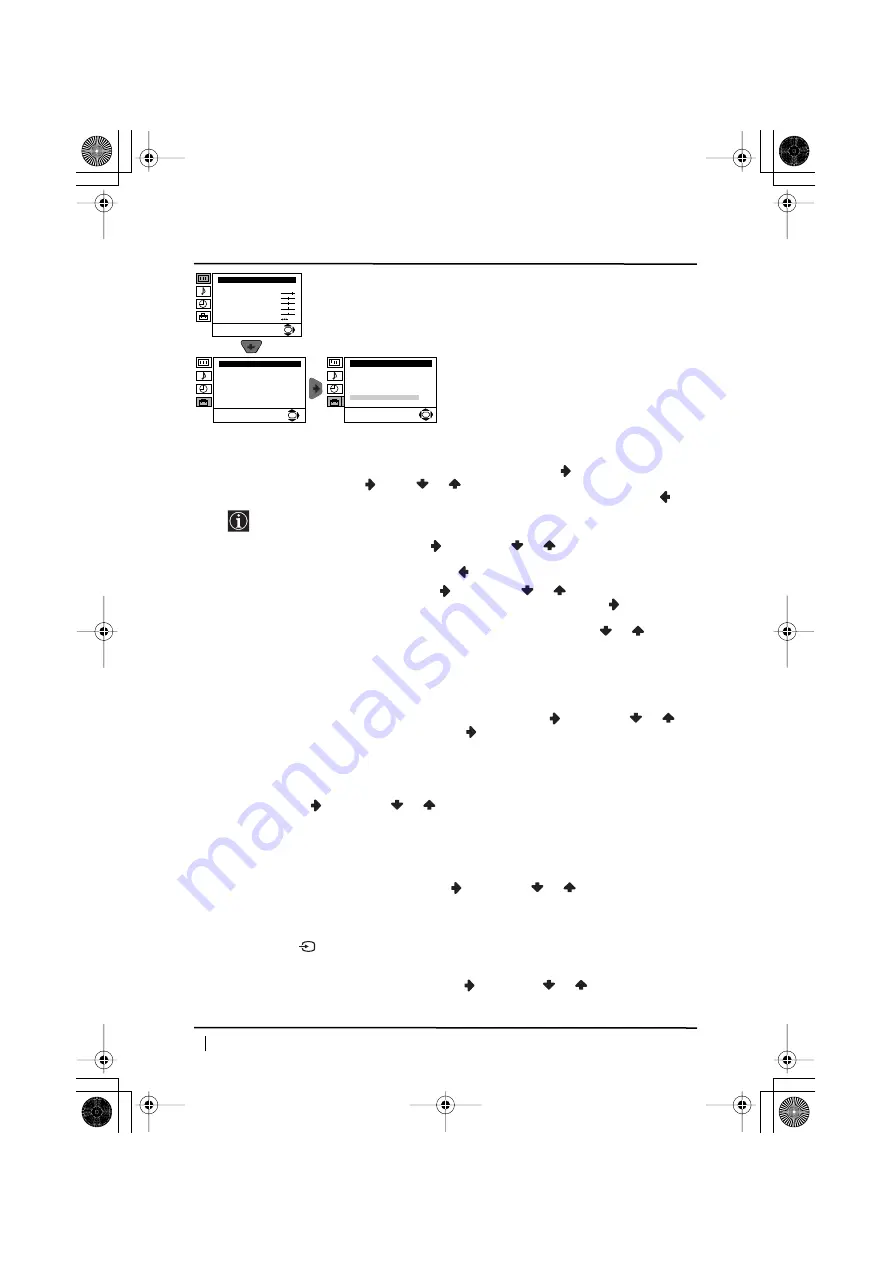
Manual Programme Preset
Detail Set Up
OK
Set Up
Language/Country
Auto Tuning
Programme Sorting
Progamme Labels
AV Preset
Manual Programme Preset
Detail Set Up
OK
Picture Adjustment
Mode: Personal
Contrast
Brightness
Colour
Sharpness
Hue
Reset
OK
02GBKV29CL10B.fm Page 14 Friday, January 17, 2003 6:17 PM


