


1-7
29
H
ook
up
s
Step 3: Connecting the Power Cord
Plug the player and TV power cords into an AC outlet.
Step 4: Quick Setup
Follow the steps below to make the minimum number of basic adjustments for using the player.
To skip an adjustment, press
>
. To return to the previous adjustment, press
.
.
The on-screen displays differ depending on the player model.
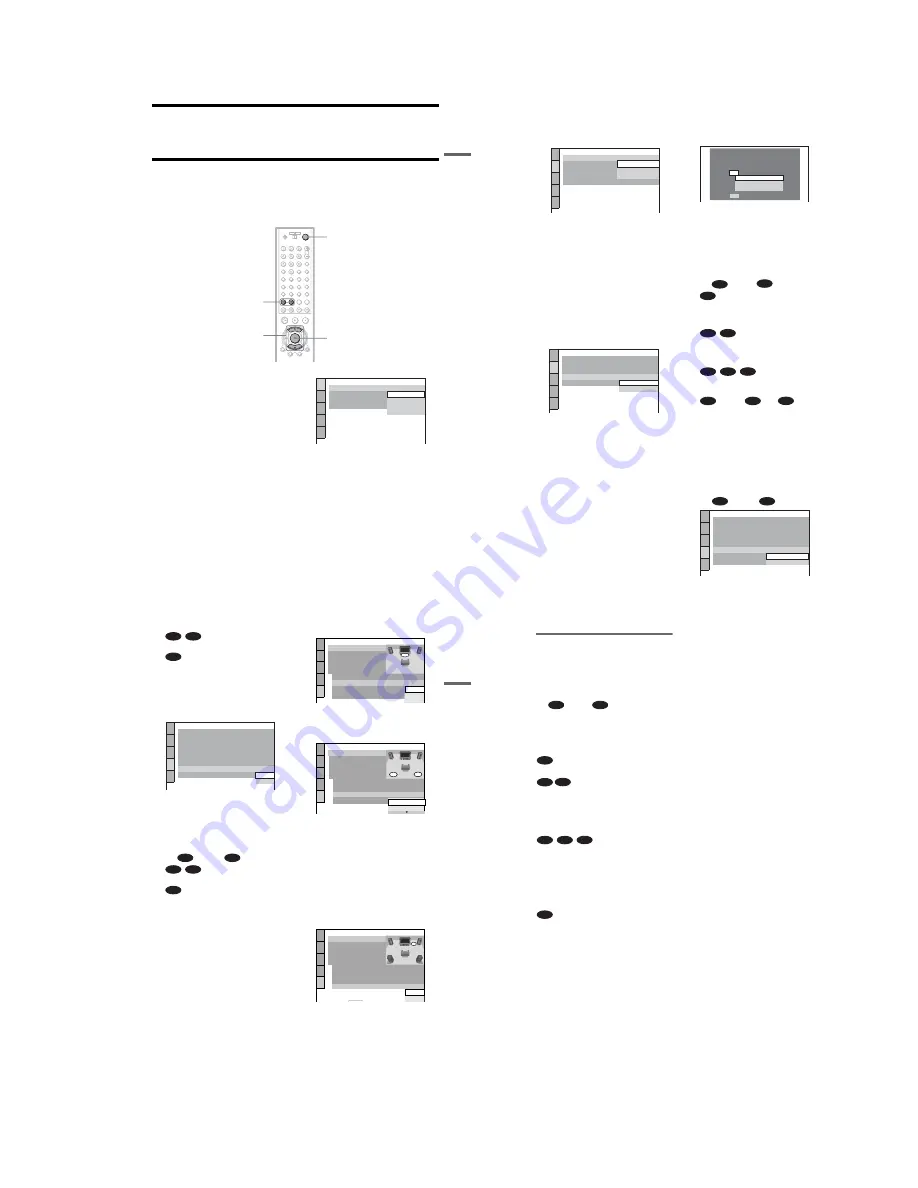
1
Turn on the TV.
2
Press
[
/
1
.
3
Switch the input selector on your
TV so that the signal from the
player appears on the TV screen.
“Press [ENTER] to run QUICK SETUP”
appears at the bottom of the screen. If this
message does not appear, select
“QUICK” under “SETUP” in the Control
Menu to run Quick Setup (page 74).
4
Press ENTER without inserting a
disc.
The Setup Display for selecting the
language used in the on-screen display
appears.
The available languages differ depending
upon the player model.
5
Press
X
/
x
to select a language.
The player uses the language selected
here to display the menu and subtitles as
well.
.
/
>
X
/
x
ENTER
[
/
1
LANGUAGE SETUP
OSD:
MENU:
AUDIO:
SUBTITLE:
FRENCH
ENGLISH
ENGLISH
SPANISH
PORTUGUESE
,
continued
30
6
Press ENTER.
The Setup Display for selecting the
aspect ratio of the TV to be connected
appears.
7
Press
X
/
x
to select the setting that
matches your TV type.
◆
If you have a 4:3 standard TV
• 4:3 LETTER BOX or 4:3 PAN SCAN
(page 75)
◆
If you have a wide-screen TV or a 4:3
standard TV with a wide-screen mode
• 16:9 (page 75)
8
Press ENTER.
The Setup Display for selecting the type
of video signal appears.
9
Press
X
/
x
to select the type of
signals you wish to output to your
TV.
Select PROGRESSIVE only if you have
made video connection
C
(page 20) and
wish to view progressive video signals.
◆
Interlace format TV (standard TV)
• INTERLACE (pages 76)
◆
Progressive format TV
• PROGRESSIVE (pages 76)
10
Press ENTER.
The Setup Display for selecting the type
of jack used to connect your amplifier
(receiver) appears.
11
Press
X
/
x
to select the type of
jack (if any) you are using to
connect to an amplifier (receiver),
then press ENTER.
Choose the item that matches the audio
connection you selected on pages 24 to
27 (
through ).
• If you connect just a TV and nothing
else, select “NO.” Quick Setup is
finished and connections are complete.
• Select “LINE OUTPUT L/R
(AUDIO).” Quick Setup is finished and
connections are complete.
• Select “DIGITAL OUTPUT.” The Setup
Display for “DOLBY DIGITAL” appears.
or both
and
• Select “DIGITAL & 5.1CH OUTPUT.”
The Setup Display for “DOLBY
DIGITAL” appears.
12
Press
X
/
x
to select the type of
Dolby Digital signal you wish to
send to your amplifier (receiver).
Choose the signal that matches the audio
connection you selected on pages 25 to
27 (
through ).
SCREEN SETUP
TV TYPE:
SCREEN SAVER:
BACKGROUND:
4:3 LETTER BOX
4:3 PAN SCAN
4:3 LETTER BOX
COMPONENT OUT:
MODE:
AUTO
16:9
SCREEN SETUP
TV TYPE:
SCREEN SAVER:
BACKGROUND:
4:3 LETTER BOX
ON
JACKET PICTURE
INTERLACE
COMPONENT OUT:
MODE:
PROGRESSIVE
INTERLACE
YES
NO
Is this player connected to an amplifier
(receiver) ? Select the type of jack you
are using.
LINE OUTPUT L/R (AUDIO)
DIGITAL OUTPUT
DIGITAL & 5.1CH OUTPUT
A
D
A
B-1
C-1
B-2
C-2
D-2
D-1
D-1
D-2
B
D
AUDIO SETUP
AUDIO ATT:
AUDIO DRC:
DIGITAL OUT:
DOLBY DIGITAL:
OFF
STANDARD
AUDIO FILTER:
SHARP
ON
DOWNMIX:
DOLBY SURROUND
D-PCM
D-PCM
48kHz/96kHz PCM:
DTS:
DOLBY DIGITAL
31
H
ook
up
s
• D-PCM (page 79)
• DOLBY DIGITAL (only if the
amplifier (receiver) has a Dolby Digital
decoder) (page 79)
13
Press ENTER.
“DTS” is selected.
14
Press
X
/
x
to select the type of
DTS signal sent to your amplifier
(receiver).
Choose the item that matches the audio
connection you selected on pages 25 to
27 (
through
).
• D-PCM (page 80)
• DTS (only if the amplifier (receiver)
has a DTS decoder) (page 80)
15
Press ENTER.
◆
When “DIGITAL OUTPUT” is selected
in step
qa
• Quick Setup is finished and
connections are complete.
For DVP-NS915V
• If your AV amplifier (receiver) has an
MPEG audio decoder, set “MPEG” to
“MPEG” (page 80).
◆
When “DIGITAL & 5.1CH OUTPUT” is
selected in step
qa
• The Setup Display for “SPEAKER
SETUP” appears.
16
Press
X
/
x
to select the size of the
center speaker.
If no center speaker is connected, select
“NONE” (page 81).
17
Press ENTER.
“REAR” is selected.
18
Press
X
/
x
to select the size of the
rear speakers.
If no rear speaker is connected, select
“NONE.”
“SIDE” and “REAR” refer to the speaker
position relative to your listening
position (page 81).
19
Press ENTER.
“SUBWOOFER” is selected.
20
Press
X
/
x
to select whether or
not you have connected a
subwoofer.
21
Press ENTER.
Quick Setup is finished. All connections
and setup operations are complete.
B-2
C-2
D-2
AUDIO SETUP
AUDIO ATT:
AUDIO DRC:
DIGITAL OUT:
DOLBY DIGITAL:
OFF
STANDARD
AUDIO FILTER:
SHARP
ON
DOWNMIX:
DOLBY SURROUND
D-PCM
D-PCM
48kHz/96kHz PCM:
DTS
DTS:
D-PCM
B
D
B-2
C-2
D-2
SPEAKER SETUP
SIZE:
DISTANCE:
BALANCE:
LEVEL:
OFF
TEST TONE:
FRONT:
CENTER:
SMALL
LARGE
NONE
LARGE
REAR:
SUBWOOFER:
To set, press , then .
ENTER
NONE
SPEAKER SETUP
SIZE:
DISTANCE:
BALANCE:
LEVEL:
OFF
TEST TONE:
FRONT:
CENTER:
LARGE
REAR:
SUBWOOFER:
NONE
LARGE(REAR)
NONE
LARGE
SPEAKER SETUP
SIZE:
DISTANCE:
BALANCE:
LEVEL:
OFF
TEST TONE:
FRONT:
CENTER:
LARGE
LARGE
REAR:
SUBWOOFER:
To set, press , then .
To quit press
ENTER
ENTER
SETUP
DISPLAY
DISPLAY
NONE
NONE
YES
LARGE(REAR)
,
continued
32
Enjoying the surround sound
effects
To enjoy the surround sound effects of this
player or your amplifier (receiver), set the
following items as described below for the
audio connection you selected on pages 25 to
27 (
through
). Each of these is the
default setting and does not need to be adjusted
when you first connect the player. Refer to
page 73 for using the Setup Display.
Audio Connection (pages 24 to 27)
• No additional settings are needed.
• Set “DOWNMIX” to “DOLBY
SURROUND” (page 79).
• If the sound distorts even when the volume
is turned down, set “AUDIO ATT” to “ON”
(page 78).
• Set “DOWNMIX” to “DOLBY
SURROUND” (page 79).
• Set “DIGITAL OUT” to “ON” (page 79).
• Set “48kHz/96kHz PCM” to “96kHz/24bit,”
only if you connect an amplifier (receiver)
that conforms to the 96 kHz sampling
frequency (page 80).
• Set “DISTANCE,” “BALANCE,” and
“LEVEL” according to the connected
speakers (page 82).
• If the sound distorts even when the volume
is turned down, set “AUDIO ATT” to “ON”
(page 78).
B
D
A
B-1
C-1
B-2
C-2
D-2
D-1